If you want a lush, green garden without spending hours watering by hand, installing a sprinkler system is the perfect solution. Imagine having your garden watered automatically, saving you time and effort while ensuring your plants get the right amount of water. This guide will show you how to install a sprinkler system for your small garden efficiently. Learn how to install a sprinkler system with ease and transform your gardening experience.
You might think installing a sprinkler system is complicated or expensive, but with the right steps, you can do it yourself—even for a small garden. In this guide, you’ll learn simple, clear instructions to set up your own sprinkler system that fits your space and budget.
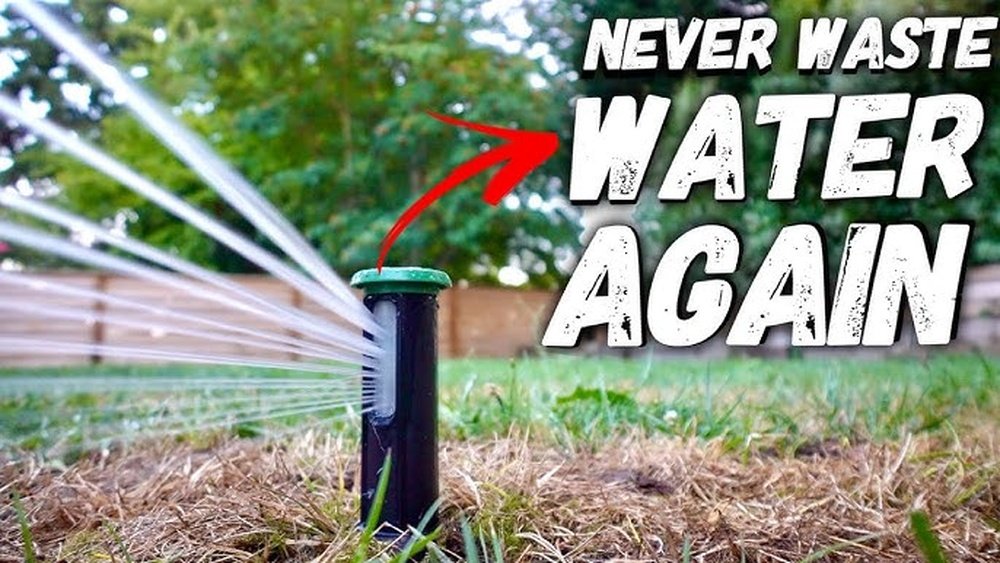
Ready to transform your garden and enjoy hassle-free watering? Keep reading to discover how easy it can be!
Prepare Your Garden
Preparing your garden is the first step to a successful sprinkler system installation. This stage helps you avoid mistakes and ensures efficient watering. Proper preparation saves time and money during installation.
Take time to understand your garden’s needs. Gather basic tools and materials before starting. Clear the area of debris and obstacles for easy access.
Check Local Rules
Local rules may affect your sprinkler installation. Some places require permits for irrigation systems. Check watering restrictions and hours allowed in your area. Contact your city or county office to learn the rules. This step prevents fines and legal trouble later.
Measure Water Pressure
Water pressure controls how well your sprinklers work. Use a pressure gauge to measure the PSI at your outdoor faucet. Most sprinkler heads need 30 to 50 PSI to function well. Low pressure means limited coverage and weak spray. High pressure can damage pipes and heads. Knowing your water pressure helps you select the right parts.
Map Sprinkler Spots
Draw a simple map of your garden. Mark where plants and grass areas need water. Place sprinkler spots so their spray overlaps slightly for full coverage. Avoid watering driveways or paths to save water. Plan zones based on plant type and sunlight needs. A clear layout makes installation smooth and efficient.

Credit: www.rainbird.com
Gather Tools And Materials
Gathering the right tools and materials is the first step to install a sprinkler system. Having everything ready saves time and avoids interruptions. This stage requires careful choices to fit your garden size and water needs.
Choose Pipes And Fittings
Select durable pipes like PVC or polyethylene for your system. PVC pipes are strong and long-lasting. Polyethylene pipes are flexible and easy to install. Choose pipe diameters based on your water flow needs. Get fittings such as elbows, tees, and connectors to shape your layout. Make sure all parts fit tightly to prevent leaks.
Select Sprinkler Heads
Pick sprinkler heads that match your garden’s shape and size. Pop-up heads are good for lawns and disappear when off. Rotary heads cover large areas with slow water rotation. Fixed spray heads work well for small, narrow spots. Check the spray radius and water pressure to avoid dry patches or overwatering.
Get Valves And Controller
Use valves to control water flow to each sprinkler zone. Manual valves are simple but need hand operation. Automatic valves connect to a controller for scheduled watering. Choose a controller with easy settings and enough zones for your garden. Some controllers offer smart features to save water and time.
Plan Your Layout
Planning your sprinkler system layout is the first step to a healthy garden. A clear plan saves time and water. It helps you avoid digging in the wrong places.
Start by measuring your garden area. Note the shape and size. Identify the spots where plants need water most. This will guide where to place sprinklers.
Mark Trenches
Mark the trenches where you will lay the pipes. This ensures that you have a clear path for installation and helps avoid any unnecessary digging.