Installing a rain barrel correctly involves properly positioning it under a downspout and securing it for stability.
Are you tired of high water bills and excessive water wastage during the rainy season? Installing a rain barrel might be your perfect solution. By capturing and storing rainwater, you can save money and contribute to environmental conservation. This comprehensive guide will walk you through each step, pitfalls to avoid, and practical tips to ensure your rain barrel setup is efficient, sustainable, and worry-free.
Understanding Rain Barrels
Rain barrels are an excellent method to harness the natural resource of rainwater. These containers are designed to collect and store rainwater from your roof via your home's downspouts.
Benefits of Using a Rain Barrel
- Water Conservation: Reduces dependence on municipal water for gardening.
- Cost Savings: Lowers water bills by providing free water for outdoor use.
- Environmental Impact: Decreases stormwater runoff, reducing erosion and waterway pollution.
Choosing the Right Rain Barrel
Before installation, ensure you pick a rain barrel that suits your home and needs. Here are some factors to consider:
- Size: Depending on rainfall in your area, choose a barrel size that will collect adequate water without being too heavy to manage.
- Material: Opt for durable materials like plastic or resin that resist rust and decay.
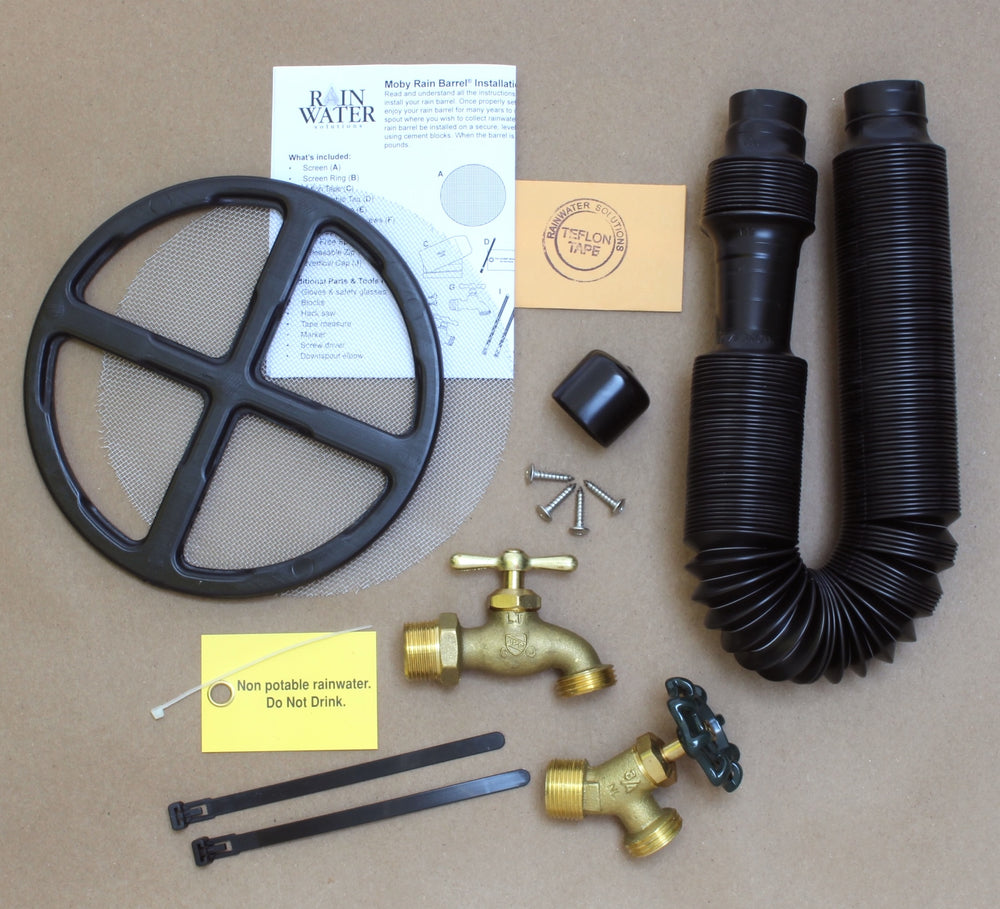
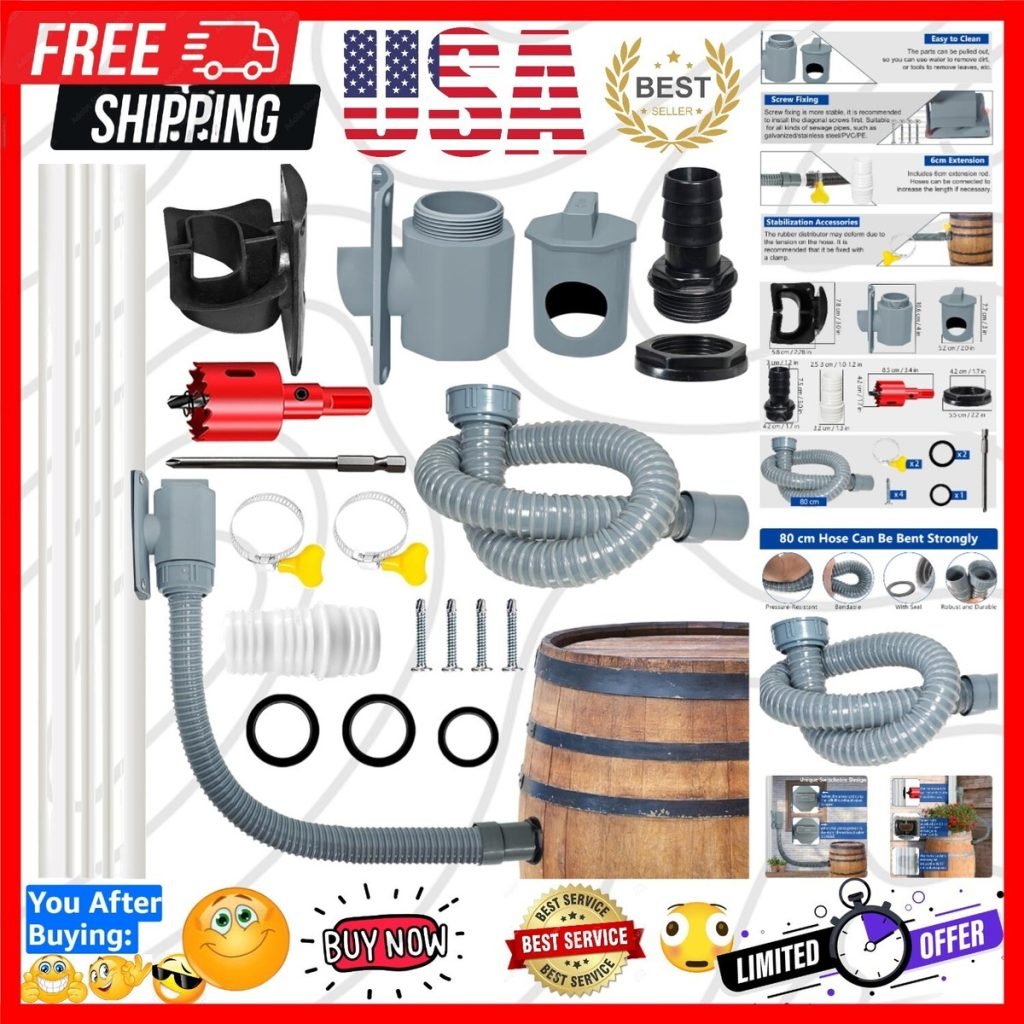
- Features: Look for features like a spigot, overflow valve, and debris screen.
How to Install a Rain Barrel Correctly
Step 1: Select the Installation Location
- Find Level Ground: The area should be flat and sturdy to support the barrel's weight when full.
- Proximity to Downspout: Position it directly under a downspout for efficient water collection.
Step 2: Prepare the Base
- Level the Area: Add gravel or sand to create a stable base.
- Elevate the Barrel: Use cinder blocks or a stand to raise the barrel for easier spigot access.
Step 3: Modify the Downspout
- Cut the Downspout: Use a hacksaw to cut the downspout so it ends above your barrel.
- Attach a Diverter: Connect a diverter to direct water into the barrel while preventing overflow.
Step 4: Position and Secure the Barrel
- Place the Barrel: Ensure it's secure and level on your prepared base.
- Seal with a Lid: Keep the lid on to prevent debris and mosquito breeding.
Step 5: Connect Additional Barrels (Optional)
- Multiple Barrels: Use connectors if you wish to expand your collection capacity.
Step 6: Routine Maintenance
- Regular Checks: Inspect for leaks, clean the debris screen, and ensure valves function properly.
Common Mistakes to Avoid
- Ignoring Overflows: Ensure your barrel has an overflow mechanism to handle excess water.
- Poor Positioning: Incorrect placement can reduce water collection efficiency.
- Neglecting Maintenance: Regular checks prevent issues like mosquito infestations.
Frequently Asked Questions
How much water can a typical rain barrel hold?
Most rain barrels hold between 50 to 80 gallons, but sizes vary based on needs and space.
Can I use rain barrel water inside my home?
Rainwater is mainly recommended for outdoor use like gardening due to contamination risks.
How do I prevent mosquitoes in my rain barrel?
Ensure your rain barrel lid is sealed, and use mesh screens to block insect entry.
Is it legal to collect rainwater?
Rainwater harvesting is legal in most areas, but check local regulations.
What should I do with rainwater in winter?
Drain your barrel before frost to prevent cracking from freezing water.
Conclusion
Installing a rain barrel is a simple yet effective way to conserve water, save money, and support the environment. By following the steps outlined above, you can create a reliable and efficient rainwater collection system at your home. Take the first step towards sustainability today—implement these tips and join the growing number of eco-conscious homeowners. Don't forget to share your experiences or questions in the comments below!