
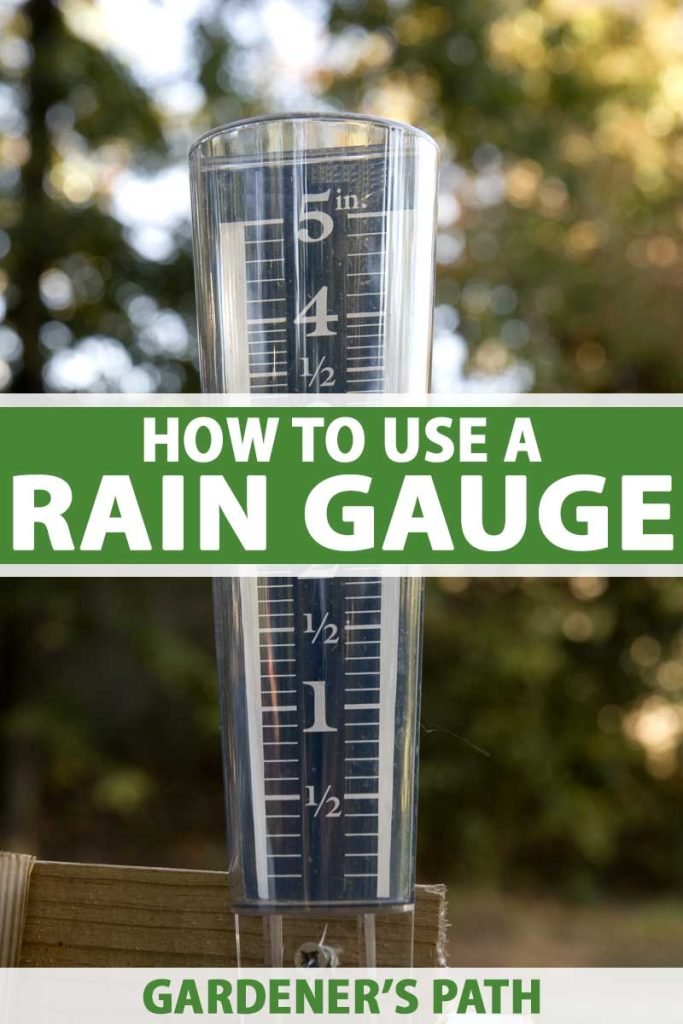
A rain gauge in your garden can help track rainfall accurately, improving your gardening plans. Whether you're an experienced gardener or just getting started, understanding how much rain your garden receives can significantly impact your planting strategies. Installing a rain gauge is a straightforward process, but doing it correctly ensures the most accurate readings. This comprehensive guide will walk you through everything you need to know about setting up a rain gauge in your garden, sharing expert tips and practical advice. Whether you're monitoring for professional purposes or personal curiosity, having precise measurements can lead to a flourishing garden.
Why Use a Rain Gauge in Your Garden?
Understanding rainfall is crucial for successful gardening. It helps you:
- Adjust your watering schedule effectively.
- Prevent overwatering or underwatering.
- Plan for seasonal planting.
- Enhance soil and crop management.
By knowing exactly how much rain falls, you can make informed decisions that impact both the health of your plants and the overall success of your garden.
Choosing the Right Rain Gauge
Selecting the appropriate rain gauge is the first step. Consider these factors:
- Type: Standard graduated cylinders are common, but digital options offer more precision.
- Material: Durable materials like acrylic or polycarbonate withstand harsh weather.
- Size: Larger gauges may need less frequent emptying, suitable for remote gardens.
Ideal Placement for Accurate Reading
Placing your rain gauge correctly ensures accurate measurements:
- Open Space: Position it away from trees and buildings to prevent obstructions.
- Level Ground: Ensure it's on flat terrain to collect rain evenly.
- Sturdy Mounting: Secure it well to avoid toppling over in windy conditions.
How to Install Your Rain Gauge
Follow these steps to set up your rain gauge:
- Select the Location: Choose a position based on the guidelines above.
- Install Securely: Use a stake or mount to keep it stable.
- Calibrate: If using a digital gauge, ensure it’s correctly calibrated before starting.
Maintenance for Longevity
Regular upkeep ensures your rain gauge lasts:
- Clean Regularly: Remove debris to prevent blockages.
- Check Calibration: Regularly verify accuracy, especially after moving it.
- Inspect for Damage: Look for cracks or clouding, especially if it's been in harsh weather.
Real-Life Tips and Stories
From personal experience, I've found that keeping a journal of rain gauge readings not only enhances gardening results but deepens your connection with your garden’s microclimate. I remember installing my first gauge in the wrong spot, skewed by the nearby hedge. Learning from this, I found a perfect open patch. Sometimes, trial and error is the best teacher.
Frequently Asked Questions of How to Set Up Rain Gauge in Garden Tips
How high off the ground should a rain gauge be?
Keep your rain gauge about 4-6 feet off the ground to avoid splashes and ensure accurate readings.
How do I reset a digital rain gauge?
Refer to your manufacturer's instructions. Typically, most have a reset button that clears past data.
Can a rain gauge be placed near plants?
Avoid placing it near plants or structures as they'll obstruct rainfall and skew readings.
What should I do if my rain gauge constantly topples over?
Ensure it's mounted securely. Use a solid base or stake for support.
How often should I empty a rain gauge?
Empty it regularly, ideally after each rainfall to prevent overflow and ensure accuracy.
Conclusion
Setting up a rain gauge in your garden is an investment in the health of your plants and your gardening success. By following these tips, you’ll ensure accurate rainfall measurements, leading to better-informed water management decisions. Now, it’s time to take this knowledge and apply it, leading to a more vibrant and healthy garden. Feel free to explore more gardening tips or share your experiences by leaving a comment below!