
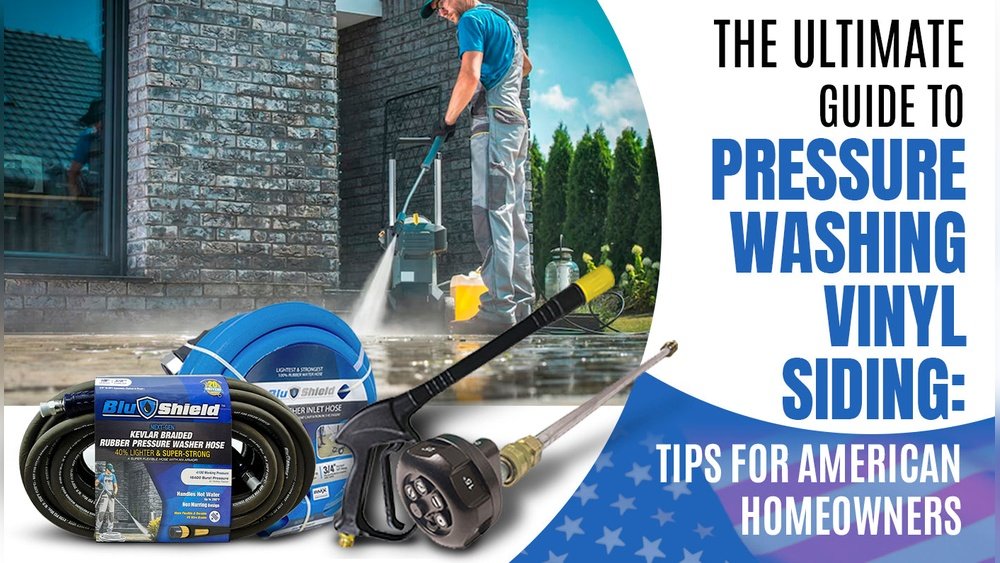
Pressure washing is one of the fastest ways to clean vinyl siding and make your home look fresh again. But it also comes with risks. If you use the wrong pressure, angle, or cleaning solution, you can cause damage, water leaks, or even void your siding warranty.
Many homeowners try to pressure wash vinyl siding without knowing the key details, and end up with streaks, cracks, or mildew returning quickly. In this guide, you’ll learn exactly how to pressure wash vinyl siding safely, efficiently, and with professional results—even if you’re new to pressure washing.
You’ll also discover insider tips most beginners miss, practical comparisons, and clear answers for common questions. If you want your siding to look spotless without hassle, this article will show you how.
Understanding Vinyl Siding And Pressure Washing
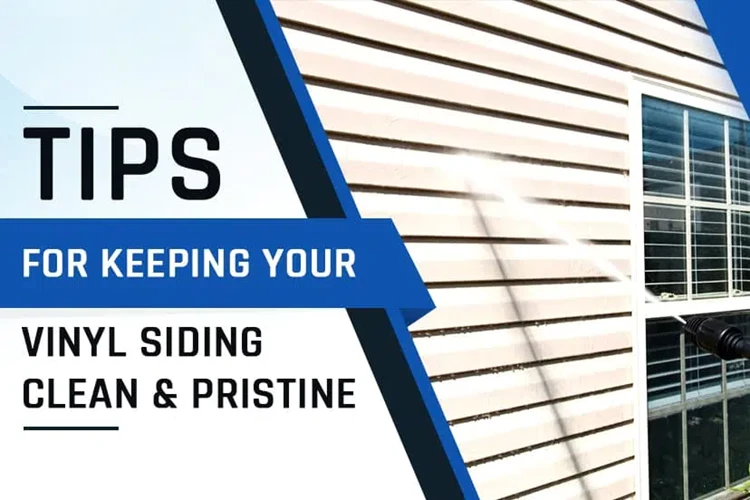
Vinyl siding is popular because it’s durable, low maintenance, and can last 20–40 years. But like all exteriors, it collects dirt, mold, mildew, and algae. Pressure washing removes these contaminants fast, but vinyl is softer than brick or cement. It can crack, bend, or let water through gaps if you pressure wash incorrectly.
Vinyl siding is made from polyvinyl chloride (PVC), which is flexible and resists moisture better than wood. But it is not indestructible. Even moderate impact or high-pressure water can make small holes or cause panels to loosen. This is why paying attention to the unique needs of vinyl is so important before you start.
Why Pressure Washing Works For Vinyl
Pressure washing uses high-pressure water to blast away dirt. For vinyl siding, it’s effective because:
- It removes grime from textured surfaces, including small grooves and wood grain patterns found in many siding styles.
- It cleans large areas quickly, helping you save time compared to scrubbing by hand.
- It helps prevent mold and mildew growth by removing the organic material they feed on.
Pressure washing also helps to restore color vibrancy. Vinyl can look faded due to dust and algae, but careful washing often brings back much of the original brightness. However, the pressure must be controlled. Too much force can damage the siding or force water behind panels, which may not be immediately obvious but can lead to hidden problems later.
Common Risks Of Pressure Washing Vinyl
Many people make mistakes by:
- Using high PSI (pounds per square inch) settings that vinyl cannot withstand.
- Spraying upwards toward seams, which sends water behind the siding panels.
- Using bleach or harsh chemicals, which can harm the vinyl or surrounding plants.
- Ignoring gaps, loose panels, or damaged areas, allowing water to get inside the wall.
These errors can cause water leaks, stains, or permanent damage. Vinyl siding needs a gentle but thorough approach. Even small cracks or gaps can let water into the wall, which may not show damage right away but can cause costly repairs later, including mold inside your walls or rot in wooden framing.
Choosing The Right Pressure Washer
Not all pressure washers are suitable for vinyl siding. The key is to pick a machine that delivers enough cleaning power but doesn’t risk damaging your home.
Psi And Gpm: What Matters Most
PSI (pressure) and GPM (flow) are the main specs. For vinyl siding:
- Use a washer between 1,300–2,000 PSI. This is strong enough to remove dirt but gentle enough to avoid damage.
- Flow rate should be 1.4–2.5 GPM. A higher flow can rinse away more debris, but is not as important as using the right pressure.
Higher PSI is for tough stains, but avoid going above 2,000 PSI. If you’re unsure, start low and increase only as needed.
A common beginner mistake is to focus only on PSI. In reality, a higher GPM at lower PSI can clean just as well—sometimes better—because the water volume helps flush away grime.
Electric Vs. Gas Pressure Washers
Electric models are usually safer for vinyl siding, as they’re less powerful and more controllable. Gas models are for heavy-duty jobs, but risk overkill.
Here’s a simple comparison:
| Type | PSI Range | Best For | Pros | Cons |
|---|---|---|---|---|
| Electric | 1,300–2,000 | Residential Siding | Lightweight, quieter, easy to control | Lower power, slower for heavy stains |
| Gas | 2,000–3,000+ | Tough Stains, Large Homes | High power, fast cleaning | Heavy, noisy, risk of damage |
For most homeowners, electric pressure washers are ideal. If you own a two-story home or have very dirty siding, you may need a gas model, but always use the lowest effective setting.
Nozzle Selection
The nozzle controls the spray angle. For vinyl siding, use:
- 25-degree nozzle for general cleaning. This is usually green and provides a good balance between pressure and coverage.
- 40-degree nozzle for rinsing and gentle cleaning. This is white and is the safest choice for delicate or older siding.
Never use a 0-degree nozzle (red) on siding—it’s too harsh and can cause cracks. A 15-degree nozzle (yellow) is also usually too intense for vinyl. If you’re unsure, always start with the widest angle nozzle and test a small area.
Preparing Your Home For Pressure Washing
Before you start, preparation is crucial. This prevents accidents, protects plants, and avoids water getting behind siding.
Inspect The Siding
Check for:
- Loose panels that could flap or break under pressure.
- Cracks that may let water behind the siding.
- Gaps between panels, around windows, or trim.
- Old caulking that is cracked or missing.
- Damaged trim that may hide entry points for water.
Repair these before washing. Water behind panels can cause mold or rot. If you skip this inspection, you might not notice problems until it’s too late—especially if the damage is hidden behind siding.
Protect Windows, Doors, And Outlets
Cover:
- Electrical outlets, even those with covers, as water can still get inside.
- Light fixtures, especially if they are not rated for wet locations.
- Doorways and windows, including basement windows or vents.
Use plastic sheeting or painter’s tape. This blocks water from entering your home. Even a small leak around a window can cause water stains inside.
Move And Cover Plants
Pressure washing can harm plants. Move pots away, and cover shrubs or flowerbeds near walls with tarps. If you have delicate flowers or a vegetable garden near the house, take extra care or move them if possible.
Clear The Area
Remove:
- Outdoor furniture, cushions, and rugs.
- Grills, garden tools, and toys.
- Decorations like wind chimes, wall hangings, or bird feeders.
This keeps your workspace safe and clear. If you have pets, make sure their food bowls or bedding are not in the splash zone.
Choosing The Right Cleaning Solution
Water alone can remove loose dirt, but for mildew, algae, or stains, you need a proper cleaner.
Types Of Cleaning Solutions
- Mild detergents: Safe for vinyl, removes basic grime.
- House wash concentrates: Designed for siding, often biodegradable. These often contain surfactants that lift dirt without harming the siding or plants.
- Mildew removers: Target mold and algae, but must be vinyl-safe. Some cleaners are specifically formulated for green or black mold and can save you scrubbing time.
Never use pure bleach or abrasive cleaners. These can discolor or weaken vinyl. They can also damage metal trim, painted surfaces, and your landscaping.
Mixing Ratios
Always follow manufacturer instructions. Most siding cleaners mix at 1:10 ratio (1 part cleaner, 10 parts water). Using too much concentrate can leave streaks or residue. Some products are concentrated and require much more dilution—never guess the ratio.
Applying The Cleaner
- Use a soap nozzle or low-pressure tip to apply the solution.
- Apply bottom to top for even coverage, so drips don’t leave streaks on already-cleaned areas.
- Let it sit for 5–10 minutes (but don’t let it dry). For stubborn stains, gently agitate with a soft brush.
If you see areas with heavy algae or mold, reapply the solution and let it sit a few extra minutes. This is more effective than increasing pressure.

Credit: www.sunjosho.com
Step-by-step Guide To Pressure Washing Vinyl Siding
Here’s how to pressure wash vinyl siding safely, without missing any key steps.
1. Set Up Your Pressure Washer
- Attach garden hose, check water supply. Make sure the water flow is strong and steady.
- Install the correct nozzle (25 or 40-degree).
- Fill detergent tank or attach siphon if your washer supports chemicals.
Check for leaks at all hose connections, and prime the pump if your machine requires it. An air bubble in the hose can cause pressure loss.
2. Apply Cleaning Solution
- Stand at least 3 feet from siding to avoid impact damage.
- Spray from bottom upward (helps avoid streaks). Work in smooth, even strokes.
- Cover all surfaces evenly, including around window frames and under eaves.
Don’t forget small areas like the undersides of horizontal trim or porch ceilings.
3. Let The Cleaner Work
- Wait 5–10 minutes.
- Keep surfaces wet, but don’t let the solution dry.
- If it’s a hot or sunny day, work in smaller sections to prevent drying.
If you see the cleaner start to dry, lightly mist it with water to keep it active.
4. Pressure Wash The Siding
- Switch to a rinsing nozzle (40-degree).
- Spray from top downward (rinses dirt away, prevents streaks).
- Hold the nozzle at a slight downward angle to avoid forcing water behind panels.
- Maintain 3–5 feet distance from siding. If necessary, move closer slowly, but never closer than 18 inches.
- Work in small sections (4–6 feet wide), overlapping passes for thorough cleaning.
If you encounter stubborn spots, use a long-handled soft brush with cleaning solution before rinsing.
5. Rinse Thoroughly
- Make sure all soap is gone, especially around windows, vents, and corners.
- Pay extra attention to corners and edges, as residue hides there.
Unrinsed cleaner can cause chalky streaks or attract new dirt quickly.
6. Inspect Your Work
- Check for missed spots, streaks, or residue.
- Spot-clean as needed.
- Look for water leaks inside the house (rare, but check near windows or doors just in case).
7. Clean Up
- Remove tarps and coverings from plants and outlets.
- Return furniture and plants to their original places.
- Disconnect and store pressure washer. Coil hoses neatly to avoid damage.
Practical Tips For Best Results
Pressure washing vinyl siding isn’t just about blasting water. Small details matter. Here are the most important tips:
Use The Correct Spray Angle
Always aim the spray downward or straight, never upward. Spraying upwards can push water behind siding, leading to rot or mold. This is one of the most common mistakes and can void warranties.
Start Low, Then Adjust
Begin with the lowest pressure setting. Test a small area first—preferably behind a bush or in an out-of-sight spot. Increase pressure if needed, but never go above 2,000 PSI.
Work In Sections
Divide your home into manageable zones. Clean one section completely before moving to the next. This prevents streaks and missed spots. If your siding is very dirty, rinse each section before moving on.
Avoid Direct Spraying At Seams
Focus on flat surfaces. Be gentle near seams, edges, and corners. Use a soft brush for areas with stubborn grime.
Mind The Weather
Pressure washing on a cool, overcast day prevents cleaning solution from drying too fast. Avoid windy days, which can blow spray onto windows or neighbors.
Rinse Windows And Trim
After washing siding, rinse windows and trim to remove splashes or residue. If any cleaner dries on glass, it can cause streaks that are hard to remove.
Don’t Rush
Take your time. Pressure washing too quickly can leave dirt behind or cause uneven cleaning. It’s better to go slow and be thorough than to redo the job later.
An extra tip most people miss: Always check for any insect nests (wasps, spiders) before you begin. Pressure washing can disturb them and cause problems during cleaning.
Credit: www.homedepot.com
Common Mistakes And How To Avoid Them
Even experienced homeowners make mistakes. Here are the most frequent errors—and how to avoid them.
Using Too Much Pressure
High PSI can crack or bend vinyl. Always use the recommended range. Remember, patience and the right cleaner are more effective than brute force.
Ignoring Repairs
Washing over loose panels or gaps risks water leaks. Fix issues before you start. Even small cracks can let water into the wall.
Skipping Preparation
Not covering plants, outlets, or windows can cause damage. Prepare carefully, even if you’re in a hurry.
Using Wrong Cleaners
Harsh chemicals damage vinyl and harm landscaping. Stick to siding-safe cleaners. Always read the label for compatibility.
Spraying Upward
Never spray upward at seams or joints. This pushes water behind siding.
Not Rinsing Properly
Leftover soap leaves streaks and attracts dirt. Rinse until water runs clear. If in doubt, rinse again.
Comparing Pressure Washing With Other Cleaning Methods
Pressure washing isn’t the only way to clean vinyl siding. Here’s how it stacks up against other methods.
| Method | Effectiveness | Time Required | Cost | Risks |
|---|---|---|---|---|
| Pressure Washing | High | 1–3 hours | Medium (rent or buy equipment) | Damage if done incorrectly |
| Hand Washing | Medium | 4–8 hours | Low (bucket, brush) | Labor intensive, missed spots |
| Professional Cleaning | Very High | 1–2 hours | High ($200–$500) | None (if reputable) |
Pressure washing is the best balance for speed and effectiveness, but only when done safely. Hand washing is a good option for small homes or spot cleaning, but is rarely practical for an entire house.
Credit: www.skywalkerroofingnc.com
Maintenance Tips For Vinyl Siding After Washing
Keeping siding clean helps prevent frequent washing and extends its life.
Inspect Regularly
Check your siding every 3–6 months for:
- Dirt buildup
- Mold or mildew, especially on shaded or north-facing walls
- Damage or loose panels
Regular inspection helps you catch problems early, before they require expensive repairs.
Clean Annually
Wash siding once a year, or more often if you live in a humid area. If you live near trees or a busy road, you may need to clean more frequently due to pollen or dust.
Trim Landscaping
Keep shrubs and trees at least 12 inches away from siding. This prevents algae growth and makes washing easier. Overgrown plants trap moisture and can cause green or black stains.
Watch For Water Damage
Look for signs like swelling, discoloration, or peeling paint on trim. Early detection prevents major repairs. If you find soft spots, investigate further or call a pro.
Use Mild Cleaners For Spot Cleaning
For small stains, use a soft cloth and mild detergent. Avoid abrasive pads. For things like bird droppings or sap, gentle spot cleaning between major washes keeps your siding looking fresh.
A bonus tip: After pressure washing, check your gutters and downspouts. Clean gutters help prevent water from splashing back onto siding.
Insider Insights Most Beginners Miss
Many first-timers overlook these important details:
The Importance Of Water Temperature
Cold water is fine for most jobs. But using warm water (not hot) with your pressure washer can dissolve dirt and grease faster, especially in spring or fall. Check that your pressure washer supports warm water—some models are cold water only.
Siding Orientation And Sunlight
South-facing walls collect more algae and mildew, due to sunlight and moisture. Wash these areas more frequently. North-facing walls may stay damp and grow more mold.
Checking Local Regulations
Some neighborhoods restrict pressure washing due to runoff or noise. Check local guidelines before starting. In some areas, fines are possible for improper runoff.
Using Extension Wands Safely
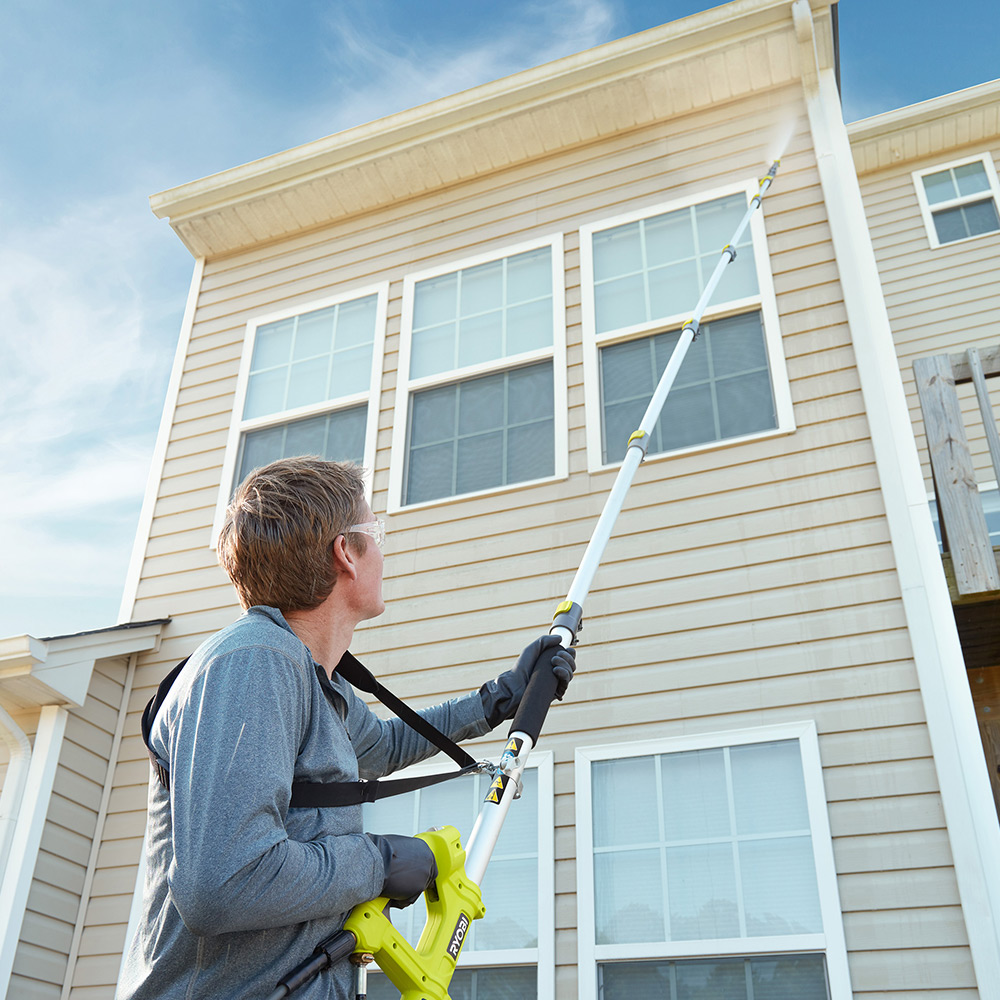
For two-story homes, extension wands help reach high areas. But they can be hard to control—always test on a low area first. Use two hands and never overreach.
Renting Vs. Buying
If you pressure wash once a year, renting is cheaper (about $40–$80/day). If you wash often, buying a quality electric model (about $150–$300) saves money in the long run.
Another overlooked detail: Always wear old clothes and closed-toe shoes. Even with careful spraying, you’ll get wet and dirty.
When To Call A Professional
Sometimes DIY isn’t the best option. Hire a pro if:
- You have very tall or hard-to-reach siding.
- There’s heavy mold or staining that won’t come off with standard cleaners.
- You’re unsure about repairs or prep.
- Your siding warranty requires professional cleaning.
Professionals use specialized equipment and know how to avoid damage. The average cost is $200–$500 for a typical home. They also have access to high-reach tools and can safely clean second or third stories.
If you ever feel unsafe on a ladder or can’t identify problem spots, don’t hesitate to get expert help.
Safety Precautions For Pressure Washing
Pressure washers are powerful tools. Safety is essential.
Wear Protective Gear
- Eye protection: Prevents splashes and flying debris
- Gloves: Protects hands from chemicals and water
- Closed-toe shoes: Prevents slips and injuries
Consider wearing long pants and hearing protection if you’re using a loud gas washer.
Watch Electrical Hazards
Don’t spray near electrical outlets, fuse boxes, or exposed wires. Water and electricity are a dangerous mix.
Keep Children And Pets Away
Work safely—pressure washers can cause injury. Never let kids or pets play near your work area.
Follow Manufacturer Instructions
Read your pressure washer’s manual. Use recommended accessories and cleaners. Misusing attachments or chemicals can result in injury or damage.
If you’re cleaning near a busy street, consider setting up cones or a sign to keep others away from overspray.
Environmental Considerations
Pressure washing can create runoff. Be mindful of:
Managing Water Runoff
Avoid letting detergent-laden water flow into drains or streets. Use biodegradable cleaners whenever possible. Consider blocking storm drains with sandbags if you’re using chemicals.
Protecting Wildlife And Landscaping
Cover ponds, birdbaths, or sensitive plants. Some cleaners harm fish and insects. Rinse plants with clean water before and after washing to dilute any overspray.
Local Regulations
Check your city or HOA rules about exterior cleaning and chemical runoff. Some areas require eco-friendly detergents or set limits on water use.
Troubleshooting Common Pressure Washing Problems
If you run into issues, here’s how to solve them.
Streaks Or Spots
- Rinse longer.
- Use a soft brush for stubborn areas.
- Check that you are not working in direct sunlight, which can cause streaks as cleaner dries too fast.
Soap Residue
- Rinse with clean water.
- Repeat if needed.
- Make sure you’re using the correct mixing ratio for your cleaner.
Water Behind Siding
- Stop immediately.
- Inspect for gaps.
- Allow panels to dry before repairs.
- Use fans or dehumidifiers indoors if you notice wet walls.
Equipment Malfunctions
- Check hose connections.
- Clean or replace nozzles.
- Consult manual for troubleshooting.
- If water pressure drops suddenly, check for kinks or clogged filters.
Comparing Pressure Washing Brands And Models
Here’s a quick look at popular pressure washer brands for vinyl siding:
| Brand | Model | PSI | GPM | Price | Warranty |
|---|---|---|---|---|---|
| Sun Joe | SPX3000 | 1,450 | 1.8 | $170 | 2 years |
| Ryobi | RY141900 | 2,000 | 1.2 | $200 | 3 years |
| Karcher | K5 Premium | 2,000 | 1.4 | $350 | 2 years |
| Generac | 6565 | 4,200 | 4.0 | $900 | 3 years |
For most homes, Sun Joe SPX3000 and Ryobi RY141900 offer the best balance of power and safety. These models are widely available, have good support, and are easy for beginners to use.
If you want more features, some models come with onboard detergent tanks, quick-connect nozzles, or even smartphone controls. Look for reviews from other homeowners with vinyl siding to see which features matter most in real use.
Frequently Asked Questions
What Is The Safest Psi For Pressure Washing Vinyl Siding?
The safest PSI range is 1,300–2,000. Start at the lower end and test a small area before increasing. Too much pressure can crack or bend vinyl.
Can I Use Bleach To Clean Vinyl Siding?
Pure bleach is not recommended. It can weaken vinyl, cause discoloration, and harm plants. Use a vinyl-safe cleaner. If needed, diluted bleach (no more than 1:10 ratio) can remove tough mildew, but rinse thoroughly.
How Often Should I Pressure Wash Vinyl Siding?
Wash siding once a year, or twice if your home is in a humid or shaded area. Regular cleaning prevents mold and extends siding life.
Should I Pressure Wash My House Myself Or Hire A Professional?
DIY is fine for one-story homes and light dirt. Hire a professional if you have tall siding, heavy stains, or warranty requirements. Professionals work faster and safer.
What Is The Best Cleaning Solution For Vinyl Siding?
Look for a house wash concentrate designed for vinyl. Brands like Simple Green or Krud Kutter are popular. Always use biodegradable, siding-safe products. Check labels and follow mixing instructions.
Pressure washing vinyl siding can transform the look of your home in just a few hours. With the right equipment, preparation, and technique, you’ll get professional results without risk. Remember to use the correct PSI, nozzle, and cleaner—and always protect your siding from water intrusion. Avoid common mistakes and follow the expert tips in this guide, and your vinyl siding will stay bright and healthy for years. For more details on vinyl siding care, visit Family Handyman. Now you’re ready to pressure wash your vinyl siding with confidence.