
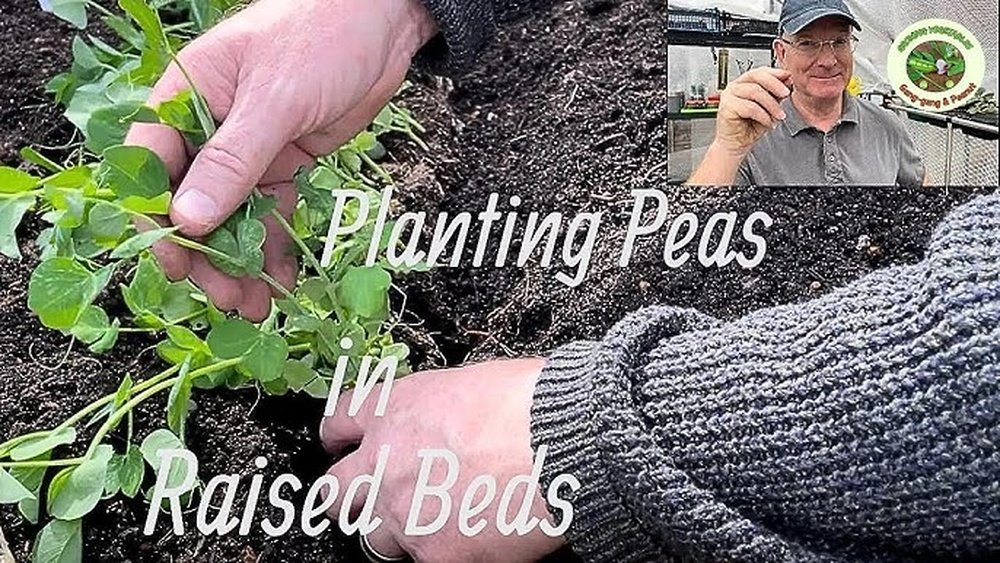
Growing your own peas in a raised bed is one of the most rewarding gardening projects, whether you’re a complete beginner or have been tending vegetables for years. Raised beds offer better control over soil, drainage, and pests, making them a smart choice for healthy, productive pea plants.
But starting out can feel overwhelming—how deep should the bed be, when do you plant, and how do you keep the plants healthy all season? This guide answers all those questions and more, with clear, practical advice and real examples from experienced gardeners.
You’ll discover how to choose the right pea varieties, prepare your raised bed for maximum growth, and avoid the most common mistakes that can ruin a crop. Along the way, you’ll find helpful tables, expert tips, and answers to questions that most first-timers forget to ask.
Whether your goal is a few fresh pods for salads or a freezer full of sweet peas, you’ll find everything you need to succeed.
Why Grow Peas In A Raised Bed?
Peas are an excellent crop for raised beds because they thrive in loose, fertile soil and benefit from better drainage. Raised beds warm up faster in spring, meaning you can plant peas earlier than in traditional ground beds. This earlier start often leads to bigger harvests and stronger plants.
Raised beds also help you avoid problems like waterlogging (which can rot pea seeds) and let you control weeds more easily. If your garden soil is heavy clay or too sandy, a raised bed lets you create the perfect mix for peas. Plus, harvesting is easier, as you don’t have to bend down as much.
Choosing The Right Pea Varieties
Not all peas are the same. There are three main types to consider:
- Shelling peas (garden peas): These are grown for the sweet peas inside the pod. The pods aren’t eaten.
- Snap peas: Both the peas and the pods are eaten. The pods are crisp and juicy.
- Snow peas: Flat pods are eaten before the peas inside fully develop.
When choosing a variety, think about taste, how you want to use the peas, and the climate in your area. Some varieties are better for cooler weather, while others are bred for resistance to diseases.
Here’s a comparison of popular pea varieties for raised beds:
| Variety Name | Type | Harvest Time (days) | Height | Notes |
|---|---|---|---|---|
| Little Marvel | Shelling | 62 | 18–24 in | Compact, sweet flavor |
| Oregon Sugar Pod II | Snow | 60 | 24–30 in | Resistant to mildew |
| Super Sugar Snap | Snap | 62 | 60–72 in | Tall, heavy yield |
| Wando | Shelling | 68 | 24–30 in | Tolerates heat |
| Dwarf Grey Sugar | Snow | 65 | 24–30 in | Decorative flowers |
Non-obvious Tips When Choosing Varieties
- Compact peas like ‘Little Marvel’ are best if your raised bed is small.
- For continuous harvest, plant early, mid, and late-season varieties together.
- If you have disease issues, look for varieties with disease resistance (marked as ‘PM’ for powdery mildew resistance, for example).

Credit: www.thepurposefulyou.com
Setting Up Your Raised Bed For Peas
A well-prepared raised bed is the foundation for a healthy pea crop. Peas have shallow roots, so a deep bed isn’t necessary, but good drainage and soil quality are essential.
Ideal Raised Bed Size And Depth
- Width: 3–4 feet. This allows you to reach the middle from either side.
- Length: Any length, but 6–8 feet is easy to manage.
- Depth: 8–12 inches is perfect for peas.
Raised beds can be made from wood, stone, or recycled materials. Cedar or redwood lasts longer and resists rot, but untreated pine is also common.
Location And Sunlight
Peas need at least 6–8 hours of sunlight daily. Choose a spot that gets sun in the morning and early afternoon. Avoid planting near tall plants that might cast shade.
Soil Preparation
Peas prefer a loamy, well-draining soil with plenty of organic matter. The ideal soil pH is 6.0–7.5. Before planting, mix in:
- 2–3 inches of compost or well-rotted manure
- A balanced organic fertilizer (such as 5-5-5 NPK) if your soil is poor
- Some garden lime if your soil is very acidic
Remove any weeds or old roots from last season. Fluff the soil with a garden fork to at least 8 inches deep. This helps pea roots grow easily.
Building A Simple Raised Bed
If you don’t have a raised bed yet, here’s a quick guide:
- Mark out a rectangle 3–4 feet wide and your desired length.
- Dig out grass or weeds in the area.
- Lay your bed frame (wood boards or stone) in place.
- Fill with a mix of garden soil and compost.
- Level the surface and water well before planting.
When And How To Plant Peas
Timing is critical with peas. They like cool weather and can be sown as soon as the soil is workable—often 4–6 weeks before your last spring frost. In warmer areas, you can also plant a fall crop in late summer.
Planting Time Guide
| Region | Spring Planting Window | Fall Planting Window |
|---|---|---|
| Northern US | Late March – Early May | Late July – Early August |
| Southern US | Late January – Mid March | September – October |
| Pacific Northwest | February – April | August – September |
Sowing Seeds: Step-by-step
- Soak seeds for 6–8 hours in water before planting. This speeds up sprouting.
- Make shallow trenches in the soil, 1–2 inches deep and 18–24 inches apart.
- Drop seeds 1–2 inches apart in the trench.
- Cover with soil and press gently.
- Water the bed well after sowing.
Non-obvious Planting Tips
- Don’t plant pea seeds in wet, cold soil—they may rot. Wait until the soil feels crumbly, not sticky.
- For longer harvests, succession plant: Sow new rows every 2 weeks until weather gets warm.
- If birds are a problem, cover the bed with row cover fabric until seedlings are 4 inches tall.
Should You Start Peas Indoors?
Usually, direct sowing is best for peas—transplanting can disturb their roots. However, in very cold climates, you can start peas in biodegradable pots and move them outside as soon as the soil thaws.
Credit: www.azurefarmlife.com
Supporting Pea Plants
Most peas need something to climb. Even “bush” types benefit from support, which keeps pods clean and reduces disease.
Types Of Supports
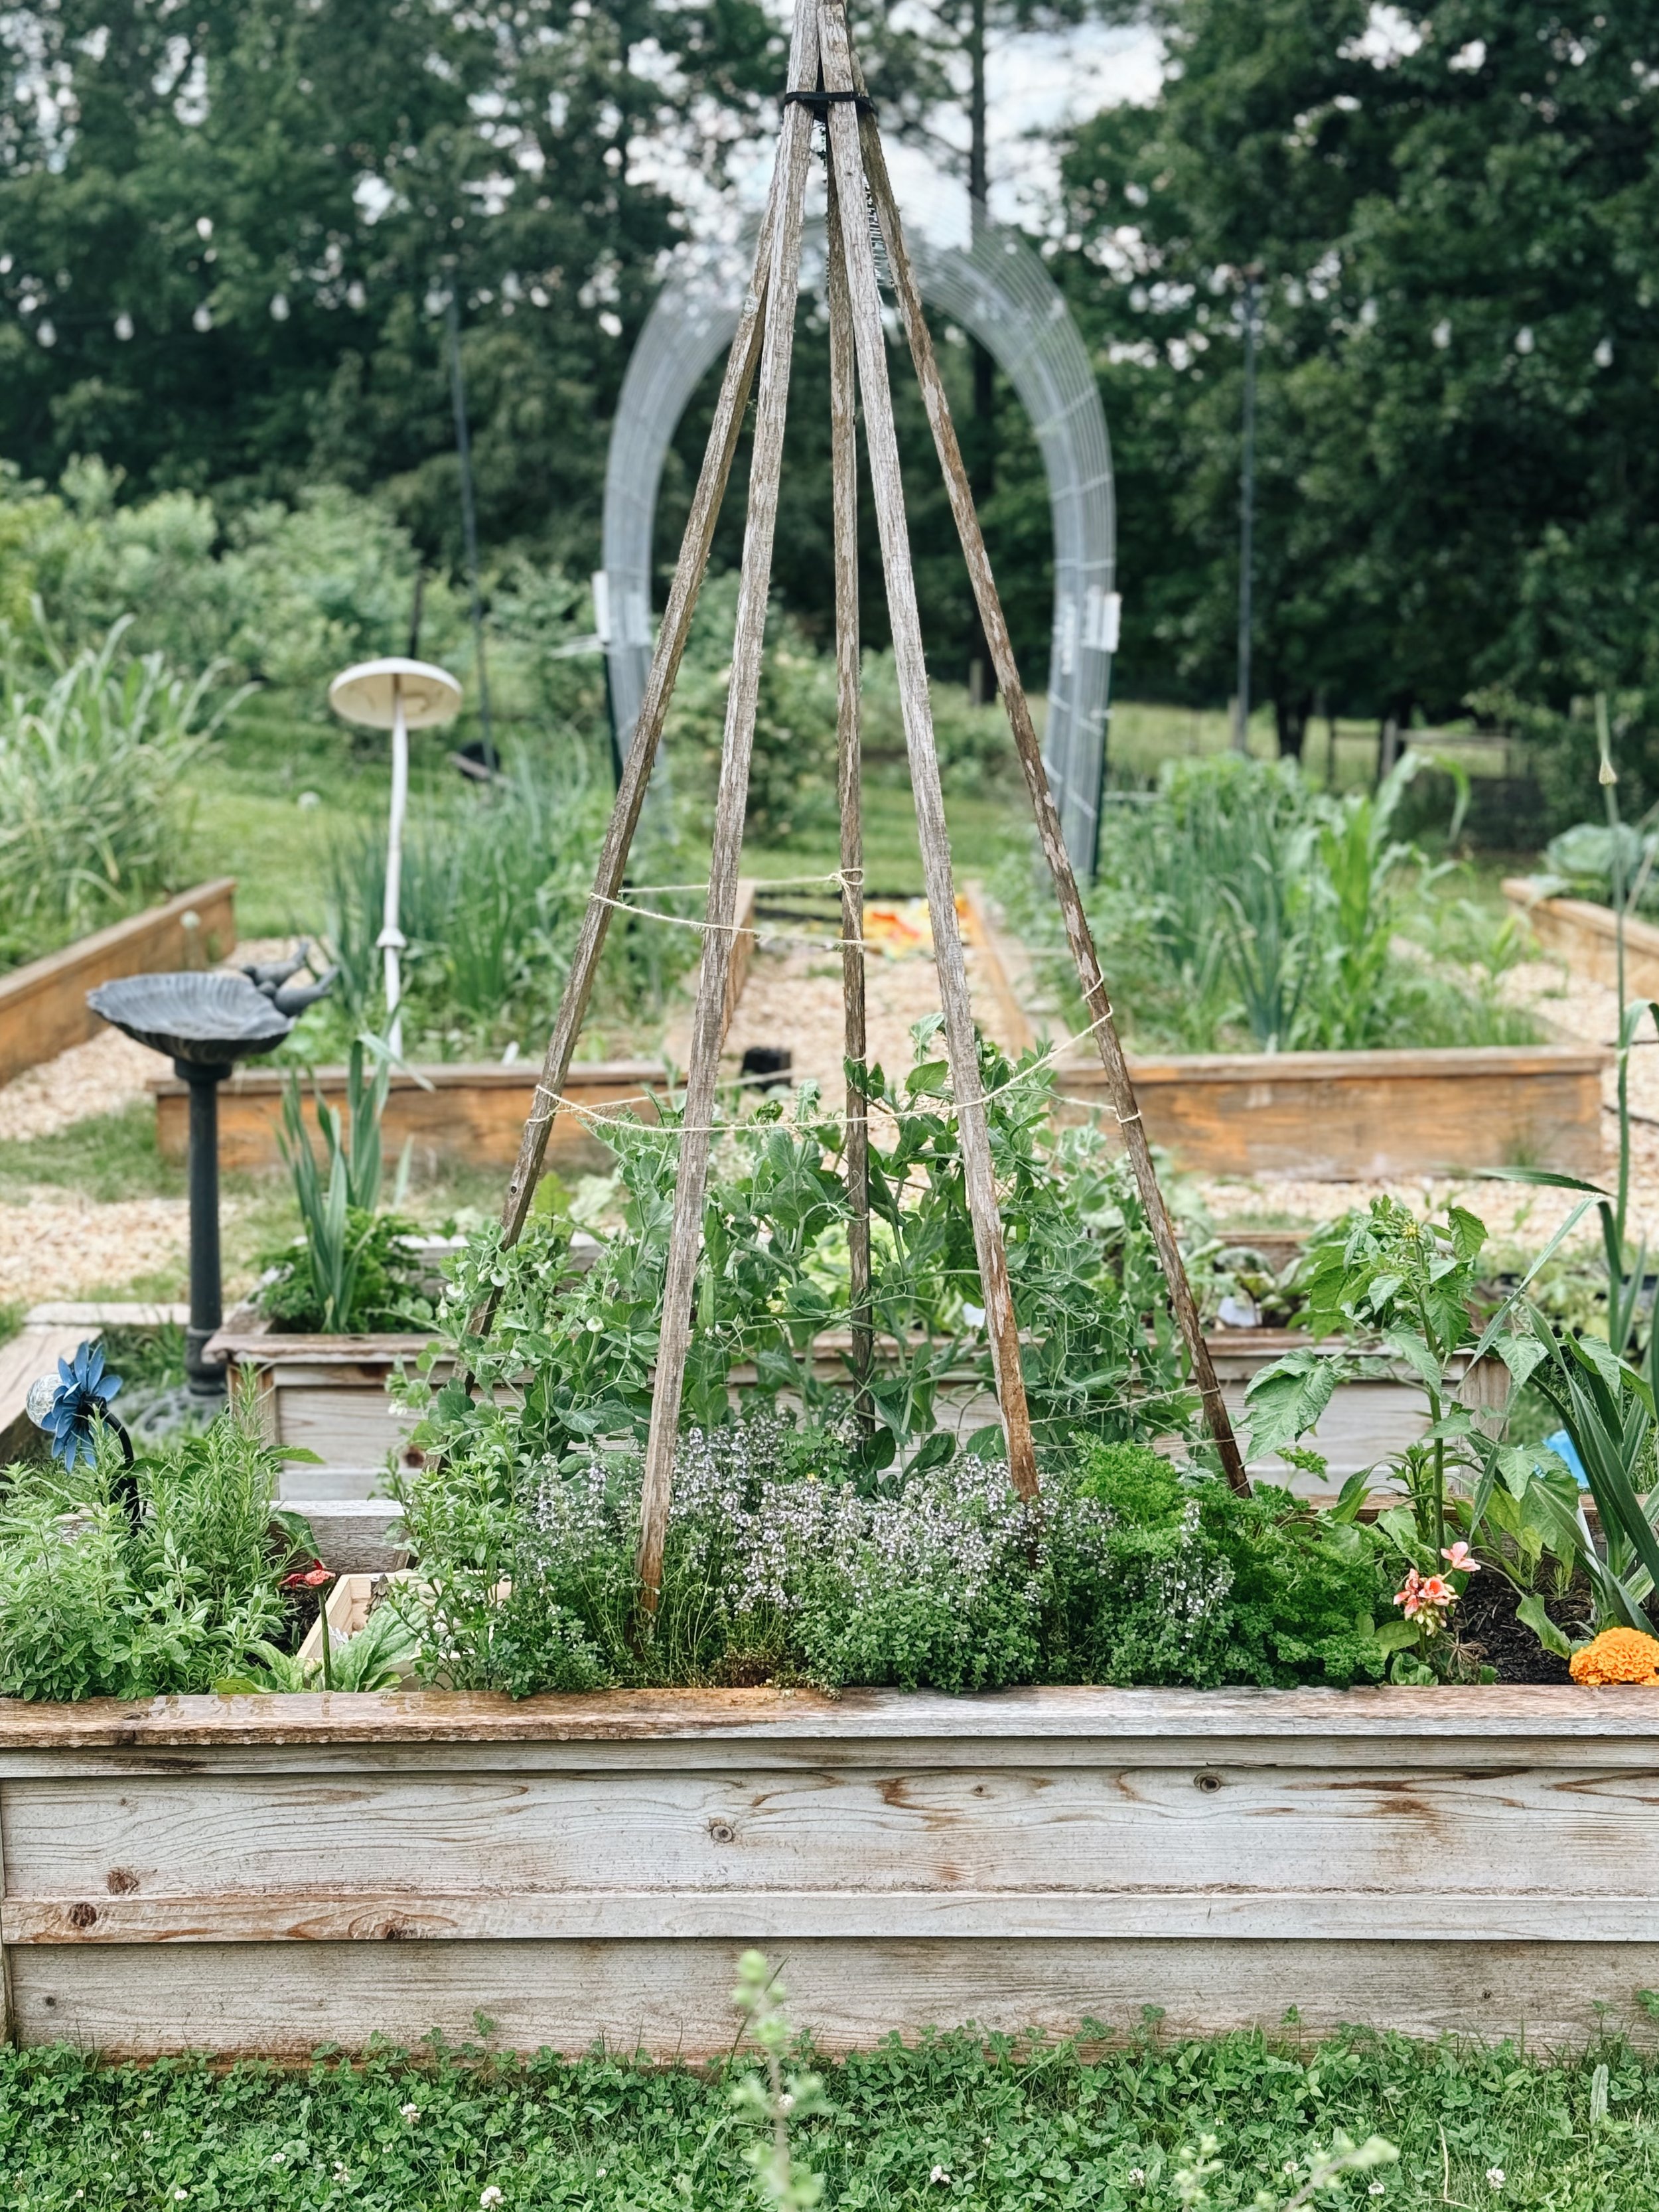
- Trellis: A-frame or vertical mesh works well for tall varieties.
- Bamboo teepees: Easy for small spaces and looks attractive.
- Wire fencing: Place 4–6 inches behind the row, and peas will grab on as they grow.
- String or netting: Stretch string between stakes for a simple, low-cost support.
Set up supports before planting or right after, so you don’t disturb roots later.
Pro Tip
For quick supports, push in pruned branches or twigs (called pea sticks). Pea vines naturally cling to them.
Watering And Fertilizing Peas
Peas aren’t heavy feeders, but they do need consistent moisture—especially when flowering and forming pods.
How Much To Water
- Aim for 1 inch of water per week from rain or irrigation.
- Water deeply when the top inch of soil feels dry.
- Avoid wetting the leaves if possible; water at the base to reduce disease.
Mulching with straw or shredded leaves helps keep moisture in and suppresses weeds.
Fertilizer Needs
Peas are legumes, which means they make some of their own nitrogen with the help of soil bacteria. Too much nitrogen fertilizer can actually reduce yields and make plants grow too many leaves.
- At planting, mix in a small amount of balanced fertilizer (not high in nitrogen).
- Once plants start flowering, a side-dressing of compost can boost pod production.
- If your soil is very poor, use a fertilizer labeled for vegetables, but avoid those with a high first number (like 10-5-5).
Inoculating Pea Seeds
For maximum growth, coat your pea seeds with Rhizobium inoculant before planting. This powder contains bacteria that help roots fix nitrogen from the air. It’s especially useful if you haven’t grown peas or beans in that spot before.
Managing Pests And Diseases
Peas are generally easy to grow, but a few pests and diseases can cause trouble. Raised beds reduce many problems, but it’s smart to watch for issues early.
Common Pests
- Aphids: Tiny green bugs that suck sap from young shoots.
- Pea weevils: Small beetles that chew leaves and pods.
- Birds: May pull up seedlings or eat seeds.
Hand-pick pests or spray with a mild soap solution for aphids. Use row covers or netting to keep birds away.
Common Diseases
- Powdery mildew: White, powdery spots on leaves.
- Root rot: Plants wilt and die suddenly, often from waterlogged soil.
- Fusarium wilt: Yellowing and wilting of lower leaves.
To avoid these, rotate crops each year, keep beds weed-free, and avoid overhead watering. If you see a disease, remove and destroy affected plants.
Disease-resistant Varieties
Some varieties are bred to resist mildew and wilt. Check seed packets for codes like PM (powdery mildew), FW (Fusarium wilt), or RR (root rot).
Non-obvious Prevention
- Never compost diseased pea plants—burn or trash them instead.
- Mulch not only conserves water but also prevents soil splash, which spreads disease.
Caring For Pea Plants Through The Season
Peas grow quickly in cool weather and need minimal care if you start with good soil. Here’s what to watch for as they grow:
Thinning Seedlings
Once seedlings are 2–4 inches tall, thin them to 2–3 inches apart. This gives each plant room and improves air flow, reducing disease risk.
Mulching
Add a 2-inch layer of mulch around pea plants to keep roots cool and moist. Straw, shredded leaves, or grass clippings work well (avoid treated grass).
Weeding
Keep the bed weed-free, especially early in the season. Peas don’t compete well with weeds, which can steal water and nutrients.
Training Vines
Gently guide vines onto their supports as they grow. Peas climb by wrapping tendrils around anything nearby—helping them early prevents tangled, messy growth.
Monitoring For Problems
Check for signs of pests, yellowing, or wilting every few days. Early action saves your crop.
Harvesting Peas For Best Flavor
Knowing when and how to pick peas is key to getting sweet, tender pods.
When To Harvest
- Shelling peas: Pick when pods are plump and bright green, but before they begin to yellow or pods toughen.
- Snap peas: Harvest when pods are full but before peas inside get too large.
- Snow peas: Pick when pods are flat and before peas start to swell.
Pick in the cool of the morning for the best flavor.
How To Harvest
Hold the vine with one hand and pull pods off gently with the other to avoid damaging the plant. Check every other day—peas mature quickly, and picking often encourages more pods.
Storing Fresh Peas
Peas taste best within a few hours of picking. If you can’t eat them right away:
- Store in the refrigerator in a perforated bag for up to 5 days.
- For longer storage, blanch and freeze peas soon after harvest.
Pea Planting Troubleshooting Guide
Even with the best care, things sometimes go wrong. Here’s a quick reference for common problems and solutions:
| Problem | Possible Cause | Solution |
|---|---|---|
| Seeds don’t sprout | Soil too cold/wet; old seeds | Wait for warmer soil; use fresh seeds |
| Yellow leaves | Overwatering; poor drainage | Improve drainage; water less |
| Spindly growth | Too much shade; excess nitrogen | Move to sunnier spot; reduce fertilizer |
| No pods form | High temperatures; lack of pollination | Plant earlier; attract pollinators |
| Pods are tough | Picked too late | Harvest earlier next time |
Maximizing Your Pea Harvest
If you want a bigger and better harvest, here’s how experienced gardeners get more from their raised beds:
- Succession planting: Stagger plantings every 2–3 weeks for a longer harvest season.
- Interplanting: Grow fast crops like lettuce or radishes between pea rows. They finish before peas need space.
- Pinch off tips: When peas reach the top of their support, pinch off growing tips to encourage more pods down below.
- Keep picking: Frequent harvesting signals the plant to produce more pods.
- Replenish soil: After peas finish, add compost and rotate crops to keep soil healthy.
Saving Pea Seeds For Next Year
If you grow open-pollinated or heirloom peas, you can save seeds for next season:
- Let some pods stay on the plant until they turn brown and dry.
- Pick pods, remove seeds, and spread them on a tray to dry further.
- Store in an airtight container in a cool, dry place.
Label your seeds with the variety and date. Saved seeds can last 2–3 years if kept dry.
Credit: www.thetatteredpew.com
Common Mistakes When Growing Peas In Raised Beds
Even experienced gardeners can slip up. Avoid these pitfalls:
- Planting too late: Peas hate heat. Plant as early as possible for your region.
- Skipping support: Even bush peas benefit from a simple support to keep pods off the soil.
- Over-fertilizing: Too much nitrogen means lots of leaves, few pods.
- Infrequent harvesting: Letting pods mature too long stops the plant from making more.
- Poor drainage: Raised beds solve this, but always check your soil texture.
Using Peas In The Kitchen
Peas are not just for eating fresh off the vine. Here are a few ideas for using your harvest:
- Add snap peas to salads for crunch.
- Stir-fry snow peas with garlic and sesame oil.
- Make a classic pea soup with shelling peas and mint.
- Freeze surplus peas for winter stews and casseroles.
Freshly picked peas are much sweeter than store-bought—try tasting them raw to appreciate the difference.
Sustainable Benefits Of Growing Peas
Growing peas in a raised bed does more than feed you. Peas enrich your garden:
- Fix nitrogen: Pea roots add nitrogen to the soil, helping future crops grow better.
- Attract pollinators: Pea flowers bring bees and other pollinators to your garden.
- Low water use: Peas grow well with modest water, especially in spring and fall.
After harvest, cut pea vines at the soil line and leave roots in the bed—the decomposing roots keep adding nutrients to your soil.
Real-world Example: A Season Of Peas In A Small Raised Bed
Let’s look at a typical season in a 4×8-foot raised bed:
- Early March: Prepare the bed with compost, lime, and a trellis. Plant ‘Oregon Sugar Pod II’ and ‘Little Marvel’ seeds.
- Late March: Seedlings appear. Thin to 2–3 inches apart.
- Mid-April: Add straw mulch. Guide vines up the trellis.
- Early May: Start harvesting snow peas for stir-fries.
- Late May: Shelling peas are ready. Harvest every two days.
- Early June: Bed is cleared. Add compost and plant summer crops like beans.
This simple rotation keeps the bed productive, the soil healthy, and your kitchen full of fresh produce.
Frequently Asked Questions
How Deep Should The Soil Be In A Raised Bed For Peas?
8–12 inches is enough for peas, as their roots are shallow. Make sure the bed drains well and is filled with loose, fertile soil.
Can I Grow Peas In A Raised Bed Over The Winter?
In most climates, peas won’t survive winter. However, in mild areas (like the Pacific Northwest or coastal California), you can plant overwintering varieties in fall for an early spring harvest. Protect with row covers if cold snaps threaten.
Why Aren’t My Pea Seeds Sprouting?
The most common reason is cold, wet soil—pea seeds may rot instead of sprouting. Wait until soil is crumbly and above 40°F (4°C). Old seeds also have lower germination rates; use fresh seed each year.
Should I Add Fertilizer To My Raised Bed For Peas?
A little balanced fertilizer or compost at planting is good, but don’t overdo nitrogen. Peas make their own nitrogen with help from soil bacteria. Too much fertilizer can lead to leafy plants with few pods.
How Can I Prevent Birds From Eating My Pea Seeds Or Seedlings?
Cover newly planted rows with row cover fabric or bird netting. Remove covers once seedlings are 4 inches tall and less tempting to birds.
Growing peas in a raised bed is simple, productive, and can fit any garden size. With the right variety, good soil, and a little care, you’ll enjoy sweet, crisp pods straight from your own backyard. For further details on pea cultivation and organic gardening, you can explore the University of Minnesota Extension.
With each season, you’ll learn new tricks and enjoy better harvests. Start small, experiment, and soon you’ll have a raised bed full of fresh peas—one of the best tastes in any garden.