
Replacing a lawn mower pull cord guide might sound like a technical job, but with the right steps, anyone can do it. Many homeowners face a common problem: the pull cord on their mower gets stuck, frayed, or refuses to retract. In most cases, the actual cord isn’t the only issue—it’s the pull cord guide, a small but important part that directs the cord and keeps it moving smoothly. Ignoring a damaged guide can lead to more cord problems, repeated frustration, and even damage to the starter system. Tackling this repair yourself not only saves money but also teaches you more about your machine.
Below, you’ll discover everything you need to know to replace a lawn mower pull cord guide. This guide covers tools you need, safety tips, step-by-step instructions, and helpful insights that even seasoned DIYers sometimes overlook. Whether you’re a first-timer or have some experience, you’ll learn how to do the job confidently and avoid common mistakes.
Understanding The Pull Cord Guide
Before starting, it’s important to know what the pull cord guide does. The guide is usually a small plastic or metal tube attached to the mower’s engine housing. Its main job is to direct the pull cord out from the starter assembly, keeping the cord from rubbing against sharp edges and preventing tangles. Over time, the guide can crack, break, or wear out, especially if the mower is stored outdoors or used frequently.
A broken or missing guide can cause the pull cord to fray or jam. Sometimes, beginners only replace the cord, not realizing the guide is causing repeated failures. Replacing the guide ensures smoother, longer-lasting operation.
Tools And Materials Needed
Gathering the right tools makes the job faster and safer. Here are the essentials:
- Replacement pull cord guide (buy one specific to your mower’s brand/model)
- Screwdrivers (Philips and flat-head)
- Socket set or wrench
- Pliers
- Utility knife (in case you need to cut the cord)
- Work gloves
- Safety glasses
- Cleaning brush or rag
If your mower’s manual is available, keep it nearby for reference. Most guides cost between $3 and $15, depending on quality and material.
Example Of Typical Tool Requirements
| Tool | Purpose | Alternative |
|---|---|---|
| Screwdriver | Remove engine cover | Multi-bit driver |
| Socket Wrench | Detach starter assembly | Adjustable wrench |
| Pliers | Hold spring, cord | Vice grips |
Safety First: Preparing Your Workspace
Never start repairs on a mower without basic precautions. First, disconnect the spark plug wire to prevent accidental starts. Place the mower on a flat, stable surface, ideally outdoors or in a well-ventilated garage. Wear gloves and safety glasses—metal edges and springs can cause injury. Allow the engine to cool before touching any parts.
Many beginners skip these steps, risking injury or damaging components. Spending a few extra minutes to prepare can prevent a ruined day or worse.
Step-by-step: Removing The Old Pull Cord Guide
1. Disconnect The Spark Plug
Carefully pull the spark plug wire away from the plug. This stops the mower from starting accidentally while you work.
2. Remove The Engine Cover
Most lawn mowers have a plastic or metal cover held by screws or bolts. Use the correct screwdriver or socket to remove these and gently lift off the cover.
3. Locate The Pull Cord Guide
You’ll find the guide at the point where the pull cord exits the starter assembly. Sometimes it’s obvious; other times, it’s tucked under a shroud.
4. Assess Attachment Method
The guide may be held by a nut, bolt, clip, or pressed into place. Identify how yours is secured before proceeding.
- Remove the Guide
- If bolted: Use a socket or wrench to remove the fastener.
- If clipped: Use pliers to gently open the clip and slide the guide out.
- If pressed: Wiggle it free with your fingers or pliers, being careful not to damage surrounding plastic.
- Inspect the Area
Before installing the new guide, check for any debris, rust, or damage in the area. Clean with a brush or rag.
Typical Guide Attachment Methods
| Attachment Type | Removal Tool Needed | Common Brands |
|---|---|---|
| Bolt | Socket or wrench | Honda, Toro |
| Clip | Pliers | Briggs & Stratton |
| Pressed | Pliers or fingers | Craftsman, Husqvarna |
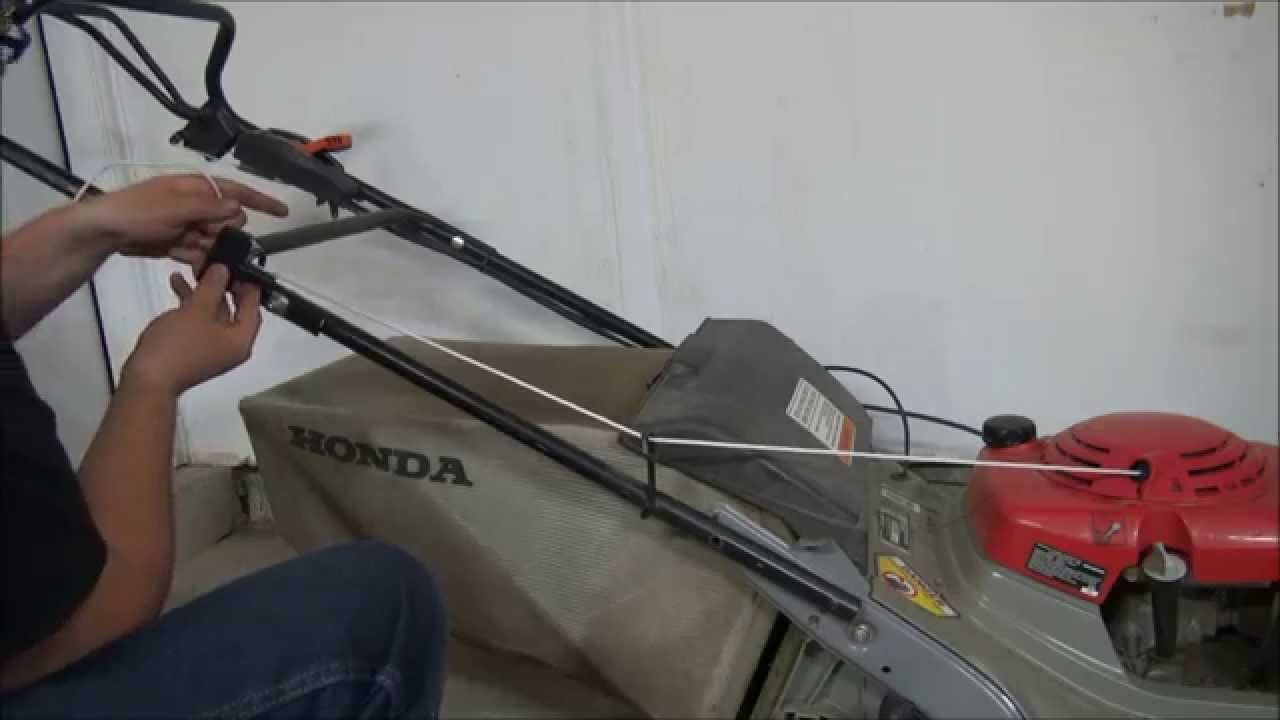
Credit: www.youtube.com
Installing The New Pull Cord Guide
1. Match The New Guide
Confirm that the new guide is the same size and style as the old one. Even a slightly different angle or length can cause cord friction or binding.
- Install the Guide
- If using bolts or nuts, align the guide and tighten securely without overtightening (which can crack plastic or strip threads).
- If using a clip, make sure the guide is seated and the clip is fully locked.
- For press-fit guides, push them in firmly until they snap or seat properly.
- Test for Smooth Movement
Pull the starter cord a few times by hand to ensure it moves freely through the new guide. It should not rub, catch, or bind at any point.
4. Reinstall The Engine Cover
Line up the cover and replace all screws or bolts. Don’t force any fasteners; cross-threading can damage the housing.
5. Reconnect Spark Plug Wire
After you’re sure everything is secure, reconnect the spark plug wire.
Example: Pull Cord Guide Installation On A Briggs & Stratton Mower
Suppose you have a Briggs & Stratton engine. After removing the cover, you notice the guide is held by a simple metal clip. Use pliers to remove the old guide and slide in the new one. Make sure the pull cord sits snugly in the groove. Test movement before reassembling.
Common Mistakes And How To Avoid Them
Even careful DIYers sometimes make errors that lead to more problems. Here are a few to watch for:
1. Forgetting To Disconnect The Spark Plug
This is the most dangerous mistake. Always disconnect before starting any work.
2. Using The Wrong Guide
Guides come in different sizes and shapes. Using the wrong one leads to continued cord issues. Bring the old part to the store or check your mower’s manual.
3. Overtightening Bolts
Too much force can crack plastic guides or strip threads. Tighten just enough for a secure fit.
4. Not Cleaning The Area
Dirt or debris left around the guide can make the new part fail early. Take time to clean thoroughly.
5. Ignoring Signs Of Deeper Damage
If you see cracked housing or a damaged starter assembly, address these issues first. A new guide alone won’t fix a bigger problem.
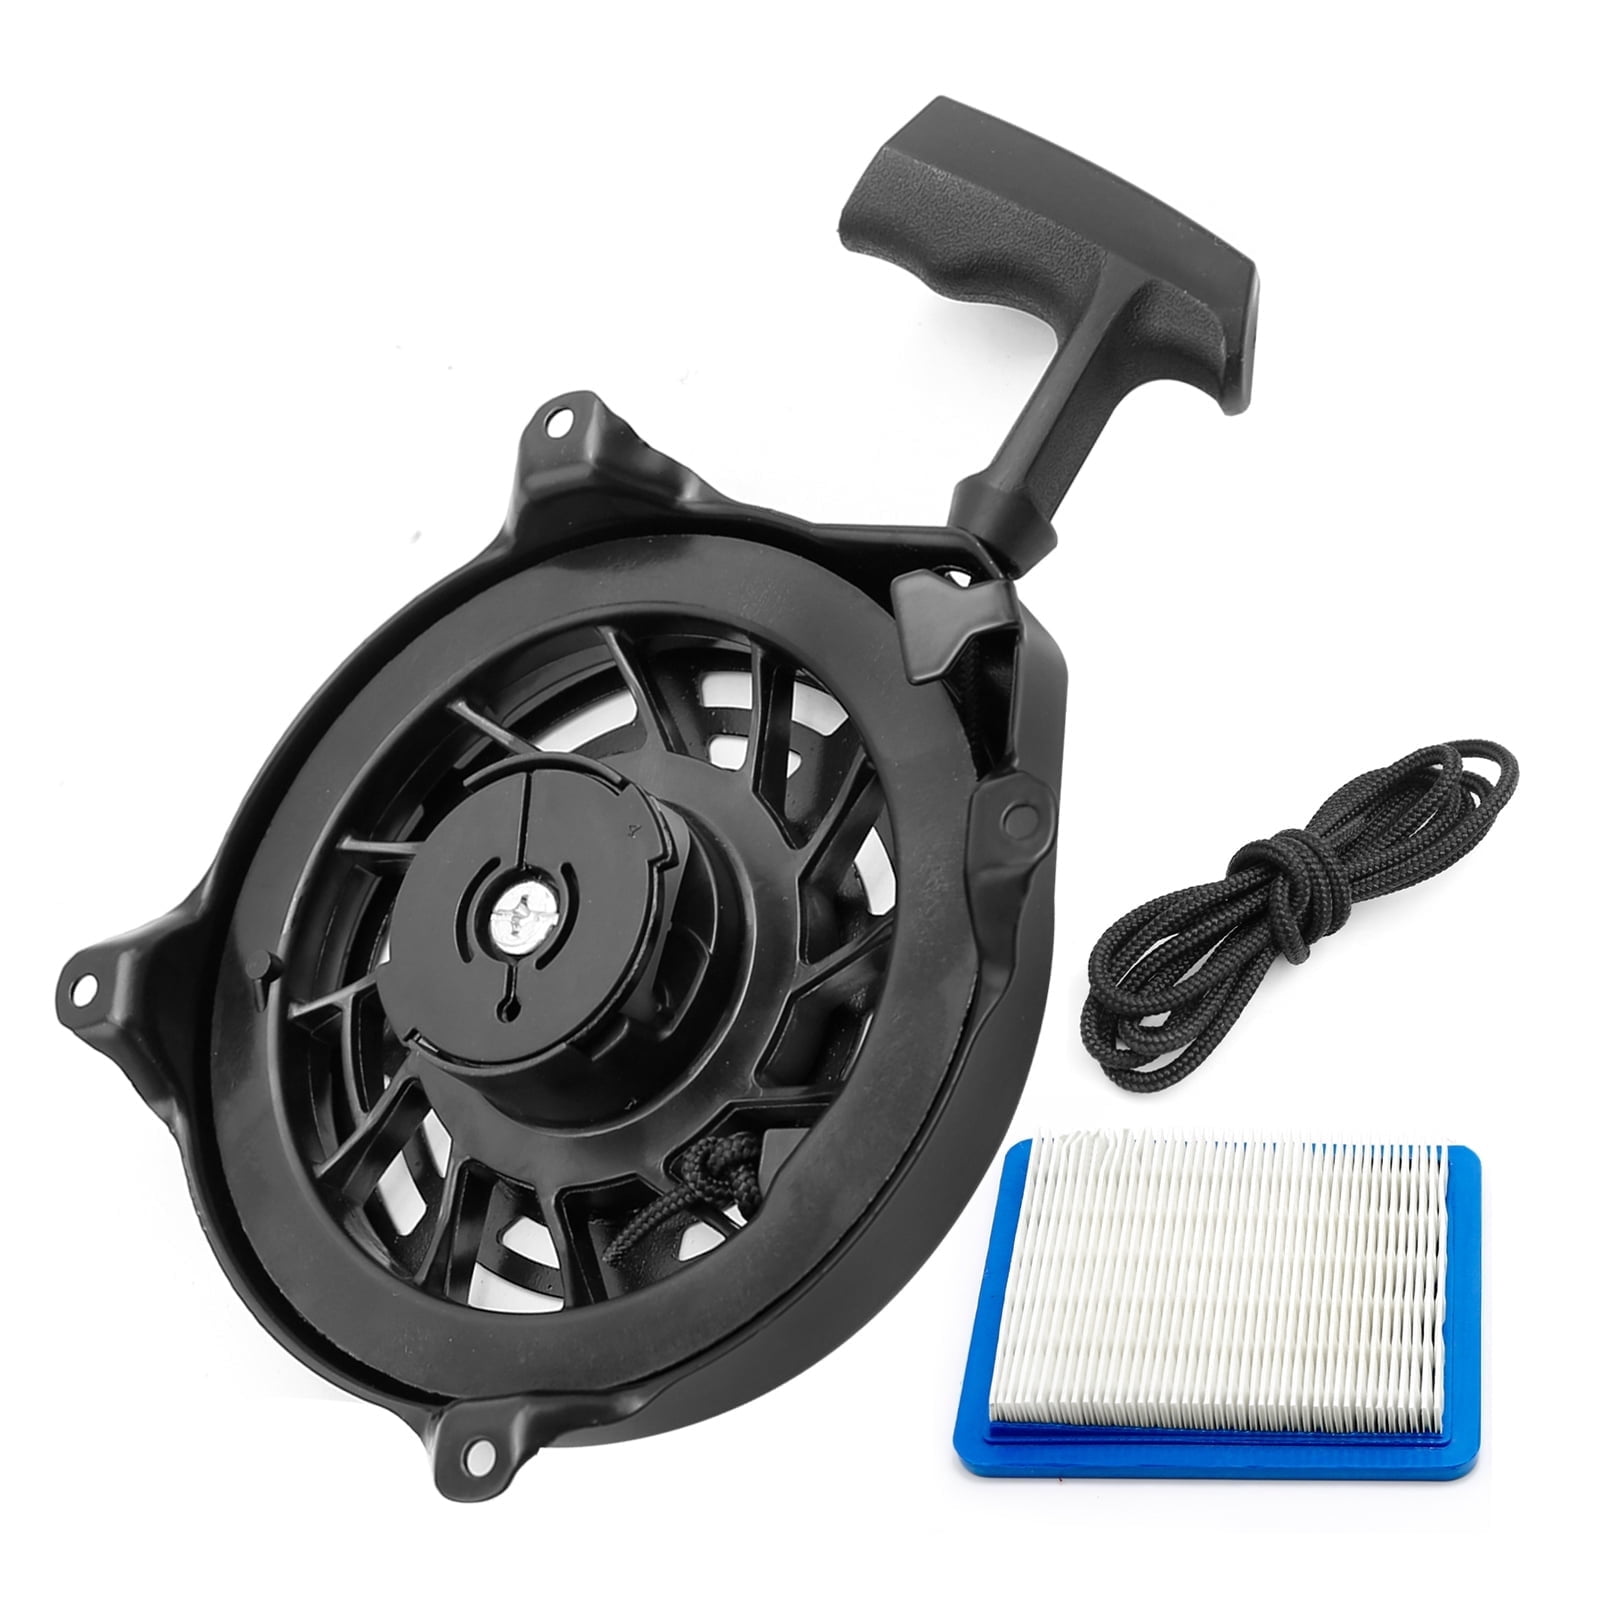
Credit: nanosens.pl
Pro Tips For A Long-lasting Repair
- Lubricate the guide: Before pulling the cord through, spray a small amount of silicone lubricant inside the guide. This reduces friction and wear.
- Check the cord: If the pull cord looks frayed or stiff, replace it at the same time. This prevents future breakdowns.
- Store your mower indoors: Sun and moisture can make guides brittle and shorten their life.
- Inspect annually: Each season, check the guide for cracks or wear. Replacing early is easier and saves time.
Pull Cord Guide Materials Compared
Choosing the right material can make a difference in how long your repair lasts.
| Material | Durability | Cost | Best For |
|---|---|---|---|
| Plastic | Moderate | Low | Light-duty mowers |
| Metal | High | Moderate-High | Heavy-duty or commercial use |
| Nylon composite | High | Moderate | All climates, frequent use |
When To Seek Professional Help
Most people can replace a pull cord guide at home. However, some situations call for expert help:
- The starter assembly is damaged or won’t retract.
- The engine housing is cracked or bent.
- You can’t find a matching replacement part.
- The cord jams repeatedly, even with a new guide.
Professional repair shops have specialized tools for tricky repairs and can source hard-to-find parts. Don’t risk damaging your mower further if you’re unsure.
Where To Find Replacement Parts
You can find pull cord guides at hardware stores, small engine shops, or online. Always check your mower’s model number before buying. Popular brands like Briggs & Stratton, Honda, and Toro have detailed parts diagrams on their websites.
For reliable parts, consider visiting the official manufacturer’s website or a trusted supplier like eReplacementParts. These sources help you match the exact part to your mower.
Frequently Asked Questions
How Do I Know If My Pull Cord Guide Is Broken?
A broken guide often causes the cord to fray, stick, or pull unevenly. If you notice the cord scraping against metal or plastic as you pull, check the guide for cracks or missing pieces.
Can I Use My Mower Without A Pull Cord Guide?
Technically, yes, but it’s not a good idea. The cord can wear out quickly, get stuck, or damage the starter assembly. Always replace a missing or broken guide as soon as possible.
How Long Does It Take To Replace A Pull Cord Guide?
For most people, the process takes 20–40 minutes. If it’s your first time, allow extra time to work carefully.
Is It Safe To Use Lubricant On The Pull Cord Guide?
Yes, a small amount of silicone spray or light oil helps the cord glide smoothly and prevents wear. Avoid using heavy grease, which can attract dirt.
Where Can I Buy The Right Pull Cord Guide For My Mower?
Check your mower’s manual for the part number, then buy from a local hardware store, an engine repair shop, or a reliable online source like eReplacementParts.
Taking the time to replace your lawn mower’s pull cord guide not only fixes an annoying problem, but it also extends the life of your machine. With the right steps and a little patience, you can handle this repair confidently.
Remember, regular inspections and quick fixes prevent bigger problems later. If you ever feel unsure, don’t hesitate to get help from a professional—your mower will thank you for it.

Credit: nanosens.pl