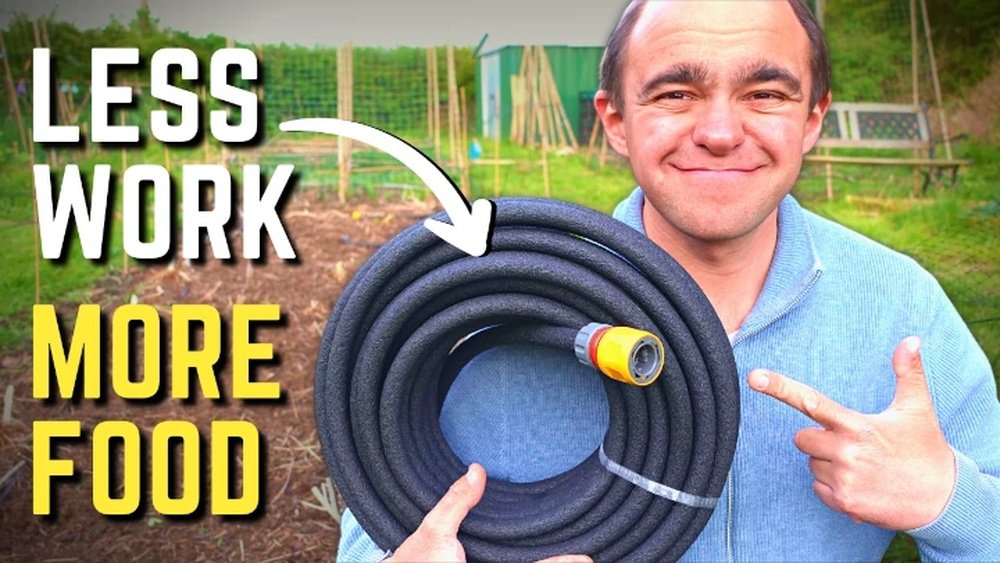
If you want healthier vegetables with less work and water waste, setting up a soaker hose in your garden is a game-changer. Imagine delivering water directly to the roots, keeping your plants thriving without constant watering or runoff.
You might think it’s complicated, but it’s actually simple—and this guide will walk you through each step. By the end, you’ll know exactly how to set up a soaker hose that saves time, conserves water, and helps your vegetable garden flourish.
Ready to make your gardening easier and more productive? Let’s dive in!
Benefits Of Soaker Hoses
Soaker hoses offer many advantages for vegetable gardens. They provide a simple way to water plants deeply and evenly. Using soaker hoses helps save water and promotes stronger plant growth. These hoses deliver water directly to the soil, reducing waste and evaporation. They also make garden care easier, especially for busy gardeners.
Water Efficiency
Soaker hoses release water slowly along their length. This method targets the plant roots without wetting leaves. It reduces water runoff and evaporation. Less water is needed compared to sprinklers or hand watering. This efficiency helps conserve water and lowers your water bill. It also supports sustainable gardening practices.
Healthier Plants
Watering with soaker hoses keeps soil moist and consistent. Plants absorb water better at the roots. Wet leaves are less common, which lowers disease risks. This method encourages deep root growth for stronger plants. Healthy roots help plants resist drought and pests. Your vegetables will grow more robust and produce more fruit.
Ease Of Use
Soaker hoses are easy to install and operate. Lay the hose along your garden rows or around plants. Connect to a water source and turn it on. Water seeps out slowly without constant attention. You can cover hoses with mulch to hide them and keep moisture in. This setup saves time and reduces daily watering chores.
Credit: homegardenjoy.com
Choosing The Right Hose
Choosing the right soaker hose is key to watering your vegetable garden well. The correct hose ensures water reaches all plants evenly. It saves water and helps plants grow strong. Pick a hose that fits your garden’s size and shape. Consider the material, length, and how it matches your garden layout. These factors affect performance and ease of use.
Material Options
Soaker hoses come in different materials like rubber and vinyl. Rubber hoses last longer and resist cracking. They handle heat and pressure better. Vinyl hoses are lighter and cheaper but can wear out fast. Choose rubber for durability and vinyl for budget-friendly needs. Also, check if the hose is mildew-resistant for wet conditions.
Length And Diameter
Length depends on your garden size. Measure rows and beds before buying. Too short means you need many hoses or connectors. Too long may reduce water pressure. Diameter affects flow rate. Common sizes are ½ inch and ¾ inch. Larger diameter delivers more water but uses more pressure. Match diameter to your water source strength.
Compatibility With Garden Layout
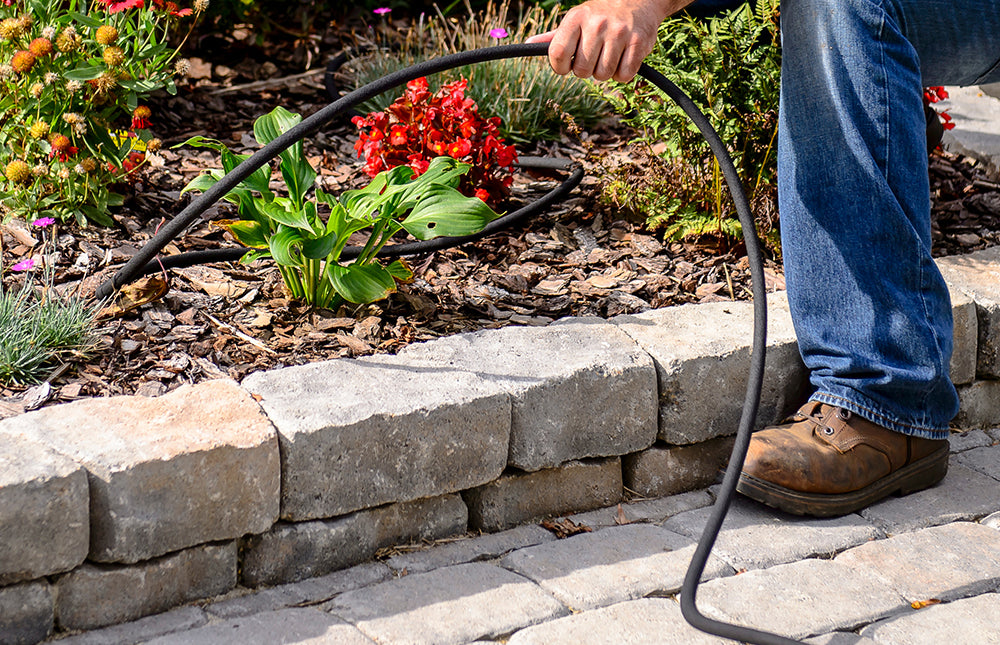
Your garden layout guides hose shape and placement. Narrow beds need thin, flexible hoses that fit tight spaces. For wide or irregular beds, choose hoses that bend easily. Plan hose runs to cover all plants without overlap. Avoid sharp bends that block water flow. Also, consider how you will secure hoses to soil or mulch.
Planning Hose Layout
Planning the layout of your soaker hose is key for effective watering. A well-planned design saves water and keeps plants healthy. This step involves choosing the right hose arrangement, spacing, and avoiding obstacles in your garden beds.
Single Vs Multiple Lines
Choose between one long hose or several shorter lines. A single line works well for narrow beds or rows. Multiple lines suit larger gardens with many vegetable types. They help reach every plant without overwatering some areas. Consider water pressure and hose length for best results.
Spacing For Different Vegetables
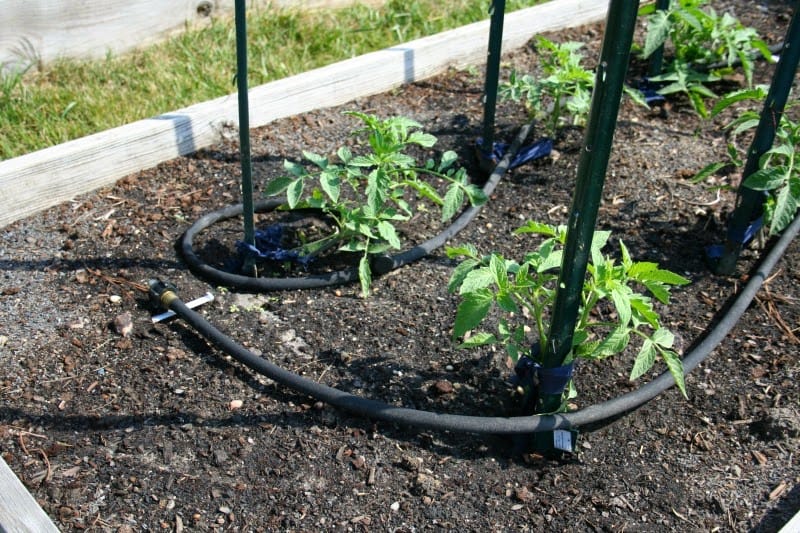
Space your hoses based on the needs of each vegetable. Root crops like carrots need less water, so place hoses farther apart. Leafy greens need more moisture, so keep hoses closer. Tomatoes and peppers benefit from looping the hose around their base. Proper spacing ensures even water absorption.
Avoiding Obstacles
Plan your hose path to avoid rocks, roots, and garden tools. These can block water flow or damage the hose. Keep hoses on top of soil, under mulch, not buried. This allows water to seep out easily. Clear the area before laying hoses for smooth installation.
Preparing The Garden Bed
Preparing the garden bed is the first step to a successful soaker hose setup. A well-prepared bed helps water reach plant roots efficiently. It also prevents water waste and promotes healthy plant growth. Take time to clear the area, level the soil, and add mulch. These tasks create the perfect base for your soaker hose system.
Clearing Debris
Remove sticks, rocks, and old plant material from the garden bed. Debris blocks water flow and can damage the hose. Clear the soil surface to allow even water distribution. This step also reduces places for pests to hide. A clean bed makes hose installation easier and more effective.
Leveling Soil
Use a rake to smooth the soil surface. Level soil ensures water spreads evenly through the hose. Uneven ground causes water to pool or run off. Flattening the bed helps roots absorb moisture uniformly. Take care to break up large clumps and fill holes.
Adding Mulch
Spread a layer of mulch over the soil once the hose is in place. Mulch keeps soil moist by reducing evaporation. It also protects the hose from direct sunlight. Organic mulch enriches soil as it breaks down. Keep mulch about two inches thick for best results.
Installing The Soaker Hose
Installing the soaker hose correctly ensures your vegetable garden gets water where it needs. This section covers the steps to connect, place, and secure the hose. Proper setup saves water and helps plants grow strong.
Connecting To Water Source
Start by attaching the soaker hose to a garden faucet. Use a hose connector or adapter for a tight fit. Check for leaks by turning the water on briefly. Fix any drips before moving on.
Positioning The Hose
Lay the soaker hose along the base of your vegetable plants. Place it close enough so water reaches the roots directly. Avoid running it over plant stems or leaves. For larger plants, coil the hose around the base to cover more soil.
Securing The Hose In Place
Use garden staples or pins to hold the hose firmly on the ground. Press the hose gently into the soil but do not bury it. Cover it with mulch to keep moisture in and prevent evaporation. Check the hose regularly to keep it in place and working well.

Credit: www.vvdailypress.com
Testing And Adjustments
Testing and adjusting your soaker hose is essential for healthy vegetable growth. This step ensures water reaches all plants evenly. Proper testing prevents water waste and dry spots in your garden. Follow these simple checks to improve your irrigation system.
Checking For Leaks
Turn on the water and watch the entire hose length. Look closely for any wet spots outside the hose. Leaks can waste water and reduce pressure. Fix leaks by tightening connections or replacing damaged sections. A leak-free hose saves water and keeps plants hydrated.
Adjusting Water Flow
Control the water pressure using the faucet valve or a pressure regulator. Low flow may not water deeply, while high flow can cause runoff. Adjust until water seeps gently and steadily. Check the hose for areas with too much or too little water. Balanced flow helps roots grow strong.
Ensuring Even Coverage
Observe the soil moisture along the hose path. Soil should be evenly moist but not soggy. Move or add hose sections around plants needing more water. Use mulch to keep moisture in and protect the hose. Even watering prevents dry patches and promotes uniform vegetable growth.
Maintenance Tips
Proper maintenance keeps your soaker hose working well for many seasons. It helps water flow evenly and prevents damage. Following simple care steps saves time and effort. Here are key tips for maintaining your soaker hose in vegetable gardens.
Regular Cleaning
Cleaning the soaker hose regularly stops dirt buildup. Flush the hose with clean water after each use. This clears out small particles inside the hose.
Use a soft brush to clean the outside gently. Remove any soil or debris stuck on the surface. Keeping it clean extends the hose’s life.
Preventing Clogs
Clogs reduce water flow and harm your plants. Check the hose for blockages every few weeks. Look for dry spots or uneven watering areas in your garden.
Flush the hose with a vinegar solution to dissolve mineral deposits. This simple step prevents hard water buildup. Avoid sharp bends that can trap debris.
Seasonal Storage
Store the soaker hose properly during winter or dry seasons. Drain all water to stop freezing and cracking. Coil the hose loosely to avoid kinks.
Keep it in a cool, dry place away from sunlight. Proper storage protects the hose and keeps it ready for next use.
Common Mistakes To Avoid
Setting up a soaker hose for your vegetable garden can save time and water. Avoiding common mistakes ensures your plants get the right amount of moisture. These errors can harm plant health and waste water. Learn what to watch for to keep your garden thriving.
Overwatering
Too much water can drown roots and cause rot. Soaker hoses deliver water slowly, but running them too long causes overwatering. Check soil moisture before watering again. Water only when the top inch of soil feels dry. Overwatering weakens plants and invites pests.
Burying The Hose
Do not bury the soaker hose deep in the soil. Water needs to reach the surface and roots easily. Cover the hose with mulch instead. Mulch keeps soil moist and prevents water evaporation. Burying the hose blocks water flow and reduces its effectiveness.
Ignoring Soil Type
Different soils absorb water differently. Sandy soil drains quickly and needs more frequent watering. Clay soil holds water longer and needs less. Test your soil type before setting watering times. Adjust the hose layout and watering schedule to match your soil. This helps prevent water waste and plant stress.
Credit: swanhose.com
Frequently Asked Questions
How Long Should You Run A Soaker Hose In A Vegetable Garden?
Run a soaker hose for 30 minutes to 1 hour daily in hot weather. Adjust time based on soil moisture and plant needs.
How Do You Use A Soaker Hose In A Vegetable Garden?
Place the soaker hose along plant rows or the center of raised beds. Cover with mulch, then run water slowly for deep soil absorption. Loop around large plants for even watering. Check for leaks before finalizing placement.
What Are The Tips And Tricks Of Soaker Hose?
Test the soaker hose before finalizing placement. Avoid burying it; cover with mulch for water flow. Coil around large plants for deep root watering. Use a single hose in narrow beds or between close rows. Adjust watering time based on soil moisture and plant needs.
Are Soaker Hoses Safe For Vegetable Gardens?
Soaker hoses are safe for vegetable gardens. They provide even watering, reduce water waste, and promote healthy plant growth.
Conclusion
Setting up a soaker hose helps water your vegetable garden well. It saves time and uses water wisely. Place the hose near plant roots for best results. Cover it with mulch to keep moisture in the soil. Regularly check for leaks or clogs to keep water flowing.
This simple system helps your plants grow strong and healthy. Enjoy fresh vegetables with less work and steady watering. A soaker hose makes garden care easier and more efficient. Start watering smart today for a thriving vegetable garden.