A snow blower is a lifesaver during winter. But if your snow blower stops working or struggles to move snow, one common problem is a broken or worn belt guide. The belt guide keeps the belt in position, helping your machine run smoothly. Replacing the belt guide is not difficult, but it does require careful steps, the right tools, and some patience. This guide is written for beginners and non-native English speakers. You’ll learn how to replace the snow blower belt guide, avoid mistakes, and keep your snow blower in top condition.
Understanding The Snow Blower Belt Guide
The belt guide is a small but important part of a snow blower. It keeps the drive belt and auger belt aligned. Without the guide, the belt can slip off, break, or wear out too quickly. This causes your snow blower to lose power or stop working.
There are two main types of belt guides:
- Drive belt guide: Controls the belt that moves the wheels.
- Auger belt guide: Controls the belt that spins the auger, which throws snow.
Why The Belt Guide Matters
- Prevents belt slipping: Keeps the belt in place.
- Reduces wear and tear: Protects the belt from damage.
- Improves performance: Helps the snow blower work efficiently.
A faulty belt guide can cause loud noises, poor snow clearing, or damage to other parts. Recognizing these signs early saves money and frustration.
If you notice that your snow blower’s performance has changed suddenly, it could be due to the belt guide. For example, if the snow is not being thrown as far or if you hear a strange squealing noise, this is often a sign the belt guide is not working properly.
Sometimes, the belt may even fall off in the middle of use, which can be very frustrating and slow down your work.
Another important point is that a damaged belt guide can actually cause the belt to wear out faster. If the belt is not held in the right place, it will rub against other parts, causing heat and friction. This can lead to the belt breaking during use, which means you’ll have to stop and make even more repairs.
Typical Belt Guide Materials
Most belt guides are made from steel, aluminum, or plastic. Steel guides are durable but can rust. Aluminum guides are lighter and resist corrosion. Plastic guides are cheap but may break more easily. Always check your snow blower’s manual to see which type you need.
Choosing the right material can make a difference in how long your belt guide lasts. For example, if you live in an area with lots of snow and salt on the ground, an aluminum belt guide may be better because it resists corrosion.
On older machines, steel guides were common, but they can rust if not cleaned and dried after use. Plastic guides are common in smaller or less expensive models, but they can crack if hit by stones or ice.
If you replace a steel guide with a plastic one, make sure it is strong enough for your snow blower’s power. Some owners make the mistake of choosing a cheaper part without checking if it matches the original strength. This can lead to early failure and more repairs.
Signs Your Snow Blower Belt Guide Needs Replacement
It’s important to know when your belt guide needs to be changed. Here are common symptoms:
- Belt slips off frequently: If the belt keeps coming off the pulleys, the guide may be damaged or bent.
- Visible wear or cracks: Check the guide for cracks, bends, or rust.
- Strange noises: Squealing, grinding, or clicking sounds during operation.
- Poor snow clearing: The snow blower doesn’t throw snow as far as before.
- Vibrations: Excess vibration can mean the guide isn’t holding the belt properly.
Ignoring these signs can lead to more serious repairs. Regular inspection is key.
If you see any of these symptoms, it’s best to stop using your snow blower until you can inspect the guide. Sometimes, a damaged guide can lead to the belt coming loose and wrapping around other parts, which can damage the engine or pulleys.
In the worst case, it can cause the snow blower to stop working completely during a snowstorm.
It’s a good idea to check the belt guide at the start and end of every winter season. Look for any rust, cracks, or areas where the guide looks bent out of shape. Even a small crack can quickly become a big problem once you start using the machine.
If you notice any wear, it’s safer and cheaper to replace the part before it fails.
Another less obvious sign is uneven snow discharge. If the snow blower seems to work only on one side, or if it clogs more often than usual, the belt may not be spinning evenly due to a faulty guide. This is easy to miss if you are not looking for it, but it can save you from a bigger repair later.
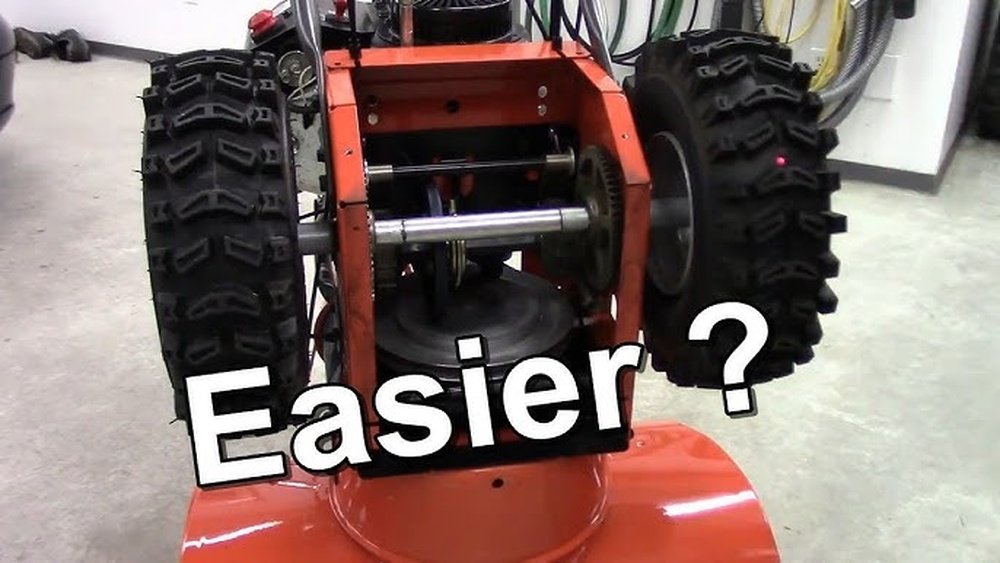
Credit: www.searspartsdirect.com
Tools And Materials Needed For Belt Guide Replacement
Before you start, gather the right tools and materials. This makes the job easier and safer.
- Socket set (usually metric and standard sizes)
- Screwdrivers (flathead and Phillips)
- Wrenches (adjustable or fixed)
- Pliers
- Replacement belt guide (correct part for your model)
- Gloves (protect your hands)
- Safety glasses
- Shop rag or towel
- Owner’s manual (for reference)
- Flashlight (for dark areas)
- Zip ties (optional, for holding parts)
- Pen and paper (to record steps)
Having everything ready prevents delays and mistakes.
Sometimes, you may need a breaker bar if the bolts are stuck, especially on older machines where rust is common. If your snow blower is old, spraying a little penetrating oil on bolts before you start can help loosen them.
A flashlight or headlamp is very helpful, as many belt guides are located in dark, tight areas under the machine. Some people also use a small mirror to see behind pulleys or belts without disassembling more parts.
A tip that many beginners miss: use small containers or magnetic trays to keep screws and bolts organized. It’s easy to drop small parts when your hands are cold or wearing gloves, so keeping them safe helps prevent frustration later.
Step-by-step Guide: How To Replace Snow Blower Belt Guide
Step 1: Prepare Your Work Area
Choose a clean, dry space with good lighting. Place your snow blower on a flat surface. Wear gloves and safety glasses for protection. Make sure the snow blower is off and unplugged (if electric) or the spark plug is removed (if gas-powered).
If possible, raise the front of the snow blower slightly using a block of wood. This gives you better access to the belt area. Avoid working in a damp or snowy area, as wet conditions can make tools slippery and increase the risk of accidents.
Step 2: Remove The Belt Cover
Most snow blowers have a metal or plastic cover over the belts. Use your socket set or screwdriver to remove the bolts or screws holding the cover. Keep the bolts in a safe place.
Tips:
- Take pictures as you go. It helps when reassembling.
- Clean any snow or dirt from the area.
If the cover is stuck, gently tap it with the handle of your screwdriver or use a plastic pry tool to avoid bending or cracking the cover. Some older covers may have hidden screws, so check your manual or feel around the edge for fasteners.
Step 3: Inspect The Belt And Guide
Look at the belts and guides. Check for cracks, fraying, or damage. If the belt is worn, consider replacing it at the same time. Compare the old guide to the new one to make sure they match.
It’s also a good time to check the pulleys for any dents or sharp edges. Damaged pulleys can cut into a new belt and shorten its life. Feel along the belt with your fingers for any splits or rough areas.
A non-obvious tip: If the area is dirty, use a rag or brush to clean out any debris. Dirt or old grease can hide cracks or damage on the guide.
Step 4: Release Belt Tension
Most snow blowers have a tensioner pulley. Use your wrench or pliers to loosen the tensioner and remove tension from the belt. Carefully slide the belt off the pulleys.
Common Mistake:
- Forgetting to note belt routing. Take a photo or draw a diagram.
The tensioner spring can be strong, so move slowly and keep fingers clear of pinch points. Some models have a locking pin or slot to hold the tensioner open during service.
If the belt feels stuck, wiggle it gently—do not use sharp tools, as this can cut or damage the belt or pulleys.
Step 5: Remove The Old Belt Guide
Locate the belt guide. It may be held by screws, bolts, or clips. Use the correct tool to remove them. Pull the old guide off gently.
Example:
On a Toro snow blower, the guide is usually attached by two bolts near the auger pulley.
If the bolts are rusted or difficult to move, apply a drop of oil and wait a few minutes. Avoid using too much force, as this can break the bolts and make removal harder.
In some cases, the guide may be clipped or snapped into place. Use gentle pressure to avoid breaking plastic tabs.
Step 6: Install The New Belt Guide
Align the new guide in the same position as the old one. Attach it using the same screws or bolts. Tighten securely but avoid over-tightening (which can crack plastic guides).
If your new guide has an adjustment slot, do not tighten fully until you check belt alignment in the next step. Some models allow small adjustments to help center the belt perfectly.
A practical tip: If the bolts are difficult to start, turn them backward a half-turn until you feel a “click,” then screw them in. This helps avoid cross-threading.
Step 7: Reinstall The Belt
Route the belt back onto the pulleys. Make sure it follows the original path. Reapply tension using the tensioner pulley. The belt should be snug but not overly tight.
If your snow blower uses more than one belt, install them one at a time, checking that each sits fully in the pulley groove. Double-check your photo or sketch for correct routing.
After tensioning, press on the belt with your finger. It should move about half an inch (1 cm) when pressed. If it feels loose or floppy, adjust the tensioner further.
Step 8: Test Alignment
Spin the pulleys by hand. The belt should stay in place and move smoothly. If it slips or rubs, adjust the guide position.
You may need to loosen the bolts slightly and nudge the guide left or right. The belt should run straight through the guide without touching it unless designed to do so.
A common mistake: Not checking for small misalignments. Even a slight angle can cause the belt to wear out quickly.
Step 9: Reattach The Belt Cover
Replace the belt cover and secure it with bolts or screws. Double-check that everything is tight.
If the cover is hard to fit, check that no wires, belts, or tools are in the way. Avoid forcing the cover, as this can cause it to crack.
Step 10: Final Checks
Reconnect the spark plug or power cord. Start the snow blower and listen for unusual noises. Test it on snow if possible. If everything works well, you’re done.
If you hear squealing, rattling, or grinding, stop immediately and recheck your work. Sometimes a small adjustment is needed for perfect operation.
Let the snow blower run for a few minutes, then turn it off and re-inspect the guide and belt. If both look good and the belt is still centered, your repair is complete.
Data Table: Typical Snow Blower Belt Guide Specifications
Many people struggle to find the right replacement part. Here’s a comparison of common belt guide types and specs:
| Brand | Material | Mount Type | Common Models | Approx. Cost (USD) |
|---|---|---|---|---|
| Toro | Steel | Bolted | Power Max 826 | $12–$22 |
| Craftsman | Aluminum | Screwed | 88173, 247 Series | $10–$18 |
| Ariens | Plastic | Clipped | Compact 24 | $8–$15 |
| Honda | Steel | Bolted | HS724, HS928 | $15–$28 |
Always check your model and serial number before buying.
If you are unsure, some manufacturers offer “universal” belt guides, but these rarely fit as well as model-specific parts. Calling customer service or visiting a local dealer with your old part can help you get the perfect match.
Table: Typical Belt Guide Replacement Time By Model
Replacing a belt guide can take different times depending on the model and experience.
| Brand/Model | Skill Level | Estimated Time (minutes) | Belt Cover Removal Difficulty |
|---|---|---|---|
| Toro Power Max 826 | Beginner | 45 | Easy |
| Craftsman 88173 | Intermediate | 60 | Moderate |
| Ariens Compact 24 | Beginner | 35 | Easy |
| Honda HS724 | Advanced | 75 | Hard |
Beginner models are easier to work on. Advanced models have more parts to remove.
If you are working outside in the cold, allow extra time as cold fingers can slow you down. Also, older machines may have rusted bolts, which adds time for soaking with oil and careful removal.
Comparing Oem Vs Aftermarket Belt Guides
When buying a replacement, you have two choices: OEM (Original Equipment Manufacturer) or aftermarket. Here’s a comparison:
| Type | Quality | Warranty | Price | Availability |
|---|---|---|---|---|
| OEM | High | 1 year | Higher ($15–$30) | Dealer, online |
| Aftermarket | Medium | 6 months | Lower ($8–$18) | Online, hardware stores |
OEM parts fit better and last longer. Aftermarket parts are cheaper but may not always fit perfectly.
Some users find that aftermarket guides can be a good value for older snow blowers, especially if the machine is near the end of its life. However, for new or high-powered machines, OEM is usually the safer choice.
It’s also worth noting that some aftermarket guides come with extra hardware or universal mounting holes. This can be helpful if your original bolts are missing, but always check the fit before final installation.
Common Mistakes When Replacing Snow Blower Belt Guides
Many beginners make mistakes that can damage their snow blower or waste time. Avoid these errors:
- Buying the wrong part: Always check the model and serial number.
- Over-tightening bolts: Can crack guides or strip threads.
- Incorrect belt routing: Leads to poor performance or belt damage.
- Skipping tension check: Belt must be tight but not stretched.
- Not cleaning old debris: Dirt can cause new parts to wear faster.
- Using wrong tools: Damages bolts or parts.
- Ignoring safety: Always disconnect power before starting.
Taking your time and following each step reduces problems.
Another mistake is not checking the pulleys for damage before reassembly. A sharp or bent pulley can cut a new belt quickly. Also, if you mix up the order of reassembly, you may end up with “extra” parts—take photos and notes as you go to avoid confusion.
One more tip: Always check that the guide is not touching the belt unless the design requires it. Some guides are meant to be very close but not in contact. If you’re unsure, look for a small gap or check the manual.

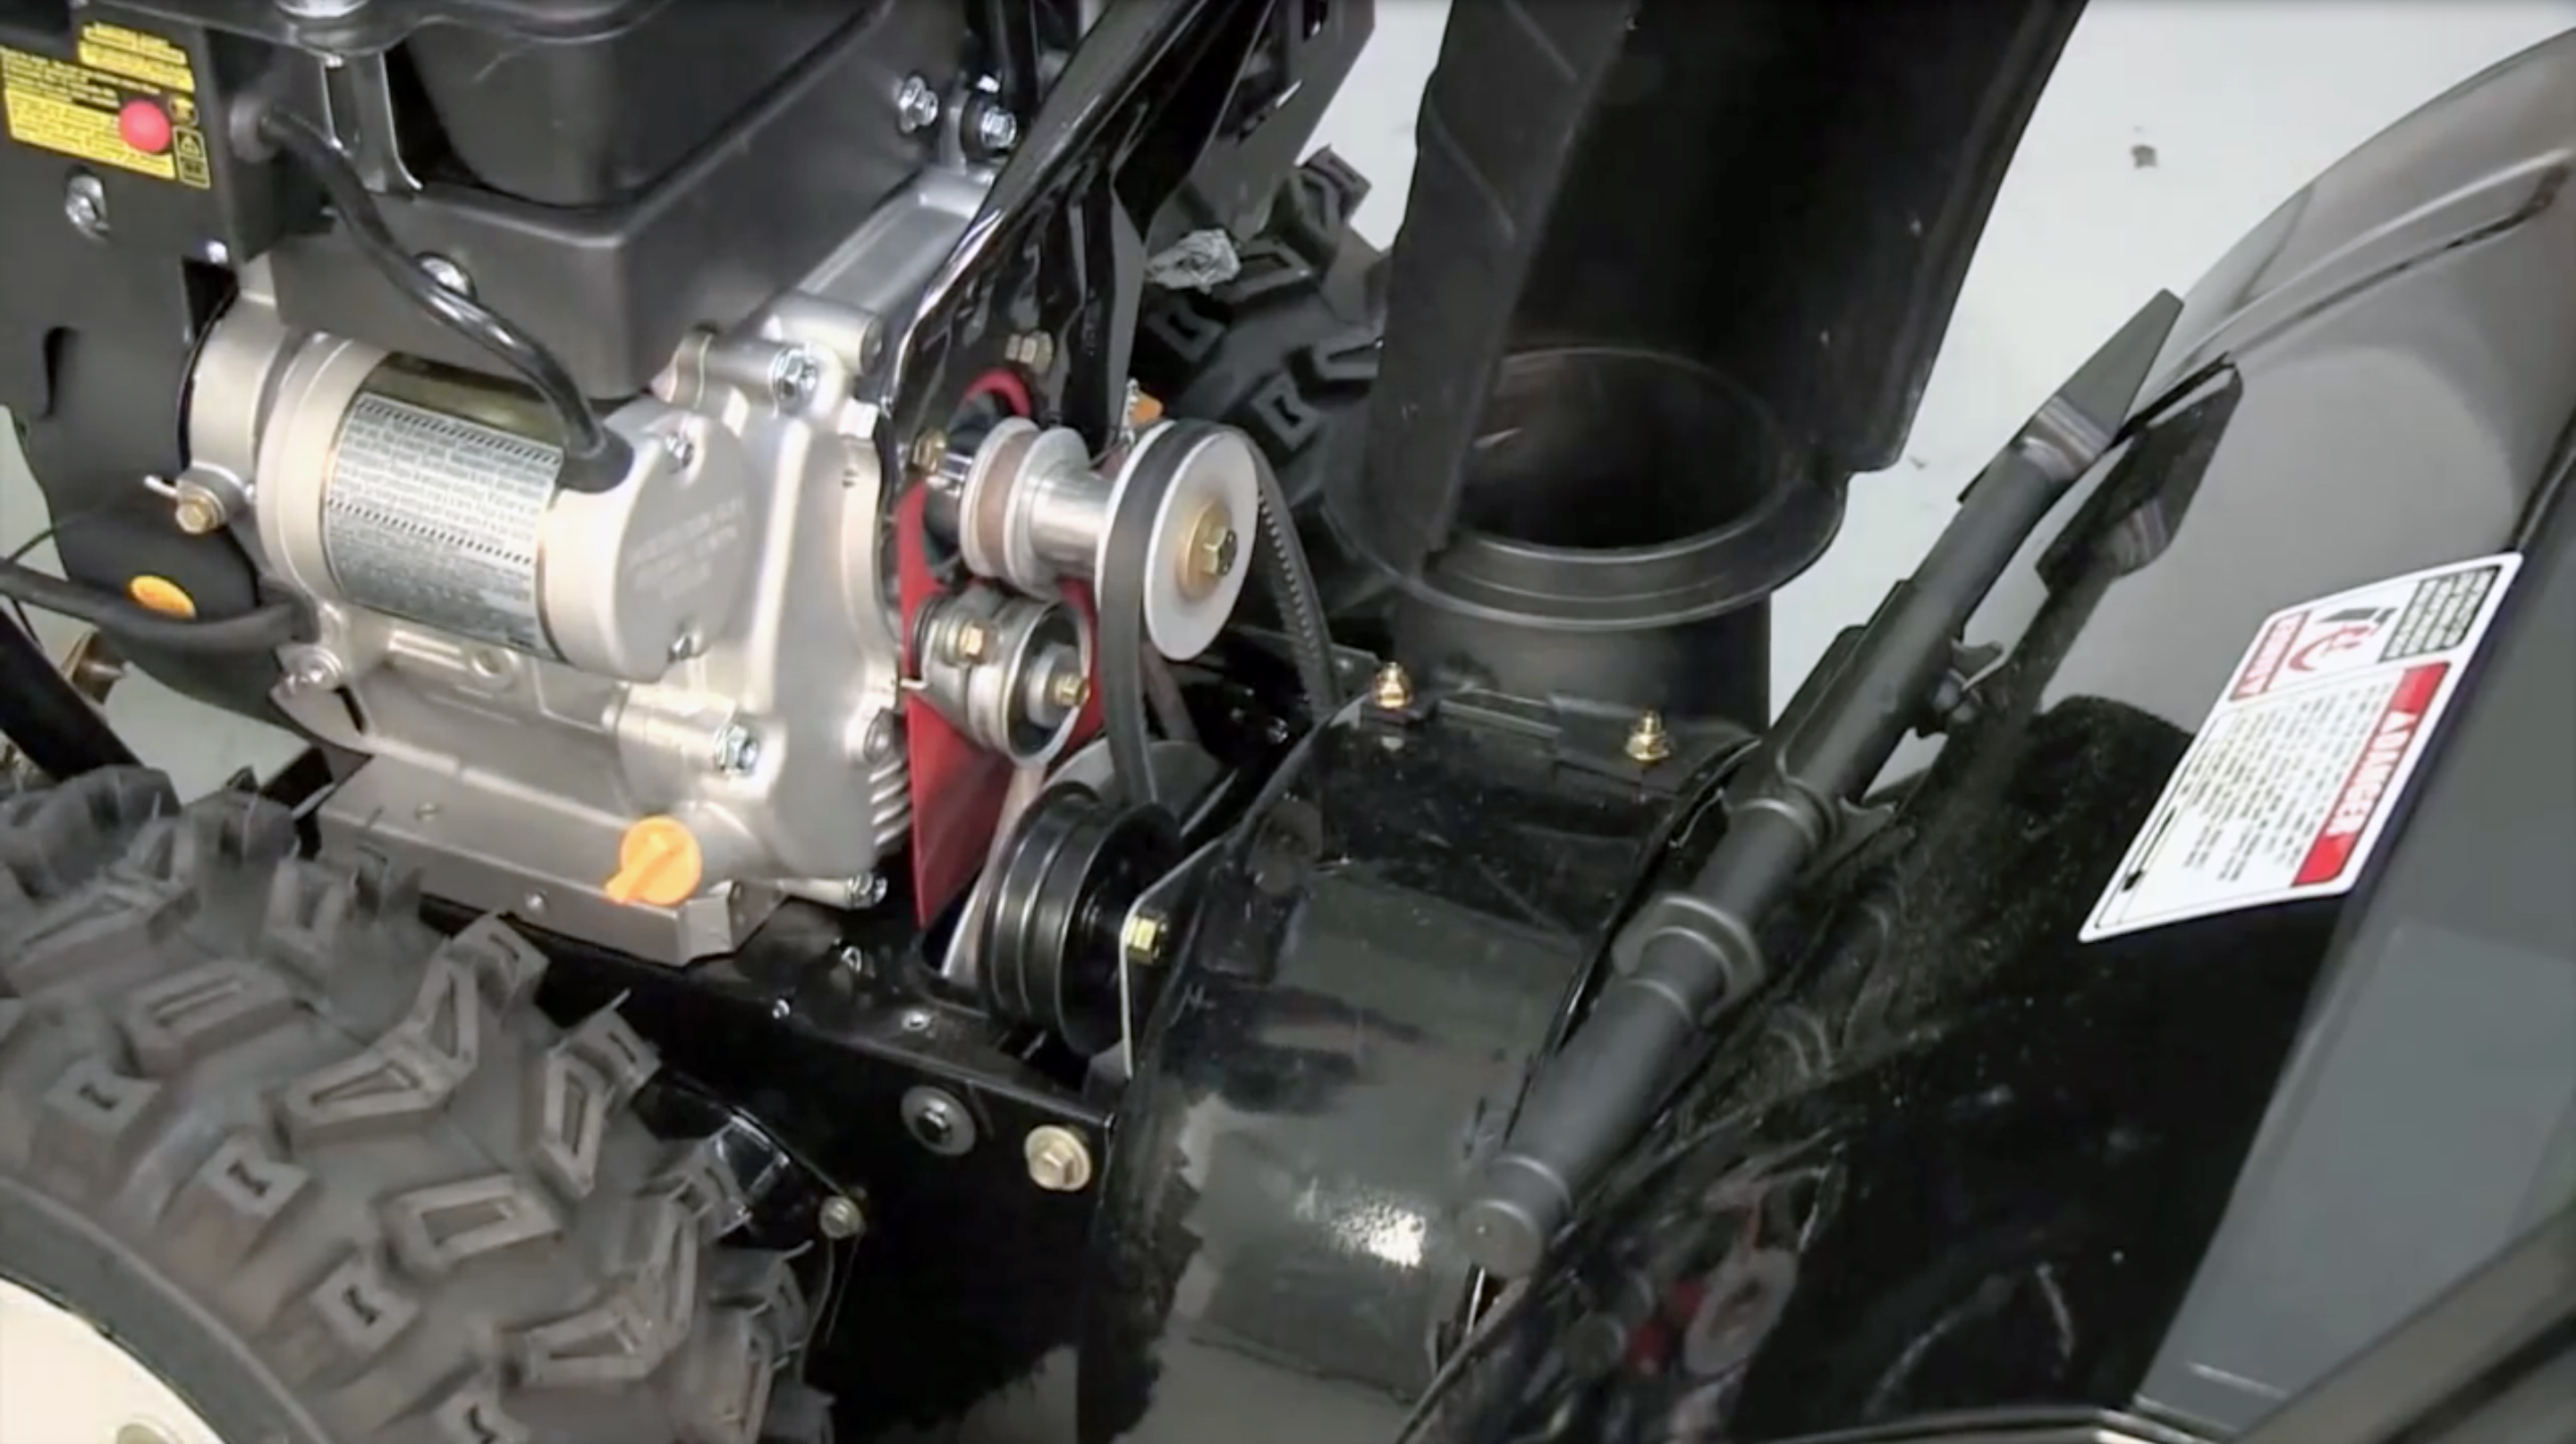
Credit: www.youtube.com
Practical Tips For Successful Belt Guide Replacement
- Take photos at each step for easy reassembly.
- Label bolts and small parts with tape or bags.
- Compare new and old parts before installing.
- Test belt alignment before closing covers.
- Keep the area clean to avoid losing parts.
- Consult your manual for special instructions.
A non-obvious tip: Some guides need lubrication (like a small drop of oil) to reduce friction. Always check if your manual recommends this.
Another useful practice is to keep a small notebook or note app handy. Write down any steps that seem difficult or require extra force—this will help if you need to repeat the repair in the future.
If you’re working on your first snow blower repair, consider asking a friend or family member to help, especially when removing heavy or awkward covers.
When To Replace The Belt Along With The Guide
If your belt is more than 2 years old or shows signs of wear (cracks, fraying), it’s smart to replace it along with the guide. This saves time and prevents future breakdowns.
Signs Your Belt Needs Replacement
- Visible cracks
- Stretched or loose
- Missing chunks
- Burn marks
Replacing both parts together improves reliability.
Some owners think they can save money by replacing only the guide, but a weak or old belt will soon fail, causing the same problem again. If you have the machine open, it’s much easier to change both at once, especially as belts are not expensive.
A less obvious benefit is that a new belt and guide together usually make the snow blower run more quietly and with less vibration.
How To Find The Correct Belt Guide For Your Snow Blower
Finding the correct part is sometimes tricky. Here’s how:
- Check your owner’s manual: Look for part numbers and diagrams.
- Locate the model and serial number: Usually on a sticker near the engine.
- Search online: Use official websites or trusted parts stores.
- Consult your dealer: They can help find the exact part.
A good resource is the manufacturer’s website. For example, Briggs & Stratton Parts gives details and diagrams for many snow blower brands.
Another useful approach is to bring the old part to a hardware store or repair shop. Staff can often match it by size and shape if you do not have the manual or part number.
When searching online, always double-check customer reviews and product details. Some aftermarket parts look similar but may not fit perfectly.
Safety Precautions During Belt Guide Replacement
Safety is very important. Here are key precautions:
- Disconnect power: Remove spark plug or unplug electric models.
- Wear gloves and glasses: Protect hands and eyes.
- Work in a ventilated area: Avoid fumes from gas or oil.
- Keep tools organized: Prevent accidents.
- Never rush: Take your time and double-check each step.
A non-obvious safety tip: If your snow blower was running recently, let it cool for 30 minutes before starting repairs. Hot parts can cause burns.
Also, keep children and pets away from the repair area. Even small tools can be dangerous if left unattended. If you use lubricants or sprays, make sure not to inhale fumes and clean up any spills right away.

Credit: snowblowergarage.com
Maintaining Your Snow Blower After Belt Guide Replacement
To keep your snow blower running well:
- Check belt tension after every 10 hours of use.
- Inspect the guide for signs of wear each season.
- Lubricate moving parts if recommended.
- Store in a dry place to prevent rust.
- Clean after each use to remove snow and salt.
Proper maintenance extends the life of your machine and prevents future problems.
A less obvious tip is to run the snow blower for a few minutes after each use to clear any snow from the belts and guides. This helps prevent freezing and rust overnight.
If possible, cover your snow blower when not in use. Moisture is the enemy of all moving parts, especially steel guides and pulleys.
Troubleshooting After Replacement
Sometimes, problems appear after you replace the belt guide. Here’s how to troubleshoot:
Belt Slipping
- Check if the guide is installed correctly.
- Inspect belt tension.
- Make sure the belt is routed properly.
If the belt still slips, look for damage on pulleys or signs that the belt is too worn out. A belt that is too long or too short can also cause slipping.
Strange Noises
- Look for loose bolts.
- Check if the guide is rubbing against the belt or pulleys.
Sometimes, a new guide may need a small adjustment after running the blower for a few minutes. Listen for any scraping or knocking sounds and stop the machine if you hear them.
Poor Performance
- Confirm the belt is not too tight or too loose.
- Make sure the guide matches your model.
If performance is still poor, check for other problems, like a clogged auger or worn drive wheels.
If issues persist, consult your manual or a professional.
Geographic And Seasonal Factors Affecting Belt Guide Replacement
Where you live can affect how often you need to replace the belt guide. In cold climates like the Midwest or Northeast US, snow blowers get heavy use. Salt and moisture cause faster rust and wear. In warmer areas, snow blowers are used less, so guides last longer.
Urban areas may have more repair shops and parts availability. Rural areas may require ordering parts online. Always plan ahead before winter arrives.
Extreme temperature swings can also affect belts and guides, making them brittle over time. If you live in a coastal or very humid area, extra care is needed to prevent corrosion.
Environmental And Economic Benefits Of Regular Belt Guide Replacement
Replacing your snow blower belt guide saves money and helps the environment:
- Prevents bigger repairs: Small part replacement is cheaper than major fixes.
- Reduces waste: Well-maintained machines last longer.
- Improves fuel efficiency: A properly working belt guide means less energy wasted.
- Less downtime: You clear snow faster and safer.
Regular maintenance is good for your wallet and the planet.
By keeping your snow blower in good shape, you reduce the need for new machines and spare parts, which saves resources and reduces landfill waste. Also, a machine running smoothly uses less fuel, which means fewer emissions and better air quality.
Frequently Asked Questions
How Often Should I Replace The Snow Blower Belt Guide?
Most belt guides last 2–5 years depending on use and conditions. Check every season and replace if you see damage, cracks, or if the belt slips often.
Can I Replace The Belt Guide Myself, Or Do I Need A Professional?
You can replace the belt guide yourself with basic tools and careful steps. If you are not comfortable or your snow blower is complex, a professional can help.
What’s The Difference Between Drive Belt Guide And Auger Belt Guide?
The drive belt guide keeps the belt for the wheels aligned. The auger belt guide holds the belt that spins the auger. Both are important for smooth operation.
Is It Important To Use Oem Parts For The Belt Guide?
OEM parts fit best and last longer. Aftermarket parts are cheaper but may not fit perfectly. If you want maximum reliability, choose OEM.
Where Can I Find The Correct Belt Guide For My Snow Blower Model?
Check your owner’s manual, manufacturer’s website, or visit a dealer. Online stores and official parts sites offer diagrams and part numbers for most models.
Final Thoughts
Replacing your snow blower belt guide is a practical task that keeps your machine working well through winter. With the right tools, careful steps, and regular maintenance, you’ll avoid costly repairs and clear snow efficiently. Don’t wait for the first big storm—inspect your belt guide before winter arrives. Taking action early is always easier and safer. If you follow this guide, even beginners will have confidence replacing the belt guide and keeping their snow blower ready for every snow day.
Remember, attention to small details—like checking belt alignment or using the right part—can make a big difference in how well your snow blower works. Each repair you do yourself adds to your knowledge and saves money for your family. With practice, you’ll find that maintaining your snow blower is not only possible but satisfying, and you’ll be ready for whatever winter brings.