Every gardener remembers the excitement of tiny green seedlings pushing through the soil. But getting those seedlings from their trays to the open garden is a challenge that even experienced growers can find tricky. The process, known as transplanting, is more than just digging a hole and placing a plant in the ground. Timing, preparation, and care make the difference between strong, healthy crops and stunted, stressed plants.
Many beginners lose seedlings during transplant, not realizing that small mistakes can set plants back weeks or destroy them completely. But with the right techniques and a bit of planning, you can give your seedlings the best start possible. This guide will take you through all the essential steps, share practical tips, and reveal common mistakes to avoid.
You’ll find everything from timing and soil prep to aftercare and troubleshooting. By the end, you’ll feel confident moving your seedlings into your garden, ready to grow strong and productive plants.
Why Transplanting Seedlings Matters
Transplanting is more than just a gardening chore—it’s a critical step that can make or break your harvest. Seedlings started indoors or in controlled environments need to adjust to the harsher conditions of the garden. The process is stressful for young plants, but done right, it sets them up for rapid growth and higher yields.
One key benefit of transplanting is season extension. By starting seeds indoors, you get a head start on crops that need a long growing season, like tomatoes and peppers. You can control temperature, moisture, and light, producing healthy seedlings before outdoor conditions are ideal. Transplanting also lets you select only the strongest plants, maximizing your garden’s productivity.
However, transplanting introduces risks. Roots can be damaged, leaves can wilt, and plants can go into shock. This period, known as transplant shock, often leads to stunted growth, yellow leaves, or even death if not managed well. Understanding how to minimize this stress is essential for a thriving garden.
Understanding When To Transplant Seedlings
Timing is one of the most important factors in successful transplanting. Move seedlings too early, and they may die from cold or wind. Wait too long, and they may become root-bound or struggle to adapt.
Key Signs Seedlings Are Ready
- True leaves appear: The first leaves that emerge are seed leaves (cotyledons). Wait until your seedlings have at least two sets of true leaves—these are the leaves that look like adult plant foliage.
- Strong stems: Seedlings should stand upright without support. Flimsy or leggy stems usually mean they need more light or time.
- Healthy root system: Gently check the roots. They should be white and well-developed but not circling tightly in the container.
- Hardening off complete: Seedlings need to adjust to outdoor conditions before transplanting. This process is called hardening off.
Timing With The Weather
Most seedlings are transplanted after the danger of frost has passed. For example:
- Tomatoes and peppers: After the last frost date, when nights stay above 50°F (10°C)
- Cabbage and broccoli: 2-3 weeks before the last expected frost, as they tolerate cooler weather
- Flowers like marigolds: After all frost danger is over
Check your local frost dates and weather forecast before moving plants outdoors. A sudden cold snap can undo weeks of work.
Table: Common Seedlings – When To Transplant
| Plant | Recommended Transplant Time | Minimum Outdoor Temp |
|---|---|---|
| Tomato | 1-2 weeks after last frost | 50°F (10°C) |
| Lettuce | 4 weeks before last frost | 40°F (4°C) |
| Peppers | 2 weeks after last frost | 55°F (13°C) |
| Broccoli | 2-3 weeks before last frost | 45°F (7°C) |
| Marigold | After last frost | 50°F (10°C) |
Credit: gardeninminutes.com
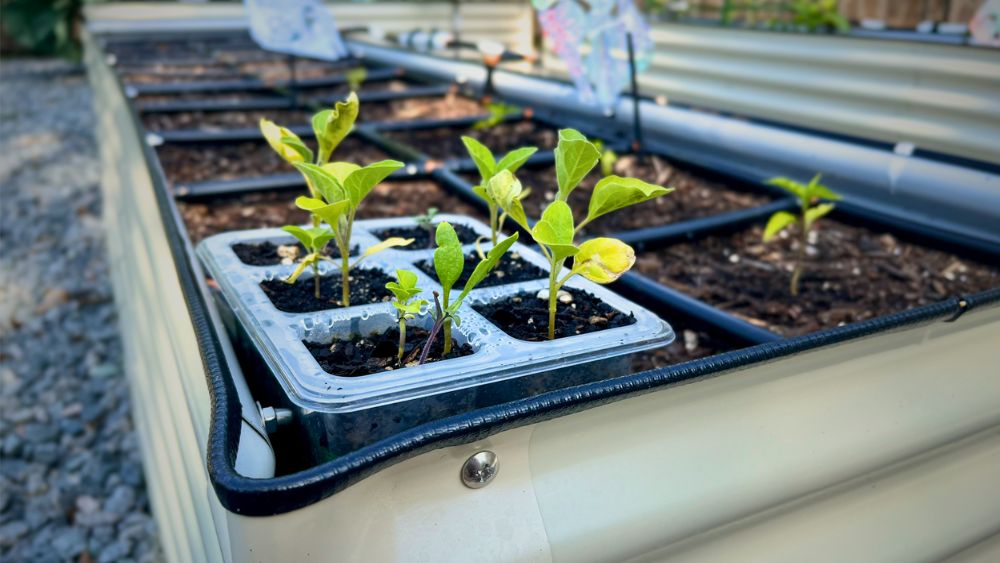
Preparing Your Seedlings For The Move
Seedlings need help adjusting from a gentle indoor environment to the unpredictable outdoors. This adjustment is called hardening off, and it’s often rushed or skipped by beginners. But this step is vital for success.
How To Harden Off Seedlings
- Start gradually: About 7-10 days before transplanting, place seedlings outdoors in a sheltered spot for 2-3 hours. Avoid direct sun and wind at first.
- Increase exposure: Each day, add an hour or two and move plants into more sunlight. Bring them indoors if nights are cold or weather is bad.
- Withhold fertilizer: Stop feeding seedlings a few days before moving them out. This encourages sturdier growth.
- Reduce watering slightly: Let the top of the soil dry out a bit more between waterings, but don’t let plants wilt.
- Final step: By the last day, seedlings should spend a full day and night outdoors in their pots.
Non-obvious tip: Hardening off isn’t just about temperature. Sunlight outdoors is much stronger than indoor grow lights. If you skip gradual light exposure, leaves may burn even if the air is warm.
What If You Can’t Harden Off?
If you must transplant without hardening off, use shade cloth or row covers for the first few days. Water well and transplant in the late afternoon to avoid midday sun.
Choosing And Preparing Your Garden Site
The spot where you transplant seedlings can make a huge difference in their health and yield. Don’t just pick any patch of earth—consider sun, soil, drainage, and past crops.
Sunlight
Most vegetables and flowers need at least 6-8 hours of direct sunlight per day. Leafy greens can tolerate a bit less, but fruiting plants like tomatoes need full sun.
Soil Quality
Good soil is loose, rich in organic matter, and drains well. If your soil is clay-heavy, add compost, peat moss, or well-rotted manure. For sandy soils, mix in compost to help retain moisture.
Soil test: Check the pH and nutrient levels with a simple test kit. Most vegetables grow best with a pH between 6.0 and 7.0. Adjust as needed with lime or sulfur.
Crop Rotation
Don’t plant the same type of crop in the same spot every year. Rotating crops helps prevent soil-borne diseases and pest build-up. For example, don’t plant tomatoes where you had peppers last season.
Table: Soil Amendments And Their Benefits
| Amendment | Main Benefit | Ideal For |
|---|---|---|
| Compost | Adds nutrients, improves structure | All soil types |
| Peat moss | Improves moisture retention | Sandy soils |
| Sand | Improves drainage | Clay soils |
| Lime | Raises pH | Acidic soils |
| Bone meal | Boosts phosphorus | Root crops, flowers |
Preparing The Planting Area
- Clear weeds and debris: Remove any old plants, roots, or stones from the bed.
- Loosen the soil: Dig or till at least 8-12 inches deep, breaking up clumps.
- Mix in amendments: Add compost or other materials as needed, following recommendations from your soil test.
- Level and smooth: Rake the surface flat so seedlings have good soil contact.
- Pre-water the area: Water the bed thoroughly a day before transplanting. This helps soil settle and provides moisture for roots.
Credit: www.saferbrand.com
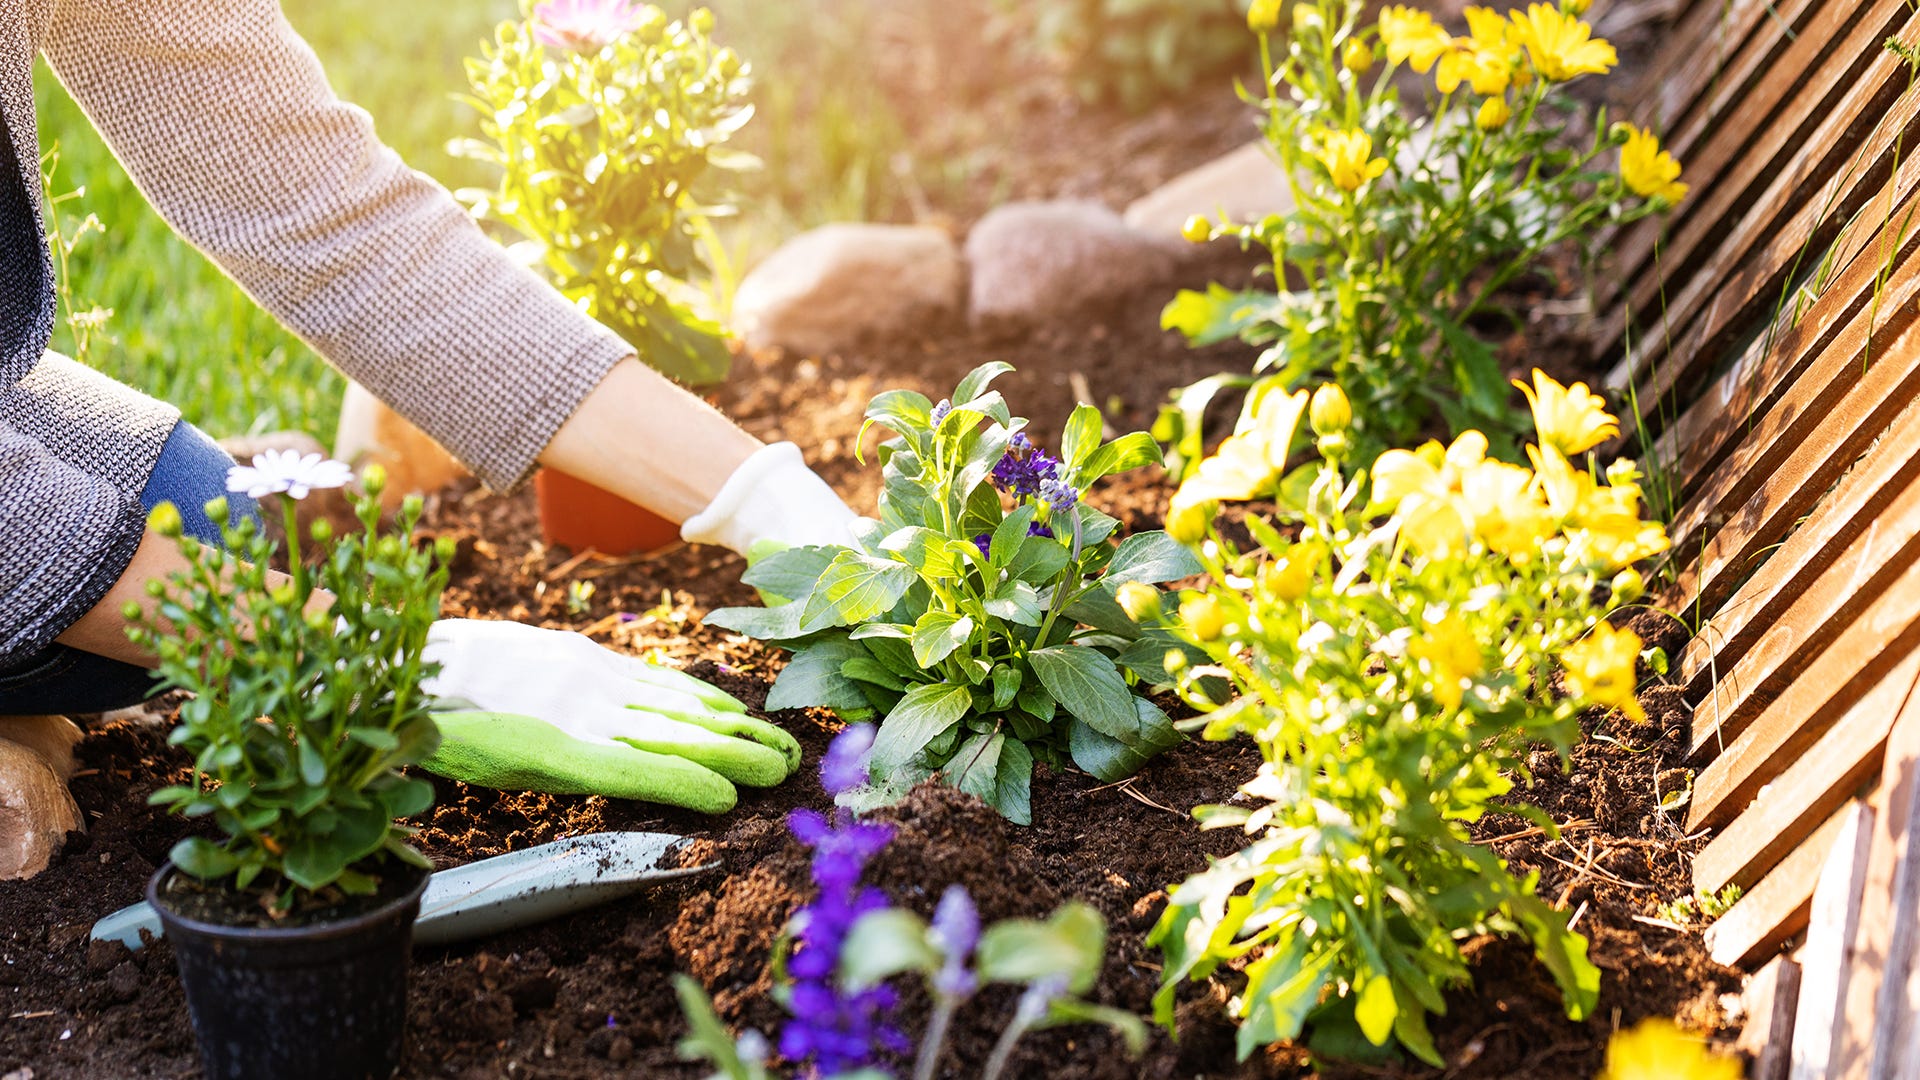
The Transplanting Process: Step-by-step
Transplanting day is here. Having everything ready makes the process smooth and reduces stress on your seedlings.
Tools And Materials Needed
- Hand trowel or small shovel
- Watering can or hose with gentle spray
- Mulch (optional, but recommended)
- Labels (to mark rows or varieties)
- Row cover or shade cloth (for protection, if needed)
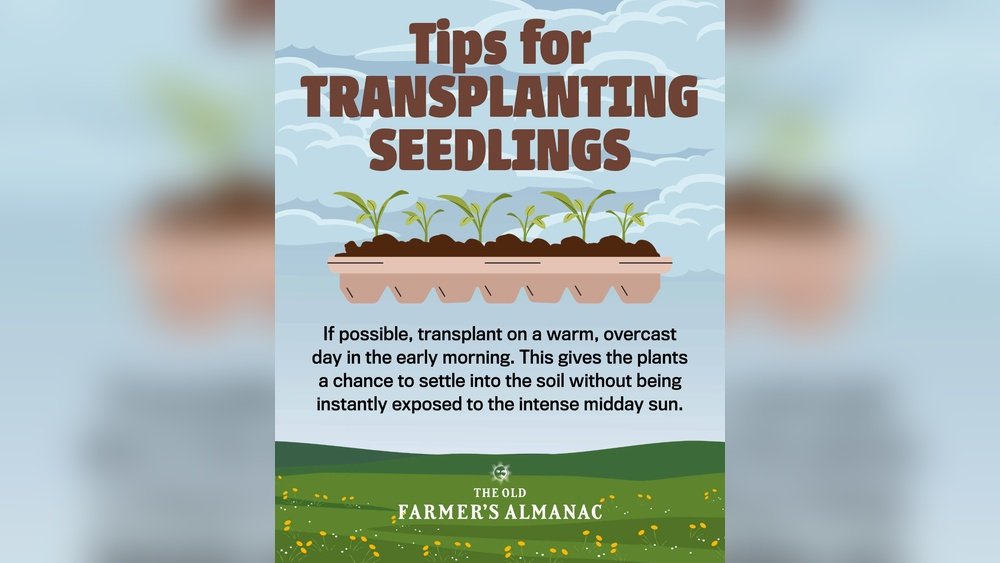
Step 1: Choose The Right Time Of Day
Transplant in the late afternoon or on a cloudy day. This prevents seedlings from wilting in the midday sun and gives them time to settle before the next day’s heat.
Step 2: Water Seedlings Before Moving
Water your seedlings well an hour before transplanting. Moist soil holds together and reduces root damage.
Step 3: Dig Holes
Make holes slightly larger than the root ball of each seedling. Space holes according to the needs of each plant:
- Tomatoes: 18-24 inches apart
- Peppers: 12-18 inches apart
- Lettuce: 8-10 inches apart
Check seed packets or gardening guides for specific spacing.
Step 4: Remove Seedlings Carefully
To avoid damaging roots:
- Cell packs: Gently squeeze the bottom to loosen the root ball, then lift out by the leaves (not the stem).
- Pots: Tip the pot, tap the bottom, and slide the plant out.
- Soil blocks: Lift with a spatula or your hands, keeping the soil intact.
Non-obvious tip: If roots are circling the bottom (root-bound), gently tease them apart before planting. This encourages outward growth.
Step 5: Set Seedlings In The Holes
Place each seedling at the same depth it grew in its container—except for tomatoes, which can be buried deeper to encourage more root growth along the stem.
Fill in with soil, pressing gently to remove air pockets but not compacting too tightly.
Step 6: Water Immediately
After planting, water each seedling at the base. This helps settle soil around the roots and reduces transplant shock.
Step 7: Mulch And Label
Add 1-2 inches of mulch (straw, shredded leaves, or compost) around each plant. Mulch keeps soil moist and suppresses weeds. Label rows or varieties if needed.
Step 8: Protect New Transplants
If the weather is hot, windy, or cold, use row covers or shade cloth for the first few days. This shelter gives seedlings time to adjust.
Table: Common Plant Spacing For Seedlings
| Crop | Spacing (inches) | Depth |
|---|---|---|
| Tomato | 18-24 | Deeper than pot, bury stem |
| Peppers | 12-18 | Same as pot |
| Lettuce | 8-10 | Same as pot |
| Broccoli | 15-18 | Same as pot |
| Marigold | 8-10 | Same as pot |
Aftercare: Helping Seedlings Thrive
Transplanting isn’t finished when the seedlings are in the ground. Good aftercare determines if plants survive and grow fast or struggle for weeks.
Watering
Newly transplanted seedlings need steady moisture, but not soggy soil. For the first week, water daily if there’s no rain. After that, water deeply 2-3 times per week, depending on weather and soil type.
Check moisture by sticking your finger an inch into the soil. If it feels dry, it’s time to water.
Fertilizing
Avoid fertilizing right after transplanting—roots are still adjusting. Wait 1-2 weeks, then start with a diluted, balanced fertilizer. Organic options like fish emulsion or compost tea are gentle and effective.
Weeding
Keep the area around seedlings weed-free. Weeds compete for water and nutrients, and young plants can’t fight back well.
Watch For Problems
Check seedlings daily for signs of stress:
- Wilting: Usually from lack of water or hot sun
- Yellowing leaves: Can be transplant shock or nutrient issues
- Chewed leaves: Watch for slugs, snails, or insects
Act quickly if you see problems. Early intervention saves plants.
Support Structures
Some plants, like tomatoes and peppers, need stakes or cages for support as they grow. Install these soon after transplanting to avoid damaging roots later.
Common Transplanting Mistakes And How To Avoid Them
Even experienced gardeners make mistakes when moving seedlings outdoors. Here are some frequent problems and solutions.
Planting Too Early
Don’t rush! Even tough plants can die if moved outside before the weather is right. Watch nighttime temperatures and be ready to cover seedlings if frost threatens.
Not Hardening Off
Skipping hardening off almost always leads to sunburned or wilted seedlings. Take the extra week—it’s worth it.
Damaging Roots
Rough handling or pulling seedlings out by the stem breaks fine roots. Always lift by the leaves or root ball.
Planting Too Deep Or Shallow
Most plants should be set at the same depth as in their pot. Tomatoes are the exception—they benefit from deeper planting.
Overwatering Or Underwatering
Both can kill new transplants. Check soil moisture often, especially in the first week.
Ignoring Pests
Young seedlings are magnets for slugs, cutworms, and insects. Use collars, barriers, or natural repellents as needed.
Extra tip: Keep a planting journal. Note weather, planting dates, varieties, and results. Over time, you’ll spot patterns and improve your technique.
Troubleshooting Transplant Shock
Even with perfect care, some seedlings struggle after transplanting. Signs include wilting, yellowing, or stunted growth.
Causes
- Roots disturbed or damaged during transplant
- Sudden change in temperature, wind, or sunlight
- Not enough water or too much water
- Poor soil contact
Solutions
- Water well: Make sure roots are moist, but don’t flood the soil.
- Shade: Use row covers or shade cloth for a few days.
- Mulch: Helps keep soil cool and moist.
- Wait: Most seedlings recover in 1-2 weeks as roots grow into new soil.
- Avoid fertilizer: Don’t feed stressed plants—wait until they perk up.
If seedlings continue to decline, check for pests or diseases. Sometimes replanting is necessary if roots are badly damaged.
Transplanting Different Types Of Seedlings
While the basic process is similar, some crops need special attention.
Tomatoes
Bury the stem deeper than the pot. Remove lower leaves and plant so only the top leaves are above soil. Tomatoes grow roots along the buried stem, making them stronger.
Peppers
Peppers dislike root disturbance. Handle gently and avoid damaging the root ball. Provide support early to prevent wind damage.
Leafy Greens
Lettuce, kale, and chard can be transplanted before last frost in many areas. They need regular watering and may benefit from shade during hot afternoons.
Cucumbers And Squash
These crops dislike transplanting. If possible, use biodegradable pots that can be planted directly in the ground. Handle carefully and plant at the same depth as the pot.
Flowers
Annual flowers like marigolds and zinnias are usually transplanted after frost. Perennials can be moved in early spring or fall. Pinch back the tips to encourage bushy growth.
Advanced Tips For Successful Transplanting
Once you master the basics, these advanced strategies can help you get even better results.
Use Mycorrhizal Fungi
Dusting roots with a commercial mycorrhizal inoculant before planting helps seedlings absorb water and nutrients faster. This is especially useful in poor soils.
Anti-transpirant Sprays
Special sprays reduce water loss from leaves, helping seedlings recover from shock. Use only as directed.
Plant In Blocks, Not Rows
For some crops, grouping seedlings in blocks (rather than long rows) creates a microclimate that reduces wind and water loss. This is especially helpful in windy areas.
Double Transplant For Long-season Crops
For crops like onions or leeks, start seeds in small cells, then move to larger pots before final transplant. This gives each plant more space and reduces competition.
Credit: letpot.com
Data: Seedling Survival Rates
Transplanting can cause losses, but with good practice, survival rates are high. Here are average survival rates for common crops (with proper technique):
- Tomatoes: 90–98%
- Peppers: 85–95%
- Lettuce: 80–95%
- Broccoli/Cabbage: 85–95%
- Marigolds: 90–99%
Poor hardening off, rough handling, or bad weather can drop survival rates by 20% or more.
Environmental Impact And Sustainability
Transplanting seedlings can be part of a sustainable garden. Using organic methods, compost, and crop rotation reduces the need for synthetic fertilizers and pesticides. Peat-free seed starting mixes and biodegradable pots also lower your footprint.
Non-obvious insight: Growing strong seedlings means fewer plants are lost, less seed is wasted, and you use less water and fertilizer overall. It’s a win for both your garden and the environment.
Resources For Further Learning
If you want to dive deeper into transplanting techniques, soil science, or sustainable gardening, visit University of Minnesota Extension for science-based guides and resources.
Frequently Asked Questions
How Long Should Seedlings Be Hardened Off Before Transplanting?
Seedlings need about 7-10 days to harden off properly. Start with a few hours outdoors in shade, then gradually increase sun exposure and time outside each day. By the end, plants should be able to spend all day and night outside before transplanting.
What Is Transplant Shock, And How Can I Prevent It?
Transplant shock is stress that seedlings experience after being moved to the garden. It can cause wilting, yellowing, or slow growth. Prevent it by hardening off seedlings, transplanting on a cloudy day, watering well, and protecting with mulch or row covers if needed.
Should I Fertilize Seedlings Right After Transplanting?
No. Wait 1-2 weeks before fertilizing transplanted seedlings. Roots need time to adjust. Start with a weak, balanced fertilizer or organic compost tea when new growth appears.
What If My Seedlings Wilt After Transplanting?
Mild wilting is common. Water well and provide shade if possible. Most seedlings recover within a few days. If wilting continues, check for root damage, pests, or dry soil.
Can I Transplant Seedlings In Hot Weather?
It’s best to avoid transplanting during hot, sunny days. If you must plant in heat, do so in the late afternoon, water well, and use shade cloth or row covers to protect seedlings from sun and wind for the first few days.
Transplanting seedlings is a vital skill for every gardener, combining science, timing, and care. By preparing your seedlings, choosing the right spot, and following careful steps, you can turn fragile starts into strong, healthy plants. Remember, every garden is different—observe, adapt, and keep notes.
With these tips, your seedlings have the best chance to thrive and reward you with a bountiful harvest. Happy gardening!