
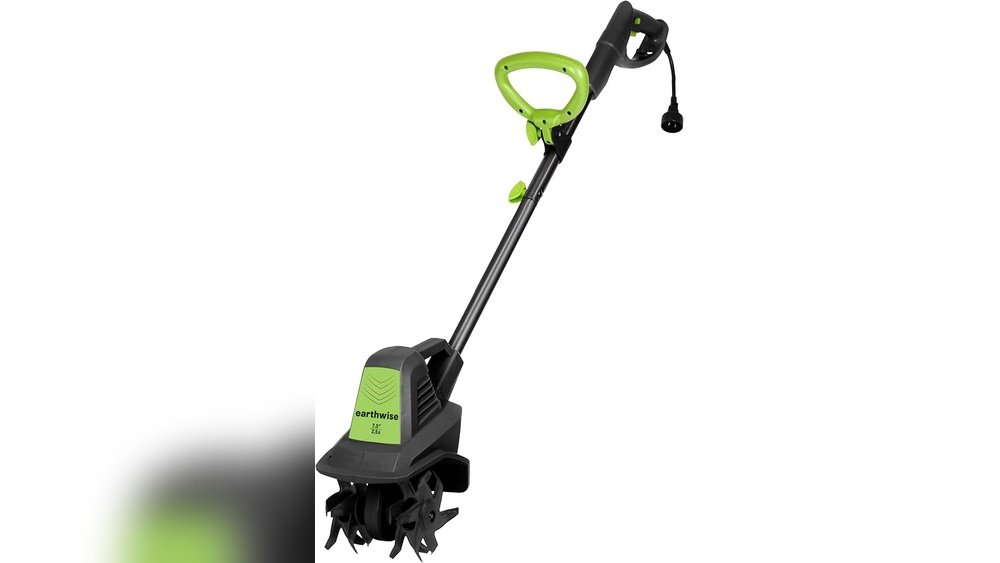
Creating a beautiful, healthy garden starts with preparing the soil. If you want strong, green plants and tasty vegetables, the ground must be loose and full of air. But digging soil by hand is hard, slow work. That’s where an electric tiller can change everything. These garden tools make soil preparation much faster, easier, and better for your back. Whether you are a new gardener or have years of experience, using an electric tiller correctly will help your plants grow better and your garden look amazing.
Electric tillers are now more popular than ever, especially in home gardens and small farms. They are lighter and quieter than gas tillers, easier to use, and better for the environment. But to get the best results, you need to know how to choose the right tiller, prepare your garden, and use the tiller in the correct way. Many people buy a tiller and end up with a messy garden or broken machine because they miss key steps. In this guide, you’ll learn everything you need to know about how to till a garden with electric tiller—from picking your tool to finishing your garden bed. Along the way, you’ll find expert tips, common mistakes to avoid, and answers to the top questions gardeners ask.
Why Till Your Garden Soil?
Tilling is more than just turning dirt. The main reason for tilling is to create the best soil conditions for plants to grow strong roots. When you use an electric tiller, you break up hard soil, mix in organic matter, and make it easier for water and air to move. Here are the key benefits:
- Looser soil lets roots grow deeper and stronger.
- Better water flow prevents water from sitting on the surface or draining too fast.
- Mixing nutrients helps plants get more food from compost or fertilizer.
- Fewer weeds because you can break up weed roots early.
- Easier planting since seeds and seedlings go into soft, open ground.
Many gardeners see a big difference in plant health and harvest size after tilling. But tilling the wrong way can also hurt your soil. That’s why it’s important to use the right method and know when to stop.
What Is An Electric Tiller?
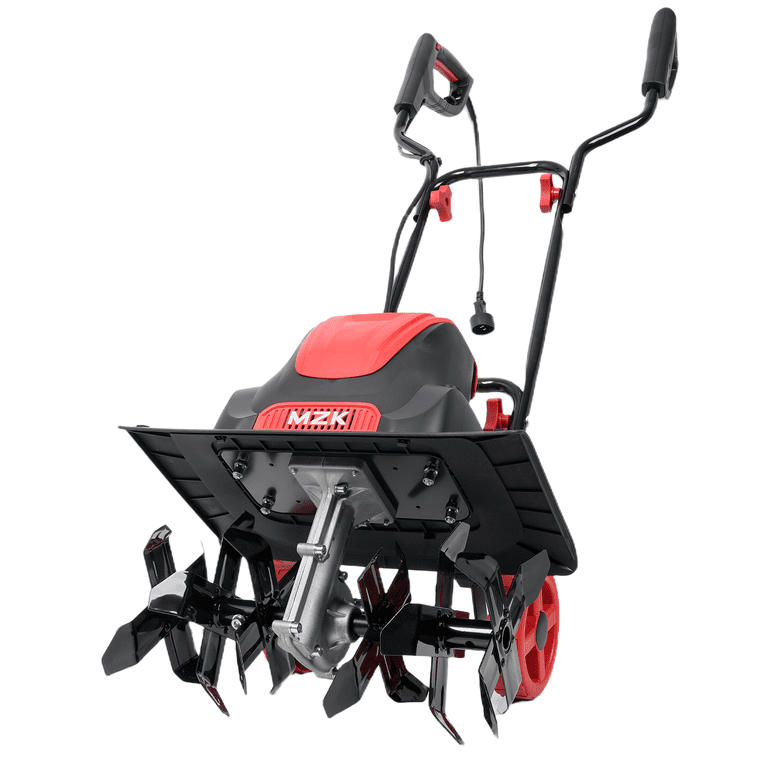
An electric tiller is a garden tool that uses a motor powered by electricity—either from a cord or a battery—to spin blades called tines. These tines dig into the soil, breaking it up and mixing it. Electric tillers are usually smaller and lighter than gas models, making them perfect for home gardens, raised beds, and flower areas.
Some advantages of electric tillers include:
- Easy to start (just push a button)
- Low noise compared to gas tillers
- No fuel or oil needed
- Lighter weight, so easier to move and store
- Lower emissions, better for the environment
There are two main types: corded and cordless electric tillers. Corded tillers need to be plugged in during use, while cordless models run on rechargeable batteries. Both types work well, but your choice depends on your garden size and needs.

Credit: www.walmart.com
Choosing The Right Electric Tiller For Your Garden
Picking the best electric tiller is important for getting good results. Not all tillers are the same—some are better for small jobs, others for deep digging. Here are the main things to consider:
Power And Tilling Depth
Electric tillers come in a range of power levels, usually measured in amps (for corded) or volts (for cordless). More power means the tiller can cut deeper and handle tougher soil. If your garden has hard or clay soil, choose a model with at least 8-10 amps or 40+ volts. For soft or sandy soil, a smaller tiller is enough.
- Tilling depth usually ranges from 4 to 8 inches. Deeper tilling is better for new gardens or planting vegetables with long roots.
Width And Size
The tilling width tells you how much soil the tiller turns in one pass. Common widths are 8–16 inches. A wider tiller covers more ground faster but may be harder to control in small spaces. If you have raised beds or tight areas, look for a narrow tiller.
Corded Vs. Cordless
- Corded electric tillers run as long as you have power, but you must manage the cord.
- Cordless tillers let you move freely, but batteries may run out during big jobs.
Weight And Maneuverability
A lighter tiller is easier to lift, turn, and store. Most electric tillers weigh 20–35 pounds. If you have back problems or a small space, choose a lightweight model.
Key Features
Some tillers offer extra features:
- Adjustable tines for changing depth or width
- Foldable handles for easy storage
- Transport wheels for moving the tiller
- Safety switches to prevent accidental starts
Comparing Popular Electric Tillers
Here’s a quick look at common features in three popular electric tiller models:
| Model | Power | Tilling Width | Tilling Depth | Weight | Type |
|---|---|---|---|---|---|
| Sun Joe TJ603E | 12 amps | 16 inches | 8 inches | 27 lbs | Corded |
| Greenworks 27072 | 8 amps | 10 inches | 5 inches | 29 lbs | Corded |
| Earthwise TC70020 | 20 volts | 7.5 inches | 6 inches | 12 lbs | Cordless |
Non-obvious tip: Check the tiller’s noise level and vibration if you plan to use it often. Some models are much quieter and smoother, making long jobs more comfortable.
Preparing Your Garden Before Tilling
Tilling is much easier and safer if you prepare your garden first. Skipping these steps can damage your tiller or lead to poor results.
1. Remove Large Debris
Pick up sticks, rocks, old roots, and any trash from the garden area. Large debris can jam the tiller tines or fly out and cause injury.
2. Cut Down Thick Weeds Or Grass
If your garden is covered with thick weeds or grass, use a string trimmer or mower to cut it short first. Electric tillers are not designed to chop through heavy vegetation.
3. Mark The Area
Use stakes and string to mark where you plan to till. This keeps your lines straight and helps you avoid underground pipes or wires.
4. Water The Soil (if Needed)
Soil that is too dry or too wet is hard to till. Aim for moist, crumbly soil—not mud, not dust. If the ground is hard, water it a day before. If it’s soggy, wait a few days to dry.
5. Test The Soil
Check soil texture by grabbing a handful and squeezing. It should break apart easily but hold some shape. If it sticks together like clay or is bone dry, adjust your watering.
6. Plan For Additives
If you want to mix in compost, manure, or fertilizer, have these materials ready. Tilling is the best time to blend them into the soil.
Practical insight: Many beginners forget to plan for rocks and roots. Dig a small test hole first to see what’s below the surface. This can save you from broken tines later.

Credit: www.amazon.com
Step-by-step: How To Till A Garden With An Electric Tiller
Now you’re ready to begin tilling. Follow these steps for the best results and safest use.
1. Read The Manual
Before using your electric tiller, read the manufacturer’s manual. Each model has different safety features, controls, and maintenance steps.
2. Wear The Right Gear
- Sturdy shoes or boots
- Gloves to protect your hands
- Eye protection (goggles)
- Ear protection if your tiller is loud
Loose clothing can get caught in the tines, so wear fitted clothes.
3. Set Up The Tiller
- For corded models, plug into a grounded outdoor outlet using a heavy-duty extension cord. Keep the cord behind you at all times to avoid cutting it.
- For cordless models, make sure the battery is fully charged.
4. Adjust Depth And Width
Set the tilling depth and width according to your garden needs. Start shallow for the first pass, especially in new or hard soil.
5. Start Tilling
- Stand behind the tiller, hold handles firmly.
- Start the motor. For most models, you press a safety switch and pull a trigger.
- Guide the tiller slowly forward. Don’t force it—let the tines do the work.
- Move in straight rows, overlapping each row slightly for even coverage.
6. Go Over The Area Twice
For tough soil, make two passes:
- First pass: Shallow depth, break the crust.
- Second pass: Set tiller deeper, mix soil well.
7. Mix In Additives
Spread compost, fertilizer, or other amendments on the surface after the first pass. Then till again to blend these into the soil.
8. Check For Large Clumps
After tilling, walk through the garden and break up any big soil clumps with a rake.
9. Clean The Tiller
Unplug or remove the battery before cleaning. Use a brush to remove soil from the tines and body. Wipe handles and check for damage.
Non-obvious tip: For small beds or corners, use the tiller at an angle or in a circular pattern. This reaches spots straight rows might miss.
When Is The Best Time To Till Your Garden?
Timing matters as much as technique. Tilling at the wrong time can harm your soil or waste your effort.
- Early spring is ideal, just before planting. This warms the soil and breaks up winter compaction.
- Late fall works too, especially for adding compost or manure. The soil will be ready by spring.
Avoid tilling when:
- Soil is too wet (sticks to shoes or forms mud balls)
- Soil is dry and hard as concrete
- Just before heavy rain (which can undo your work)
Expert tip: If you till every year, switch up your pattern or direction. This prevents soil layers from getting compacted in the same way each time.
How Deep Should You Till With An Electric Tiller?
The right tilling depth depends on your plants and soil.
- Vegetable gardens: 6–8 inches deep for most crops
- Flower beds: 4–6 inches is usually enough
- New gardens: Start shallow, then go deeper on a second pass
Be careful not to over-till. Going too deep every year can disturb soil layers and hurt earthworms or helpful microbes.
Tilling For Different Soil Types
Not all soils are the same. Here’s how to adjust your tilling for the most common types:
Clay Soil
- Tills best when slightly moist, not wet
- May need several passes to break up
- Add compost or sand to improve drainage
Sandy Soil
- Easy to till, but don’t go too deep
- Mix in organic matter to help keep moisture
Loam Soil
- Tills easily and evenly
- Add compost to keep it rich
Rocky Soil
- Remove as many rocks as possible before tilling
- Go slowly, and stop if you hit anything hard
Comparing Tilling For Different Soil Types
| Soil Type | Best Tilling Depth | Number of Passes | Special Additives |
|---|---|---|---|
| Clay | 6–8 inches | 2–3 | Compost, sand |
| Sandy | 4–6 inches | 1–2 | Organic matter |
| Loam | 6–8 inches | 1–2 | Compost |
| Rocky | 4–6 inches | As needed | Remove rocks |
Practical tip: If your soil is compacted from walking or heavy rain, make extra shallow passes first. Deep tilling too soon can make the problem worse.
Common Mistakes When Tilling With An Electric Tiller
Even experienced gardeners make errors with electric tillers. Avoid these common mistakes:
- Tilling wet or muddy soil: This creates clumps that dry hard as rock.
- Ignoring underground wires or pipes: Always call before you dig.
- Forcing the tiller: Let the tines do the work. Pushing too hard can break the tiller.
- Not cleaning after use: Soil left on tines can rust and reduce lifespan.
- Skipping protective gear: Flying rocks or debris can cause injury.
- Tilling too often: Over-tilling destroys soil structure and harms beneficial insects.
- Not checking for hidden roots or rocks: These can jam or damage your tiller.
Non-obvious insight: Take breaks when tilling large areas. Overheating your electric tiller can shorten its motor life, especially in hot weather.
After Tilling: Preparing For Planting
Tilling is only the first step to a great garden. After you till:
- Rake the soil to smooth out lumps and remove any remaining debris.
- Check soil level in raised beds or borders. Add more soil if needed.
- Let soil settle for a few days before planting. This helps air pockets escape.
- Water lightly if the soil is very dry.
- Mark planting rows with string, especially for vegetables.
Extra tip: If weeds start to grow before you plant, pull them by hand or use a hoe. Do not re-till, as this can bring up more weed seeds.
Maintaining Your Electric Tiller
A well-cared-for tiller lasts for years and works better every season.
- Clean tines and body after each use.
- Check for loose bolts or screws.
- Lubricate moving parts as directed in the manual.
- Store indoors in a dry place to prevent rust.
- Charge batteries fully before storing (for cordless models).
- Check the power cord for cuts or wear.
If you notice strange noises, vibrations, or loss of power, stop and inspect your tiller before using it again.
Expert tip: Keep a spare set of tines if you till often or have rocky soil. Worn tines make tilling harder and less effective.
Comparing Electric Tillers To Manual And Gas Tillers
Many gardeners wonder if electric tillers are really better. Here’s a comparison:
| Type | Power Source | Best For | Pros | Cons |
|---|---|---|---|---|
| Electric Tiller | Electricity (cord or battery) | Home gardens, beds | Lightweight, low noise, easy to use | Limited power, cord/battery limits |
| Gas Tiller | Gasoline engine | Large areas, tough soil | More power, deep tilling | Heavy, noisy, needs fuel/oil |
| Manual Tiller | Human power | Small beds, light soil | Cheap, no power needed | Slow, hard work, shallow tilling |
Most home gardeners find electric tillers the perfect mix of power, ease, and price. For very large gardens or hard clay, a gas tiller may still be best.
Credit: www.walmart.com
Sustainability And Environmental Impact
Electric tillers are a greener choice than gas models. They produce no fumes, use less energy, and are quieter. If you want to make your garden more eco-friendly, use compost and organic mulch along with your electric tiller. This improves soil health naturally.
For more on electric tillers and their environmental benefits, visit the Wikipedia page on tillers.
Pro insight: Use mulch after tilling to hold in moisture and stop weeds. This reduces how often you need to water, saving resources.
Advanced Tilling Techniques
If you want to go beyond basic tilling, try these methods:
- Double digging: Till the top layer, then dig deeper by hand for root crops.
- Sheet mulching: Lay cardboard, cover with compost, and till lightly to mix layers.
- No-till gardening: After the first till, avoid tilling future years. Use mulch and compost to keep soil loose.
These advanced methods help build better soil and can reduce weeds over time.
Frequently Asked Questions
What Size Electric Tiller Do I Need For My Garden?
If your garden is under 500 square feet, a small electric tiller (8–10 inch width) is enough. For larger gardens, pick a model with 12–16 inch width and more power. Consider garden shape and tight spaces too.
Can I Use An Electric Tiller In Wet Soil?
No. Tilling wet soil creates clumps and can damage both your soil and the tiller. Wait until the soil is moist but not muddy. A simple test: if soil sticks to your shovel, it’s too wet.
How Often Should I Till My Garden With An Electric Tiller?
Most gardens only need tilling once or twice per year—usually in spring and fall. Over-tilling can hurt soil structure and reduce plant growth.
Is An Electric Tiller Good For Removing Weeds?
Yes, electric tillers can break up young weeds and mix them into the soil. For thick, deep-rooted weeds, cut them first and remove large roots by hand to avoid clogs.
What Safety Precautions Should I Take When Using An Electric Tiller?
Always wear sturdy shoes, gloves, and eye protection. Keep pets and children away. Watch your power cord to avoid cutting it, and never till near underground wires or pipes.
Tilling your garden with an electric tiller can transform your planting experience. With the right tool and approach, you’ll enjoy better soil, healthier plants, and a more beautiful space every season. By following these tips and avoiding common mistakes, you’ll till like a pro—even if you’re just starting out.
Happy gardening!