A leaf blower is a handy tool for keeping your yard clean and tidy. But after a few uses, you may notice your leaf blower is not working as well as before. Often, the reason is a clogged tube. Leaves, twigs, dust, and even mud can block airflow, making your leaf blower weak or noisy. Cleaning the tube is simple, but many people skip it or use the wrong methods. If you want your leaf blower to last and work at full power, you need to know the right steps and tips. This article will guide you through everything you need to know about cleaning a clogged leaf blower tube, from tools to safety, common mistakes, and even how to prevent future clogs.
Why A Clogged Tube Matters
A blocked leaf blower tube does not just make your tool less effective. It can also:
- Cause overheating in the motor
- Increase fuel consumption in gas-powered models
- Lead to strange noises or vibrations
- Shorten the life span of your leaf blower
A clogged tube creates more resistance, making the motor work harder to push air through. Over time, the extra strain can wear out the motor bearings or other internal parts. You might also notice your blower starts to vibrate more than usual.
This is because the airflow is uneven, and the motor is out of balance. If your blower uses fuel, it may start burning more gas as it tries to keep up, which costs you more money in the long run.
According to Consumer Reports, poorly maintained leaf blowers lose up to 30% of their blowing power and can break down within two years. If you use your leaf blower often, cleaning the tube is not optional—it’s a must.
Many new users don’t realize that neglecting tube cleaning can also void your warranty. Manufacturers expect basic maintenance. If a repair technician finds a clogged tube, you might have to pay for repairs yourself, even if the tool is still new.
Signs Your Leaf Blower Tube Is Clogged
It’s easy to miss a clog until your leaf blower stops working. Look for these signs:
- Weak airflow: If the blower feels less powerful, airflow is blocked.
- Unusual sounds: Clogs often cause rattling, whistling, or loud vibrations.
- Visible debris: You may see leaves, mud, or twigs stuck in the tube.
- Frequent shut-offs: The motor may cut off due to overheating.
- Burning smell: Overheating from blocked airflow can cause a burnt odor.
Sometimes, the symptoms are subtle at first. For example, you may need to use the blower longer to clear the same amount of leaves, or you notice it’s not blowing as far as before. These changes often mean debris is starting to build up.
If you ignore these early signs, the clog can quickly get worse.
Another clue is uneven airflow. If you feel air coming out in bursts or only from one side of the tube, something inside is blocking part of the passage. This can also cause the blower to wobble or shake in your hands.
If you notice any of these, check the tube before assuming your leaf blower is broken.

Credit: carlsmower.com
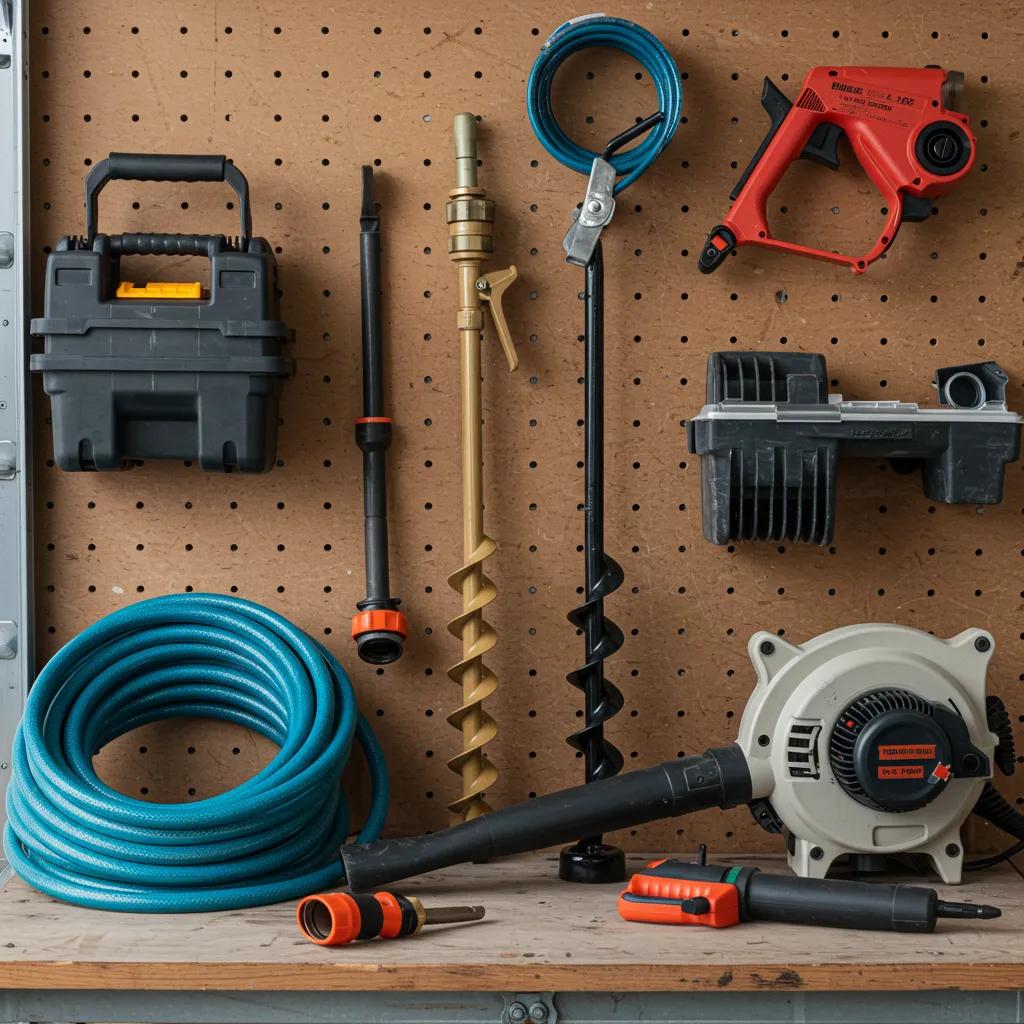
Tools And Materials You Need
Cleaning your leaf blower tube does not require expensive tools. Here’s what you’ll need:
- Safety gloves
- Safety goggles
- Screwdriver (for some models)
- Flexible cleaning brush (long, narrow)
- Compressed air can or air compressor
- Soft cloth
- Mild detergent (optional)
- Bucket of water
- Garden hose
- Vacuum cleaner (optional for stubborn debris)
Many beginners skip safety gear, but goggles and gloves are important. Debris can fly out unexpectedly.
A flexible brush is especially useful. You can find these at hardware stores—look for one that is long enough to reach deep inside the tube. Some brushes are designed for cleaning dryer vents or pipes and work well for leaf blower tubes.
If you don’t have a vacuum cleaner with a hose, even a shop vac or a handheld vacuum can help. Just make sure the attachment fits inside the tube.
Having a garden hose nearby makes rinsing much easier, especially if you’re dealing with mud or sticky debris. The soft cloth helps you wipe off any residue left behind.
Preparing Your Leaf Blower For Cleaning
Before you start cleaning, follow these steps:
- Turn off and unplug: For electric models, disconnect from power. For gas models, remove the spark plug wire and let the engine cool.
- Remove the tube: Most tubes twist or pop off. Check your manual if unsure.
- Inspect the tube: Look inside and outside for cracks or deep dirt buildup.
- Set up your workspace: Work outdoors or in a well-ventilated area. Lay down old towels or cardboard to catch debris.
Skipping preparation can make cleaning harder and even damage your blower.
Some people try to clean the tube while it’s still attached. This is not a good idea. Debris can get pushed further inside, making it even harder to remove. In some cases, you might even damage the fan blades or motor if dirt gets sucked in.
If you notice any cracks or holes during inspection, it’s a good time to decide if the tube needs replacing. A damaged tube can leak air, reducing power even if it’s clean.
It’s also smart to have a flashlight on hand. Shine it inside the tube to spot hidden clogs or sticky patches. This makes it easier to see where you need to focus your cleaning.
Step-by-step: Cleaning A Clogged Leaf Blower Tube
Here’s how to clean your leaf blower tube the right way.
1. Remove Loose Debris
Shake the tube gently to loosen big pieces of debris. Hold the tube upright and tap it on the ground (not too hard). Leaves and twigs should fall out.
If some debris doesn’t fall out, try rotating the tube while tapping. This can help free items that are caught on the edges or in the curves.
For tubes with bends or attachments, check all sections. Sometimes, debris gets stuck where two pieces join together.
2. Use A Flexible Brush
Insert the cleaning brush into the tube. Move it back and forth to scrub away mud, dust, and stuck leaves. For deep clogs, twist the brush gently. Don’t force it—hard pushing can crack plastic tubes.
If you find a lot of sticky mud or sap, pause and soak the brush in soapy water before continuing. This helps loosen the debris as you scrub.
Some tubes are wider at one end. Start from the wider end if possible—it’s easier to push out blockages.
3. Wash With Water And Detergent
Mix a few drops of mild detergent in a bucket of water. Dip a soft cloth in the solution and wipe the inside and outside of the tube. For stubborn dirt, fill the tube with water and shake it. Rinse with a garden hose until water runs clear.
If mud is caked on, let the tube sit in the soapy water for 10–15 minutes before scrubbing again. This softens the dirt and makes cleaning easier.
For very dirty tubes, repeat the washing and rinsing steps until all residue is gone.
4. Dry Thoroughly
Water left in the tube can cause mold or rust. Use a dry cloth to wipe inside and out. Let the tube air dry for at least 30 minutes in the sun.
If you live in a humid area or it’s cloudy, leave the tube out longer or use a hair dryer on a cool setting to speed up drying. Make sure every part is dry, especially if your tube is metal.
Moisture in the tube can also attract dirt the next time you use your blower, making new clogs form more quickly.
5. Use Compressed Air For Fine Debris
If dust or tiny leaves remain, blow them out with a compressed air can or air compressor. Hold the tube upright and spray from one end to the other. Always wear goggles for this step.
A helpful trick: Move the nozzle in small circles as you spray. This creates more airflow and helps lift stubborn dust.
If you use an air compressor, keep the pressure below 40 psi. Too much force can damage the tube.
6. Vacuum For Stubborn Clogs
If you see debris stuck deep inside, use a vacuum cleaner with a hose attachment. Insert the hose and move it slowly. This is especially helpful for mud or sticky dirt.
A shop vac can be very effective because it has more suction. Move the hose in and out slowly to cover all areas.
If you still can’t remove the clog, try switching between the vacuum and the brush. Sometimes, loosening the debris with a brush and then vacuuming works best.
7. Inspect And Reassemble
Check the tube for cracks, holes, or damage. If it’s clean and undamaged, reattach it to your leaf blower. Make sure it fits tightly.
Loose tubes can cause air leaks, making your blower less powerful. If you notice the tube doesn’t snap in securely, look for missing or damaged clips.
Common Mistakes To Avoid
- Using harsh chemicals: These can damage plastic or rubber parts.
- Scrubbing too hard: This can scratch or crack the tube.
- Forgetting to dry: Moisture leads to mold and rust.
- Not removing the tube: Cleaning with the tube attached is less effective and can harm the motor.
Many beginners also forget to check the tube ends. Dirt often collects where the tube connects to the blower or to an extension piece. Always clean these areas well.
Data Comparison: Cleaning Methods
Below is a comparison of cleaning methods for leaf blower tubes, showing effectiveness and risk.
| Method | Effectiveness | Risk of Damage | Best For |
|---|---|---|---|
| Flexible Brush | High | Low | General debris |
| Water & Detergent | Medium | Low | Mud, dust |
| Compressed Air | Medium | Low | Fine dust |
| Vacuum Cleaner | High | Medium | Deep clogs |
| Hard Chemicals | Low | High | Not recommended |
One non-obvious tip: Combining methods is often best. For example, use a brush first, then rinse, and finish with compressed air to remove all debris. This layered approach gets better results than using just one method.
Extra Tips For Tough Clogs
Some clogs are more stubborn than others. Here are tips for difficult situations:
- Soak the tube in warm, soapy water for 1 hour before brushing.
- For sticky mud, use a plastic spatula (not metal) to scrape gently.
- Use a pipe cleaner for narrow or curved tubes.
- If the tube is cracked or very dirty, consider replacing it. Replacement tubes cost $10–$25 and can save time.
Another tip: If you blow a lot of pine needles or sticky tree sap, wipe the tube with a little vegetable oil after cleaning and drying. This creates a thin, safe coating that makes it harder for sticky debris to attach.
For very narrow tubes, a length of flexible wire covered with a soft cloth can help reach inside. Always avoid anything sharp or metal that could scratch the tube.
How Often Should You Clean?
Cleaning frequency depends on use and environment.
| Usage Type | Recommended Cleaning Frequency | Why |
|---|---|---|
| Light (monthly use) | Every 3 months | Less debris buildup |
| Moderate (weekly use) | Monthly | Regular leaf and dust accumulation |
| Heavy (daily use) | Every 2 weeks | High risk of clogs |
| Wet or muddy environments | After each use | Mud and moisture cause fast buildup |
Most homeowners clean their tube only when the blower stops working. Preventive cleaning keeps your tool reliable and efficient.
As a tip, mark cleaning dates on your calendar or set a reminder on your phone. This simple habit helps you remember, especially during busy seasons like fall.
If you share your blower with neighbors or family, make sure everyone knows the cleaning schedule. One missed cleaning can undo a lot of good work.

Credit: www.amazon.com
Preventing Future Clogs
Keeping your leaf blower tube clean is easier than you think. Here’s how to avoid clogs:
- Store your leaf blower indoors, away from moisture and dust.
- After each use, shake the tube and wipe with a dry cloth.
- Avoid blowing wet leaves or mud whenever possible.
- Use a leaf blower only in dry conditions.
- Inspect the tube monthly for cracks and buildup.
An overlooked tip: Always check your yard before using the blower. Remove large branches and stones, which can cause clogs or damage the tube.
Another smart habit is to clear your work area of small toys, garden ties, or string before blowing. These items can get sucked in and jam the tube fast.
If you often deal with wet leaves, try waiting until the yard is drier. Even a few hours of sunshine can make a big difference and reduce clogging risk.
Leaf Blower Tube Materials And Their Cleaning Needs
Leaf blower tubes are made from different materials. Each has its own cleaning requirements.
| Material | Cleaning Method | Durability | Notes |
|---|---|---|---|
| Plastic | Brush, water, air | Medium | Easy to scratch |
| Metal (aluminum) | Brush, water, air | High | Can rust if not dried |
| Composite | Brush, water | High | Lightweight, strong |
If your tube is metal, dry it thoroughly to prevent rust. For plastic, avoid hard scrubbing.
Composite tubes are the most forgiving. They resist scratching and are less likely to warp or crack. However, they are still not indestructible. Use gentle cleaning methods and avoid high heat, which can weaken the material over time.
Some leaf blowers have replaceable end tips made from rubber or silicone. These tips protect against knocks and help create a good seal. Clean them gently with a soft cloth and avoid harsh chemicals.
Safety Precautions When Cleaning
Safety is often ignored but very important. Here’s what you should always do:
- Wear gloves and goggles to protect from flying debris.
- Turn off and unplug your leaf blower before cleaning.
- Don’t use sharp tools or metal brushes—these can damage the tube and cause injury.
- Clean outdoors or in a space with good airflow.
- Keep children and pets away during cleaning.
A common mistake: Trying to clean the tube while it’s attached and the blower is running. This is dangerous and can cause injury.
Another safety tip: If you use compressed air, always point the tube away from your face and body. Debris can shoot out quickly and cause eye or skin injuries.
If you have allergies or asthma, wear a dust mask while cleaning. Old leaves and dust can trigger breathing problems.
What If The Clog Is Inside The Motor Or Fan?
Sometimes, debris moves past the tube and gets inside the motor or fan. If you hear strange noises or see visible debris inside, do not try to clean it yourself unless you have experience. Most manufacturers recommend professional service for internal cleaning.
Signs of internal clogs:
- Blower still weak after tube cleaning
- Loud grinding or whistling sounds
- Visible leaves or twigs near the fan blades
Trying to clean inside the motor without proper tools can cause more harm than good. You might damage the fan blades or even electric parts. For most people, it’s safer and cheaper in the long run to let a repair shop handle deep internal cleaning.
If you suspect a clog inside, contact a repair shop or check the manufacturer’s website.
Real-life Example: Cleaning A Clogged Tube
Let’s look at a practical example:
Juan’s leaf blower stopped working after blowing wet leaves. He noticed weak airflow and a burning smell. He removed the tube and found it packed with mud and small twigs. Juan used a flexible brush, then soaked the tube in soapy water for 30 minutes.
He rinsed and dried it, then used compressed air for fine debris. Once reassembled, his leaf blower worked like new.
A non-obvious insight: Wet leaves and mud are the most common cause of deep tube clogs. Always avoid blowing wet debris whenever possible.
Another takeaway: Juan’s blower lasted years longer because he cleaned it right away, not just when it stopped working completely. Fast action can prevent bigger problems.
When To Replace The Tube
Cleaning works for most clogs, but sometimes the tube is too damaged. Replace your tube if:
- There are deep cracks or holes
- The tube is warped or misshapen
- Clogs keep returning even after cleaning
Replacement tubes are easy to find online or at garden stores. Always choose the correct size for your blower model.
If you’re unsure about size, bring your old tube to the store or check your blower’s manual for part numbers. Fitting the wrong tube can reduce efficiency or even damage your blower.
Credit: www.mywindowwashing.com
Environmental Impact Of Leaf Blower Maintenance
Keeping your leaf blower clean helps the environment. A clogged tube increases fuel or electricity use, leading to higher emissions. According to the EPA, gas leaf blowers produce significant pollution when running inefficiently. Regular cleaning reduces this impact.
Even small improvements in blower efficiency can lower your carbon footprint over the course of a year. Clean tubes also mean less wear, so you replace parts and tools less often—reducing waste.
To learn more about environmental concerns, visit the EPA’s guide.
Quick Reference: Cleaning Steps
If you need a fast refresher, here are the key steps:
- Turn off and unplug
- Remove tube
- Shake out loose debris
- Brush inside tube
- Wash with water and detergent
- Dry thoroughly
- Blow out fine debris
- Vacuum for deep clogs
- Inspect and reassemble
Follow these steps every time for best results.
Frequently Asked Questions
How Do I Know If My Leaf Blower Tube Needs Cleaning?
If you see weak airflow, strange noises, or a burning smell, your tube is likely clogged. Visible debris inside is another clear sign.
Can I Use Bleach Or Strong Chemicals To Clean The Tube?
No. Strong chemicals like bleach can damage the tube’s material and harm your blower. Use mild detergent and water only.
Should I Clean The Tube After Every Use?
For wet or muddy environments, yes. For dry conditions, clean monthly or as needed. Preventive cleaning keeps your blower running smoothly.
Is It Safe To Use A Metal Brush?
Avoid metal brushes. They scratch plastic and composite tubes and can cause injury. Use a flexible brush made for pipes or tubes.
What If Cleaning Does Not Fix My Leaf Blower?
If your blower still has weak power or strange sounds after cleaning, the clog may be inside the motor or fan. Seek professional repair or check the manufacturer’s instructions.
Keeping your leaf blower tube clean is simple but important. Regular cleaning ensures your tool works well, lasts longer, and stays safe. By following these steps and tips, you’ll avoid common mistakes and enjoy a cleaner yard with less effort.
Remember, prevention is better than cure—so check your tube often and clean it before trouble starts.