
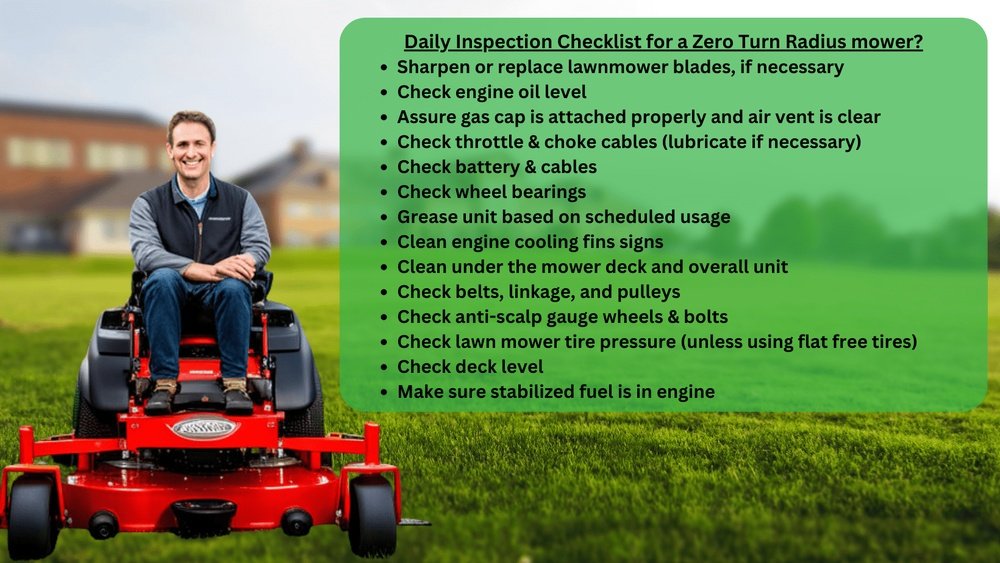
Every lawn mower owner knows the frustration of a rough-running engine or sudden loss of power. Often, the cause is simple: a clogged or old fuel filter. Replacing your lawn mower’s fuel filter is not just maintenance; it’s key to engine health. This task may seem technical, but with the right approach, anyone can do it safely and effectively. Whether you’re a beginner or someone who wants to do things right, this guide will help you understand every detail of replacing a fuel filter, avoid common mistakes, and keep your mower running strong.
Why The Fuel Filter Matters
The fuel filter is a small, often overlooked part, but its job is critical. It stops dirt, rust, and tiny particles from entering your engine through the gasoline. Over time, these particles can clog the filter, making it hard for fuel to reach the engine. This can cause starting problems, uneven running, or even engine damage. According to experts, changing the filter every 100 hours of use, or at least once a season, can prevent 70% of common fuel-related issues in small engines.
How To Identify A Bad Fuel Filter
Before you replace the filter, you need to know if it’s really the problem. Here are some signs your fuel filter needs attention:
- Hard starting – The engine struggles or takes longer to start.
- Loss of power – The mower slows down or stalls, especially under load.
- Unusual engine noise – Popping or sputtering sounds.
- Visible dirt in the filter – If the filter is see-through and you see particles or dark fuel.
- Reduced fuel efficiency – The mower uses more fuel than normal.
If you notice any of these, it’s time to check and likely replace your filter.

Credit: www.youtube.com
Tools And Materials Needed
Before starting, gather these items to make the process smooth:
- Replacement fuel filter (match your mower’s model)
- Pliers (needle-nose works best)
- Screwdriver (if clamps have screws)
- Work gloves (protects your hands)
- Small container (to catch fuel drips)
- Rags or paper towels
- Safety glasses
Having everything ready saves time and helps you avoid spills or mistakes.
Step-by-step Guide To Replacing The Fuel Filter
Changing the fuel filter is not difficult, but each step matters. Follow these instructions for a safe and clean replacement.
1. Ensure Safety First
- Turn off the mower and let it cool completely.
- Disconnect the spark plug wire to prevent accidental starting.
- Work in a well-ventilated area, away from open flames or heat.
2. Locate The Fuel Filter
Most fuel filters sit along the fuel line between the fuel tank and the carburetor. On many walk-behind mowers, it is under the engine cover or near the side of the engine. Riding mowers may have it closer to the tank.
3. Prepare For Fuel Drips
Place a container or rags under the filter area. A small amount of fuel will spill when you remove the filter.
4. Remove Hose Clamps
Most fuel filters have two clamps—one on each side. Use pliers or a screwdriver to loosen and slide them away from the filter.
5. Disconnect The Old Fuel Filter
Gently twist and pull the fuel filter out of the fuel line. If it’s stuck, wiggle it carefully, but avoid tearing the line. Some fuel may drip out—catch this with your container.
6. Install The New Fuel Filter
Check the arrow on the new filter. This arrow shows the correct fuel flow direction—from the tank to the engine. Insert the filter ends into the fuel lines, making sure the arrow points toward the carburetor.
7. Reattach Hose Clamps
Move the clamps back into place and tighten them around the filter ends. Make sure the connection is snug to prevent leaks.
8. Check For Leaks
Wipe off any spilled fuel. Reconnect the spark plug wire, start the mower, and watch for leaks. If you see any, turn off the mower and tighten the clamps more.
9. Clean Up
Dispose of any spilled fuel and old filter properly. Used fuel filters can be recycled in some areas—check local guidelines.
Common Mistakes To Avoid
Even a simple job can go wrong. Here are mistakes beginners often make and how to avoid them:
- Forgetting the flow direction – Installing the filter backward blocks fuel. Always check the arrow.
- Damaging fuel lines – Pulling too hard can crack or split the line. Work gently.
- Not tightening clamps – Loose clamps cause leaks and air in the fuel line.
- Mixing up filters – Not all filters are the same. Using the wrong size can cause poor fit or leaks.
- Skipping safety gear – Gasoline can irritate skin and eyes. Use gloves and glasses.
Choosing The Right Fuel Filter
All fuel filters are not equal. Consider these points when buying a replacement:
- Size and fit – Match the filter’s size to your fuel line diameter.
- Micron rating – Most mower filters are 10-40 microns, which blocks most dirt.
- Brand compatibility – Some mowers need a specific filter brand or part number. Check your manual.
Here’s a simple comparison of popular types:
| Filter Type | Best For | Usual Micron Rating |
|---|---|---|
| In-line clear plastic | Walk-behind mowers | 20-40 microns |
| Metal canister | Riding mowers/tractors | 10-30 microns |
| Universal fit | Older models | Varies |

Credit: www.youtube.com
How Often Should You Replace The Fuel Filter?
The ideal replacement time depends on your mower type and how often you use it. Most manufacturers recommend:
- Every 100 hours of operation, or
- Once per season
If you use old or dirty fuel, replace it more often. For riding mowers, the filter is more important because larger engines need more fuel flow. Regular replacement can extend engine life by several years.
Signs Your New Filter Is Working Properly
After changing the filter, your mower should run smoother and start easily. Here’s what to look for:
- Easier starts
- Consistent power during mowing
- No leaks around the filter area
- Clear fuel visible in a transparent filter
If problems remain, double-check your installation or consider other fuel system issues.
Practical Tips For A Cleaner Replacement
Here are two practical insights that help avoid mess and frustration:
- Pinch the fuel line – Use a small clamp or even pliers (with a rag to avoid damage) to gently pinch the fuel line upstream of the filter before removal. This stops extra fuel from spilling.
- Prime the carburetor – After installing the new filter, let the mower sit for a minute. This allows fuel to refill the carburetor, so it starts quickly.
Most beginners miss these simple steps, but they make the job much tidier and faster.
Troubleshooting After Replacement
Sometimes, a mower won’t start even after installing a new filter. Here’s what to check:
- Air in the fuel line – Crank the engine a few more times; air will work out.
- Loose connections – Re-tighten all clamps.
- Wrong filter type – Double-check that the filter matches your mower’s specs.
If you still have trouble, the problem may be in the carburetor or ignition, not the fuel filter.
Comparing Diy Vs. Professional Service
Is it better to replace the filter yourself, or hire a pro? Let’s compare:
| Aspect | DIY | Professional Service |
|---|---|---|
| Cost | $5–$15 | $30–$60 |
| Time | 15–30 minutes | 1–2 days (including wait) |
| Skill Needed | Basic hand tools | None (done for you) |
| Learning Value | High | Low |
Most owners can do this job with no special skills. However, if your mower is under warranty, check if self-repair might void it.
Environmental And Safety Considerations
Gasoline and filters should never be thrown in the trash. Always:
- Dispose of old fuel filters at a recycling center or hazardous waste site.
- Wipe up spills immediately—gas fumes can be dangerous.
- Wash your hands after handling fuel or filters.
For more environmental information, see the EPA’s household hazardous waste guidance.
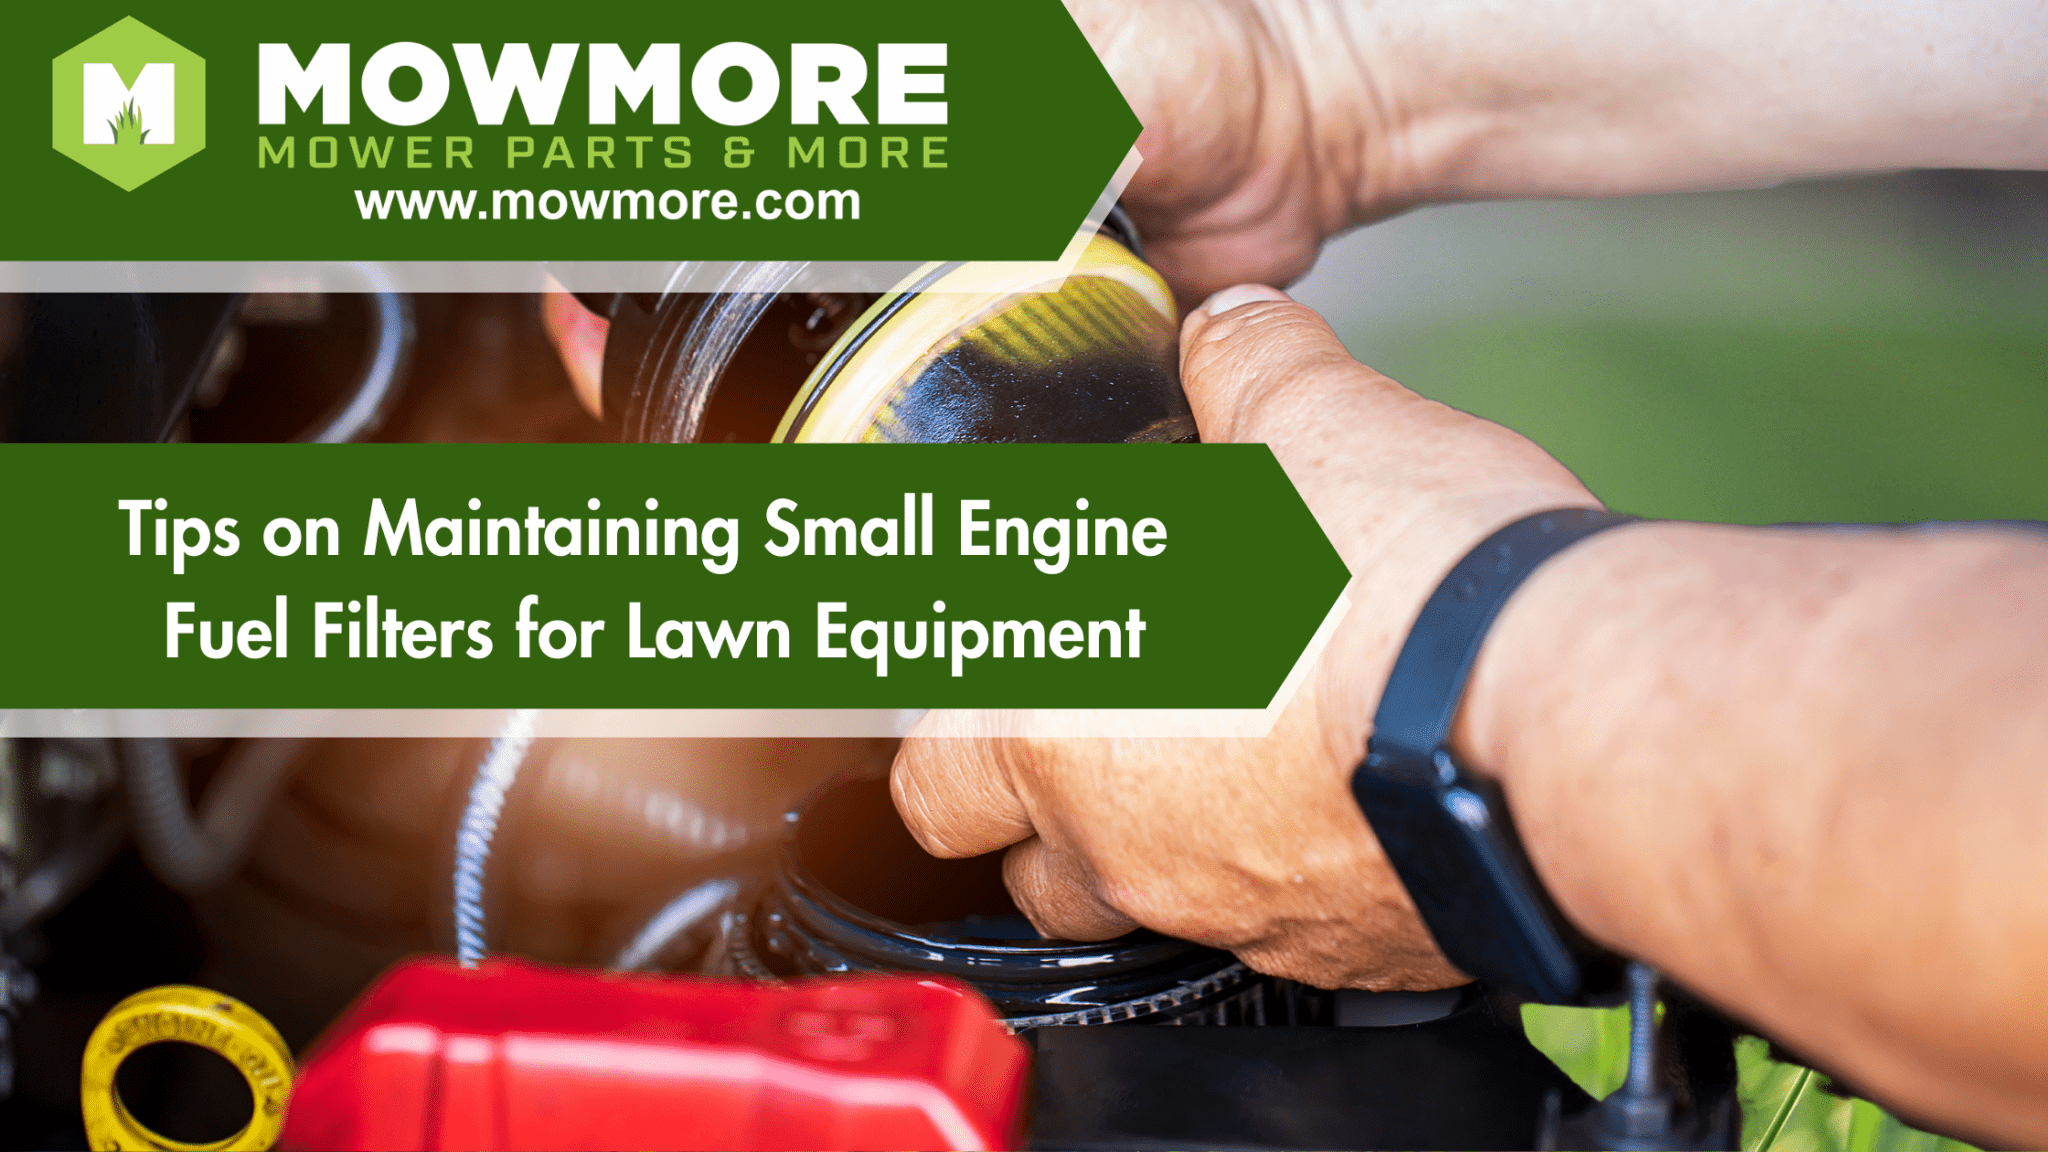
Credit: www.mowmore.com
Real-world Example
A homeowner with a five-year-old mower noticed it was hard to start and losing power. They replaced the filter using the right steps and saw immediate improvement—faster starts and smoother running. This shows how simple maintenance can restore your machine and save money on repairs.
Frequently Asked Questions
How Do I Know Which Fuel Filter To Buy For My Mower?
Check your mower’s manual for the specific part number or take the old filter to a hardware store for a match. The filter must fit your fuel line diameter and engine type.
Is It Safe To Replace The Fuel Filter Myself?
Yes, as long as you work with the engine off, disconnect the spark plug, and avoid open flames. Wear gloves and glasses to protect yourself from fuel.
How Long Does It Take To Change A Lawn Mower Fuel Filter?
Most replacements take 15–30 minutes for beginners. Having tools ready and following the steps makes it even quicker.
Can A Dirty Fuel Filter Damage My Engine?
Yes. A clogged filter restricts fuel flow, making the engine run lean. Over time, this can cause overheating, poor performance, or engine damage.
What Should I Do With The Old Fuel Filter?
Dispose of it at a hazardous waste center or recycling facility. Do not throw it in the trash, as it contains fuel residue.
Replacing your lawn mower fuel filter is one of the simplest ways to keep your engine running well. With the right tools and steps, you can do it yourself, save money, and prevent bigger problems. Remember, small parts like filters play a big role in your mower’s performance and life. Regular maintenance, careful handling, and knowing what to look for will keep your lawn looking great season after season.