
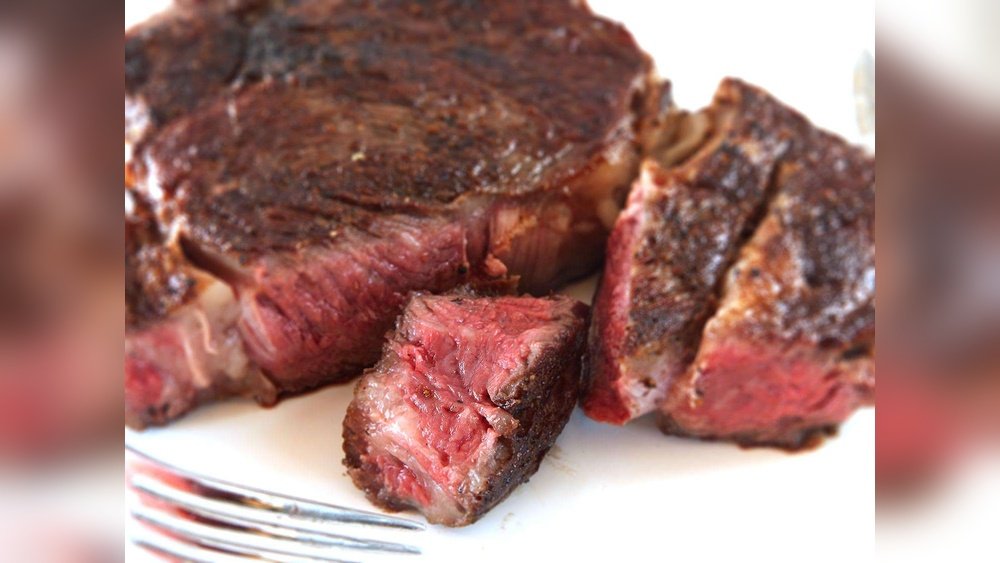
If you want to take your grilling skills to the next level, mastering the reverse sear method is a game changer. Imagine perfectly cooked steaks that are juicy inside with a mouthwatering, crispy crust on the outside — every single time.
This guide will show you how to use your grill to achieve that ideal balance of tenderness and flavor. Whether you’re grilling for family, friends, or just yourself, learning the reverse sear technique will make your meals unforgettable. Ready to impress your taste buds and become the grill master you’ve always wanted to be?
Keep reading to unlock the secrets of the reverse sear method on your grill.
Why Choose Reverse Sear
The reverse sear method changes how you cook steak. It starts with low, slow heat. Then, it finishes with a quick, hot sear. This method gives more control over cooking. It helps get the perfect inside and outside texture. Many grill lovers now choose reverse sear for better results.
Benefits For Steak Texture
Reverse sear cooks steak evenly from edge to edge. It avoids a thick gray band in the middle. The slow heat lets the inside warm gently. The quick sear creates a crispy, brown crust. This method keeps steak juicy and tender. It improves the flavor by locking in juices. The texture feels soft inside and crunchy outside.
Ideal Cuts For Reverse Sear
Thick cuts work best for reverse sear. Ribeye, strip steak, and filet mignon are good choices. These cuts need time to cook inside without burning outside. Thin steaks cook too fast for this method. The reverse sear suits steaks one inch or thicker. It also works well for roasts and thick chops.
Comparison With Traditional Searing
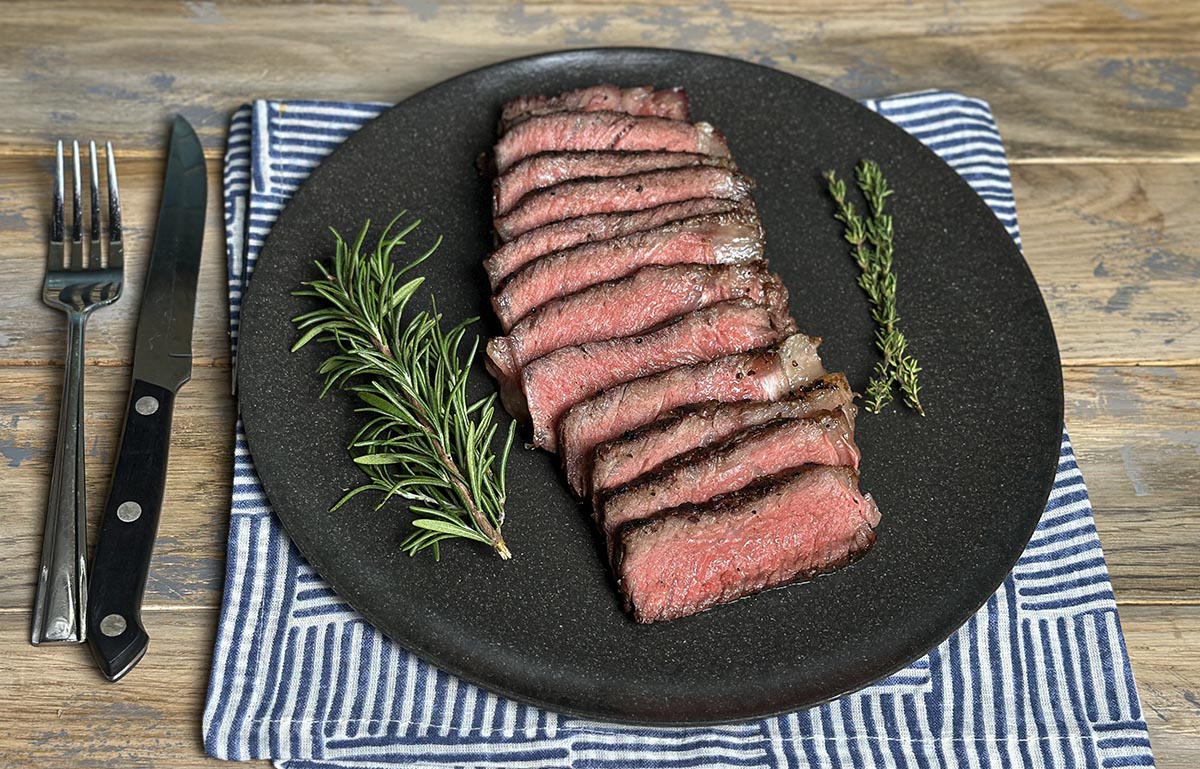
Traditional searing starts with high heat to brown the steak. Then, it finishes cooking at lower heat. This can cause uneven cooking. The outside may overcook before the center is done. Reverse sear avoids this problem by flipping the order. It gives more even cooking and better control. The crust forms last, preserving moisture inside.
Credit: www.smokedbbqsource.com
Preparing The Grill
Preparing the grill is the first step in the reverse sear method. This technique needs careful heat control. Setting up your grill properly ensures even cooking and a perfect crust on your steak.
Follow these simple steps to prepare your grill for the reverse sear method. It will help you cook juicy, tender meat with a flavorful finish.
Setting Up Two-zone Cooking
Two-zone cooking means creating separate heat areas on your grill. One side has direct heat for searing. The other side has indirect heat for slow cooking. This setup lets you cook meat slowly first, then sear it quickly. Arrange coals or burners to keep one side hot and the other cool.
Choosing Charcoal Or Gas
Both charcoal and gas grills work well for reverse searing. Charcoal adds smoky flavor to your meat. It takes longer to control heat but gives rich taste. Gas grills heat quickly and are easier to manage. Pick the grill type that fits your style and flavor preference.
Temperature Targets
Start by heating the indirect side to about 225°F (107°C). This low temperature cooks the meat evenly. The direct side should reach 500°F (260°C) or higher for searing. Use a grill thermometer to watch the heat. Keeping these temperature zones steady is key to a perfect reverse sear.
Selecting And Seasoning Steaks
The reverse sear method is popular for juicy, tender steaks. Many try it but make simple mistakes that spoil results. Avoiding these common errors improves your cooking and flavor. Focus on each step to get perfect steaks every time.
Overcooking During Slow Phase
Cook the meat slowly but watch the temperature closely. Overcooking here dries out the steak inside. Use a reliable meat thermometer to check progress. Remove the meat from heat a few degrees before the target temperature.
Insufficient Searing
Searing adds flavor and texture to your steak. A weak sear leaves the meat looking pale and tasting bland. Make sure your grill is very hot before searing. Sear each side quickly to form a dark, crispy crust.
Ignoring Rest Period
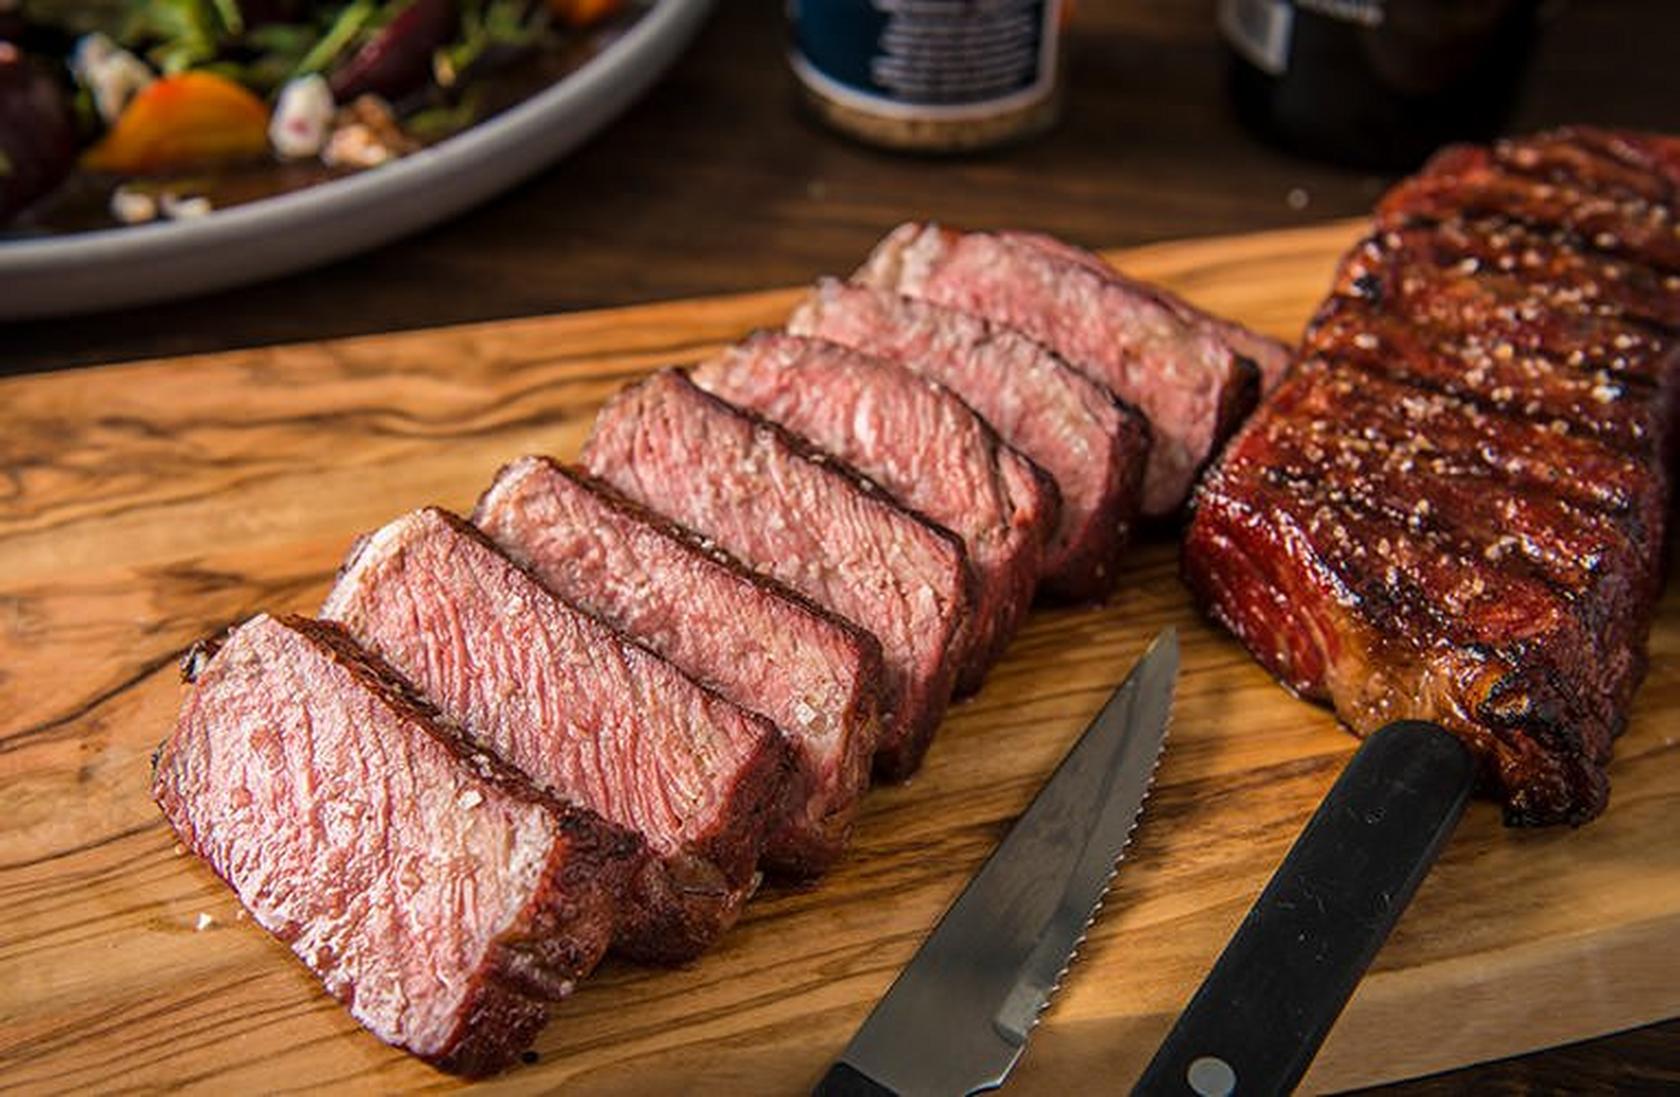
Resting lets juices redistribute inside the steak. Cutting too soon causes all juices to run out. Cover the meat loosely with foil and rest for 5 to 10 minutes. This step ensures a juicy, tender bite every time.
Credit: www.traeger.com
Slow Cooking Phase
The reverse sear method offers a unique way to cook steaks evenly and achieve a perfect crust. Adapting this technique depends on the type of grill used. Each grill type has its own heat zones and controls. Understanding these differences helps get the best results from reverse searing. Below are tips for gas, charcoal, electric, and pellet grills.
Gas Grill Tips
Gas grills provide easy temperature control, ideal for reverse searing. Set up two heat zones: one low and one high. Start cooking the steak on the cooler side to cook it gently. Once it reaches the desired internal temperature, move it to the hot side. Sear the steak quickly to form a crust. Keep the lid closed to maintain heat. Use a meat thermometer to check doneness.
Charcoal Grill Tips
Charcoal grills give smoky flavor and strong heat. Arrange coals on one side for direct heat and leave the other side empty for indirect heat. Place the steak over the cooler side first. Cook slowly until near the target temperature. Shift the steak to the hot coals for a fast sear. Control airflow to adjust the temperature. Avoid lifting the lid too often to keep heat steady.
Using Electric Or Pellet Grills
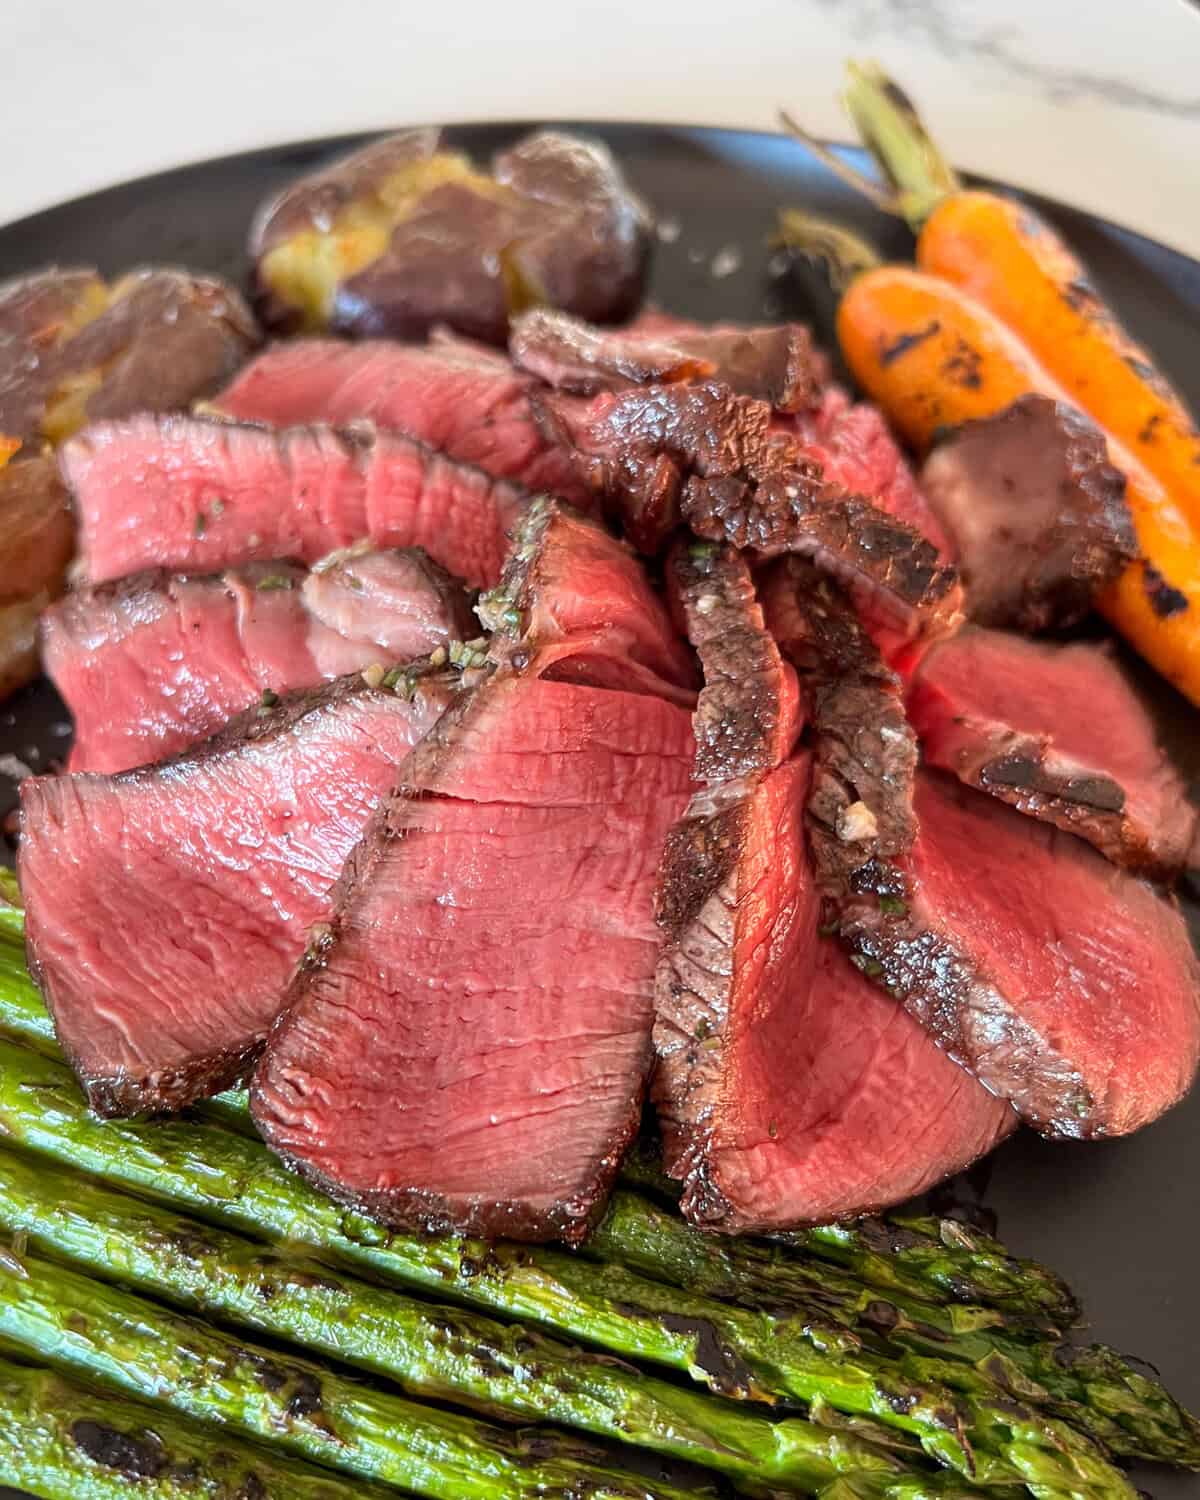
Electric and pellet grills use controlled heat for consistent cooking. Preheat the grill and create zones by adjusting temperature settings. Cook the steak slowly on the lower heat zone. Monitor the internal temperature with a thermometer. After the steak is almost done, raise the heat or move it to the hotter section. Sear quickly for a crust. Pellet grills add a mild smoky taste, enhancing the flavor.
Credit: zimmysnook.ca
Frequently Asked Questions
What Is The Reverse Sear Method On A Grill?
The reverse sear method involves slow-cooking steak over indirect heat first. Then, finish by searing it on high direct heat for a crust. This technique ensures even cooking and a juicy interior with a flavorful crust.
Why Choose Reverse Sear Over Traditional Grilling?
Reverse sear cooks steak evenly at low heat first, avoiding overcooked edges. It creates a tender, juicy inside and a perfectly caramelized crust. Traditional grilling often cooks unevenly, especially for thick cuts.
How Long Should I Cook Steak Using Reverse Sear?
Cook steak on low indirect heat for 20-40 minutes depending on thickness. Use a meat thermometer to reach about 10-15°F below your target doneness. Finish with a 1-2 minute high-heat sear per side.
Can I Reverse Sear On Any Grill Type?
Yes, reverse sear works on gas, charcoal, or pellet grills. Just set up a two-zone fire with one side for low indirect heat and the other for high direct heat searing.
Conclusion
The reverse sear method brings out rich flavors in your steak. It cooks meat evenly and locks in juices. Using low heat first, then a quick sear, creates a perfect crust. This simple technique suits thick cuts well. With practice, your grilling skills will improve.
Enjoy tender, juicy steaks every time you grill. Give this method a try on your next cookout. The results will surely impress family and friends.