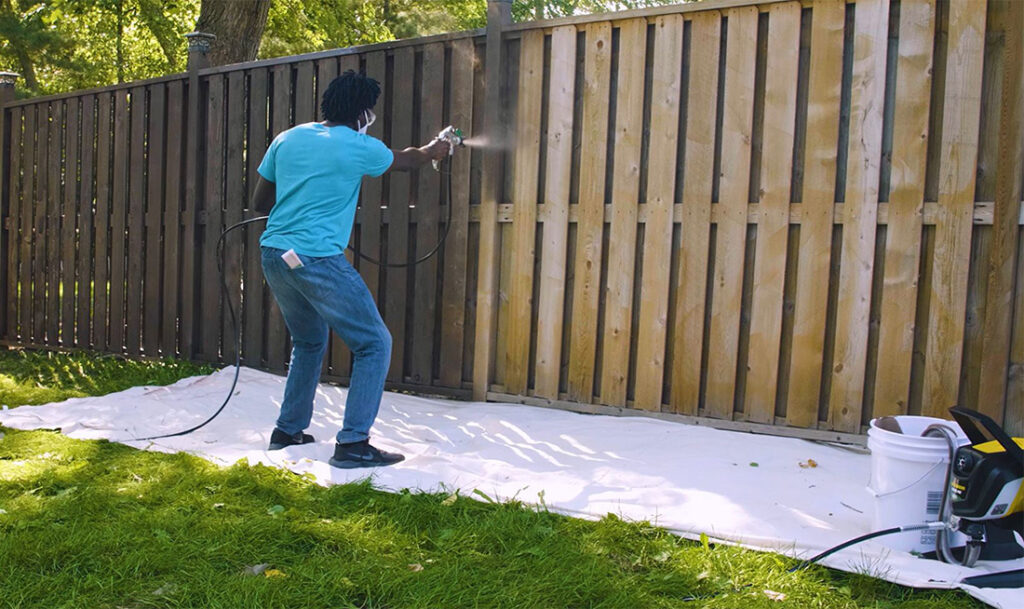
Prepare the wood surface by cleaning and sanding before applying stain evenly with a brush or sprayer.
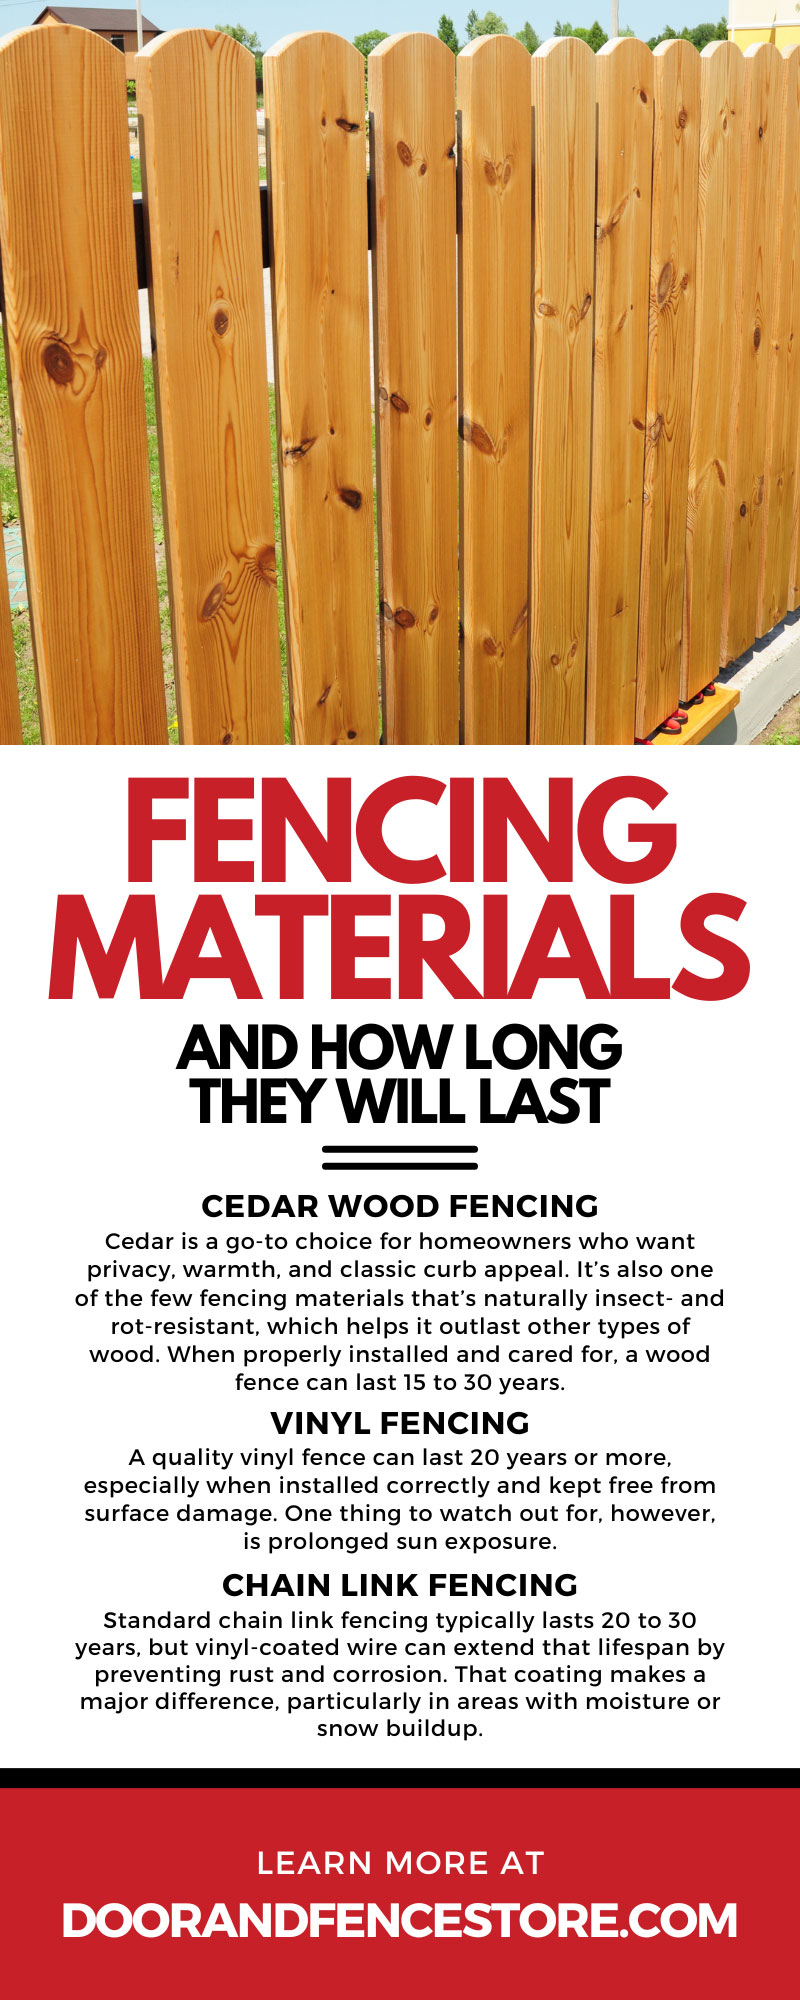
Staining a wood fence correctly not only enhances its appearance but also extends its lifespan by protecting it from the elements. Imagine transforming your dull, weathered fence into a striking and resilient feature that adds charm and value to your property. Whether you're a DIY enthusiast or a first-time homeowner, understanding the nuances of wood staining can prevent common pitfalls and ensure long-lasting results. Dive into this comprehensive guide to discover professional tips, step-by-step instructions, and practical advice on how to stain a wood fence with expertise and confidence.
Preparing the Fence for Staining
Before applying the stain, ensure that your fence is ready to absorb it effectively. This involves several crucial steps:
-
Clean the Fence: Remove dirt, mildew, and old stain using a power washer or scrub brush. Use a cleaning solution suitable for wood.
-
Sand the Surface: Once the wood is dry, lightly sand the surface to remove any rough patches and ensure even stain application.
-
Repair Damage: Fix any broken or splintered sections. Replace any sections that are too damaged to repair.
-
Protect Nearby Structures: Use tarps or plastic sheeting to cover plants, furniture, and areas you don't want stained.
Preparation is key to a successful staining job, ensuring that the wood absorbs the stain evenly and provides a smooth finish.
Choosing the Right Stain
Selecting the right stain is crucial for achieving the desired look and protection. Consider the following factors:
-
Type of Stain: Decide between water-based or oil-based stains. Water-based stains are easier to clean, while oil-based stains last longer and penetrate deeper.
-
Transparency: Choose from solid, semi-transparent, or transparent stains depending on the level of wood grain visibility you prefer.
-
Color: Select a color that complements your home and landscape. Test small samples before committing to a large area.
Choosing the appropriate stain helps ensure the fence’s beauty and longevity, tailored to your specific needs and conditions.

Applying the Stain
Proper staining techniques are vital for a uniform appearance. Follow these steps:
-
Choose Tools: Use a brush for detailed sections and a sprayer for large, even coats.
-
Staining Technique: Start at the top of the fence and work your way down, applying in long, smooth strokes following the wood grain.
-
Apply Even Coats: Apply one even coat, and if necessary, a second coat for deeper color and protection.
Consistency during application prevents blotches and streaks, ensuring a professional-looking finish.
Maintaining Your Stained Fence
Regular maintenance can extend the life of your stained fence. Here’s how:
-
Inspect Annually: Check for peeling, fading, or damage, particularly after harsh weather.
-
Clean Regularly: Remove dirt and debris with a mild detergent or wood cleaner.
-
Reapply Stain: Apply a fresh coat every 3-5 years or when the finish starts to wear, to reinvigorate its appearance and protective qualities.
Proactive care ensures your fence remains a central feature of your home for years to come.

Frequently Asked Questions of How to Stain a Wood Fence Correctly
How long should I wait before staining a new fence?
Allow the wood to weather for at least 1-2 months before staining to ensure proper absorption of the stain.
Can I stain a fence in damp conditions?
No, the wood should be completely dry to prevent improper adhesion and uneven finish.
How do I know when my fence needs restaining?
Look for signs of fading, chipping, or water soaking into the wood, indicating the need for a fresh coat.
Is it better to brush or spray the stain?
Both methods work, but spraying covers large areas quickly, while brushing allows for detailed application.
What is the best season for staining a fence?
Late spring or early fall are ideal, with mild temperatures and low humidity.
Conclusion
Staining a wood fence correctly transforms and protects your outdoor space with long-lasting impact. By following preparation steps, choosing the right stain, and applying it with precision, you achieve a professional and durable finish. Regular inspection and maintenance enhance the fence’s longevity, keeping it vibrant and secure. Ready to tackle your fence staining project? Explore our additional resources for more detailed tips, or subscribe for continuous updates on enhancing your outdoor living spaces.