
How to Use a Garden Spade to Dig Planting Holes: A Local Gardener’s Guide
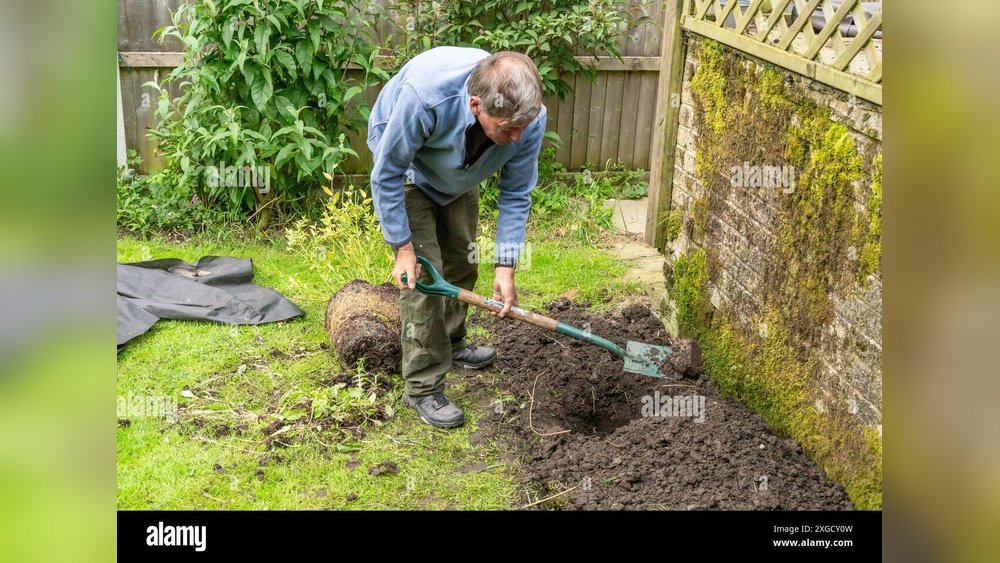
If you want to dig planting holes quickly and easily, use a garden spade. Hold the spade with both hands, press the blade into the soil with your foot, and lift out the dirt to create a hole. With the right technique, you’ll make perfect holes for your plants every time.
Why A Garden Spade Is Essential For Planting
Every local gardener knows the importance of good tools. The garden spade is more than just a shovel—it’s designed for digging, turning, and shaping soil. Its flat, sharp blade helps you create clean-sided holes, which means healthier plant roots and less strain on your back.
Expert Guidance: How To Use A Garden Spade For Planting Holes
Step 1: Choose The Right Spade
Not all spades are equal. For planting, pick a spade with a flat blade and a strong handle. Stainless steel blades resist rust, and a D-shaped grip offers better control. If your soil is heavy clay, a spade with a reinforced shaft will last longer.
| Feature | Why It Matters |
|---|---|
| Blade Material | Stainless steel lasts longer and cuts tough soil. |
| Handle Type | D-grip is easier on hands, especially for heavy digging. |
| Blade Shape | Flat blades make neat holes for planting. |
Step 2: Mark Your Planting Spot
Use a stick or small stake to mark where you want your hole. This keeps your garden organized and prevents crowding.
Step 3: Soften The Soil
Hard or compacted ground is tough to dig. Water the area lightly first, or use a hand fork to loosen the top layer. This step makes digging smoother and reduces fatigue.
Step 4: Position The Spade
Stand with your feet shoulder-width apart. Hold the handle with both hands, placing the blade’s edge right where you want the hole.
Step 5: Push The Spade In
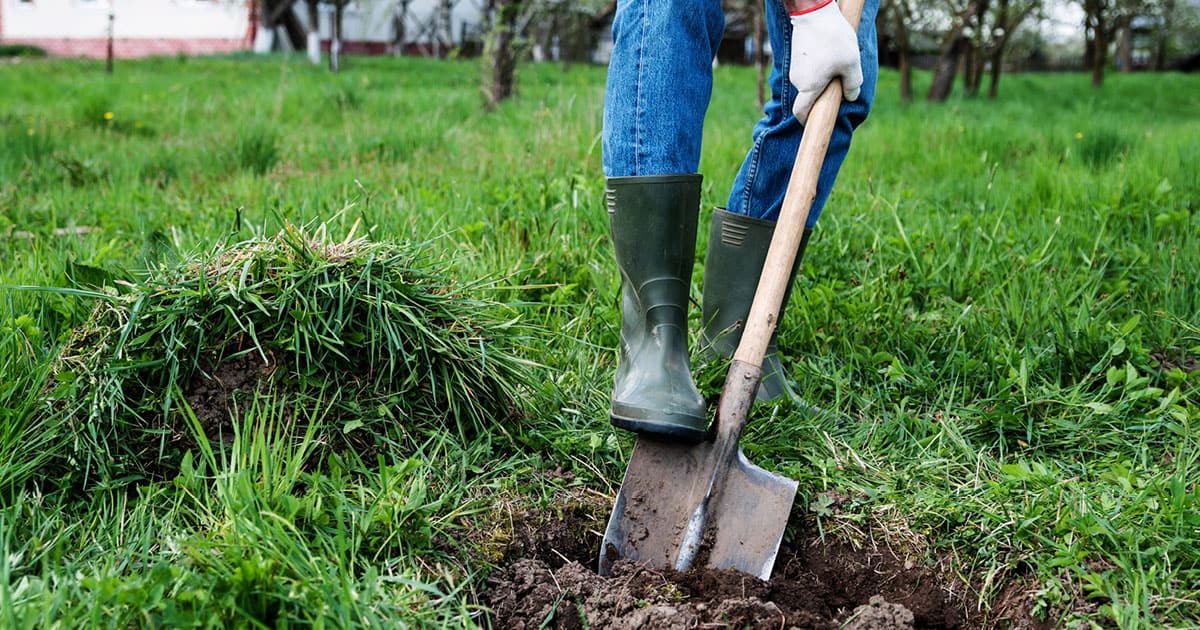
Step down firmly on the top edge of the spade with your foot. This drives the blade into the soil. If the ground is hard, rock the spade gently back and forth.
Step 6: Lift Out The Soil
Tilt the handle back to lever out a chunk of dirt. Place the soil beside the hole—you’ll need it to backfill once you plant.
Step 7: Check Hole Size
Planting holes should be twice as wide and just as deep as your plant’s root ball. Use your spade as a measuring stick by laying it across the hole.
Step 8: Break Up The Sides
Use the spade tip to lightly scrape the sides and bottom of the hole. This helps roots grow out and prevents a smooth, hard surface that blocks growth.
Step 9: Plant And Backfill
Set your plant in the hole. Refill with the soil you removed, pressing gently to remove air pockets. Water deeply.

Credit: www.amazon.com
Local Gardening Conditions: What You Need To Know
Soil in your area affects how you dig. In [Your Town/City], many gardens have clay or rocky soil, which means you might need extra effort.
| Soil Type | Digging Difficulty | Tips |
|---|---|---|
| Clay | Hard | Dig after rain or add compost to soften. |
| Sandy | Easy | Water before digging to reduce dust. |
| Rocky | Very Hard | Use a pickaxe for large stones first. |
Ask local gardening centers about your soil type or get a simple soil test kit. This helps you prepare and avoid surprises.
Cost Of Using A Garden Spade For Planting Holes
Most gardeners want to know—what’s the price? A good garden spade costs anywhere from $20 to $60, depending on quality and brand. Local hardware stores often have options for every budget.
- Basic steel spade: $20–$30
- Heavy-duty stainless steel spade: $40–$60
If you garden often, investing in a better spade saves money and effort over time. Borrowing or sharing tools with neighbors is also common in many local communities.
Common Beginner Mistakes And How To Avoid Them
Many new gardeners make the same errors when using a spade:
- Digging holes too small for the plant roots.
- Leaving smooth sides, which block roots.
- Not checking for rocks or roots before digging.
- Ignoring soil moisture—dry soil is much harder to dig.
- Forgetting to backfill with the original soil, which keeps nutrients at the right level.
A smart tip: Always carry a hand trowel or fork with your spade. These tools help you clear roots and break clumps quickly.
Local Tips For Digging Success
Gardening in [Your Town/City] has its own challenges. Here are ways to make your digging easier:
- Dig in the early morning or late afternoon, when the soil is cooler and softer.
- After heavy rain, wait a day or two for the ground to dry slightly—too much moisture makes soil sticky.
- Join local gardening clubs for advice on the best spade brands and digging techniques in your area.
Why Technique Matters: Insights From Local Experts
Many people think digging is just about muscle. Local gardening experts agree that good technique protects your back and helps plants thrive.
- Use your legs, not just your arms, to push the spade in.
- Keep your back straight as you lift soil.
- Switch sides often to avoid muscle strain.
These small changes make a big difference, especially if you’re planting many holes in one day.
Comparing Spades: Which Is Best For Local Soil?
Here’s a quick look at common spade types for our region:
| Spade Type | Best For | Notes |
|---|---|---|
| Border Spade | Small spaces, flower beds | Lighter and easy to handle |
| Digging Spade | General planting, tough soil | Stronger, bigger blade |
| Transplanting Spade | Moving established plants | Long, narrow blade for deep holes |
Choose the spade that matches your garden’s needs. For most planting, a digging spade is the best all-purpose tool.
Credit: southernlivingplants.com
Strong Roots Start With The Right Hole
Digging with a garden spade is a skill every local gardener should master. Each step—from choosing the tool to shaping the hole—matters for your plants’ health. If you want more tips on improving your garden, check out our guide on choosing the right garden soil for your area.
Ready to start planting? Visit your local garden center today, pick up a quality spade, and put these tips into action. Your plants—and your back—will thank you!
For more in-depth advice, see the Royal Horticultural Society’s digging guide.
Frequently Asked Questions
How Deep Should I Dig A Planting Hole With A Garden Spade?
A planting hole should be as deep as the plant’s root ball and twice as wide. This gives roots space to spread and helps the plant settle well.
What’s The Difference Between A Garden Spade And A Shovel?
A garden spade has a flat, straight blade for cutting and shaping soil. A shovel has a curved blade for scooping and moving soil.
Can I Use A Garden Spade On Rocky Or Clay Soil?
Yes, but it takes more effort. Water the area first, and consider a heavy-duty spade or a pickaxe for large rocks.
How Do I Keep My Planting Holes The Right Size?
Use the plant pot or root ball as a guide. Lay your spade across the hole to check depth and width.
How Much Does A Good Garden Spade Cost In [your Town/city]?
Prices range from $20 for basic models to $60 for high-quality stainless steel spades at local stores.
Should I Add Compost When Digging Planting Holes?
Yes, mixing in compost improves soil structure and gives new plants nutrients to grow strong.
What’s The Best Time Of Year To Dig Planting Holes Locally?
Early spring and fall are best. The weather is cooler, and the soil is easier to work.
—
If you’re interested in more gardening how-tos, visit our articles on mulching tips for local gardens and best plants for [Your Town/City] climate. Get out in your yard and start digging—your perfect garden awaits!

Credit: www.amazon.com