Have you ever wished you could save seeds from your own garden to plant again next season? Saving vegetable seeds is a simple way to keep your favorite plants growing year after year.
Not only does it save you money, but it also helps you grow vegetables perfectly suited to your garden’s unique conditions. In this guide, you’ll learn easy steps to collect, dry, and store seeds so they stay healthy and ready for planting.
Keep reading to discover how you can turn your garden’s harvest into a never-ending cycle of fresh, homegrown vegetables!

Credit: www.youtube.com
Choosing Seeds To Save
Choosing the right seeds to save is the first step to successful seed saving. This choice affects the quality and health of your future garden. Focus on plants that show strong growth and good fruit or vegetable production. Avoid plants that look weak or unhealthy. Good seed selection ensures better crops next season.
Select Healthy Plants
Pick plants that grow well and resist pests or diseases. These plants pass strong traits to their seeds. Choose fruits or vegetables that look ripe and fully mature. Avoid saving seeds from damaged or sick plants. Healthy plants produce healthy seeds.
Pick Open-pollinated Varieties
Open-pollinated plants breed true to type. This means their seeds grow into the same plant variety. They offer reliable seed saving for next season. These plants allow natural pollination by wind or insects. Saving seeds from open-pollinated plants keeps your garden consistent.
Avoid Hybrid Seeds
Hybrid seeds come from crossing two different varieties. Their seeds often do not grow true to type. This means plants from hybrid seeds can be unpredictable. They might have weak traits or poor yield. Avoid saving seeds from hybrids to keep your garden strong and uniform.
Harvesting Seeds
Harvesting seeds is a key step in saving vegetable seeds from your garden. It allows you to collect seeds that will grow healthy plants next season. Proper harvesting keeps seeds viable and strong. Careful timing and conditions make a big difference. Follow the right steps to get the best seeds.
Timing For Seed Collection
Collect seeds only after the vegetable fully matures. Immature seeds might not grow well. Watch for signs like dry pods or fruits. Some seeds need the plant to dry on the vine. Harvest seeds at the peak of ripeness for the best results.
Collect Mature Seeds
Pick seeds from fully mature vegetables or seed pods. Seeds should be firm and dry. Soft or green seeds are not ready. Let pods or fruits dry on the plant if possible. This step ensures seeds have developed fully inside.
Harvest On Dry Days
Choose dry days to collect your seeds. Moisture can cause mold or rot. Dry seeds store better and last longer. Avoid harvesting after rain or heavy dew. Dry weather helps keep seeds clean and healthy.
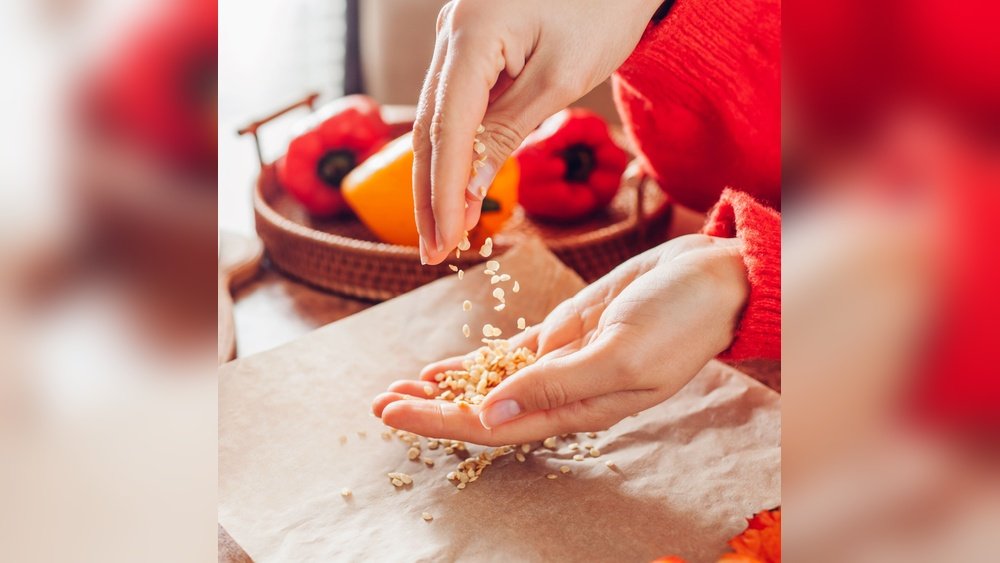
Cleaning Seeds
Cleaning seeds is a key step in saving vegetable seeds. Clean seeds store better and grow stronger plants. Removing unwanted parts and dirt improves seed quality. The process involves three simple tasks. These tasks prepare seeds for long storage and future planting.
Remove Seed Casings
Seed casings protect seeds but must be removed before storage. Gently crack or peel off the outer shell by hand. Some seeds need rubbing between fingers to free them. Removing casings helps seeds dry faster and prevents mold. Handle seeds carefully to avoid damage.
Separate Seeds From Debris
Seeds often mix with leaves, stems, and dirt. Use a fine sieve or screen to sift seeds. Blow gently to remove light chaff and dust. Picking out large pieces by hand also helps. Clean seeds reduce the risk of disease and pests.
Rinse And Dry Seeds
Some seeds benefit from a quick rinse in cool water. Place seeds in a fine mesh strainer and rinse gently. Avoid soaking seeds too long to prevent sprouting. Spread seeds on a paper towel or screen to dry. Keep them in a warm, airy spot away from direct sunlight. Dry seeds store longer and stay healthy.
Drying Seeds
Drying seeds is a crucial step in saving vegetable seeds from your garden. Proper drying prevents mold and decay. It helps maintain seed viability for the next planting season. Seeds must be completely dry before storage. Moist seeds can rot or sprout prematurely. Follow these simple methods to dry your seeds effectively.
Spread Seeds Thinly
Place seeds in a single layer on a clean surface. Avoid stacking seeds on top of each other. This allows air to circulate around each seed. Good airflow helps the seeds dry evenly. Use a tray or plate to spread them out thinly.
Use Paper Towels Or Newspaper
Lay seeds on paper towels or newspaper. These materials absorb moisture from seeds quickly. Avoid using plastic or cloth, which can trap moisture. Change paper if it becomes damp. Keep seeds in a dry, well-ventilated area.
Allow One To Three Weeks To Dry
Drying times vary by seed type and humidity. Most seeds take one to three weeks to dry fully. Check seeds regularly to ensure they do not stay damp. Seeds are ready when they feel hard and brittle. Patience during drying ensures healthy seeds for planting.
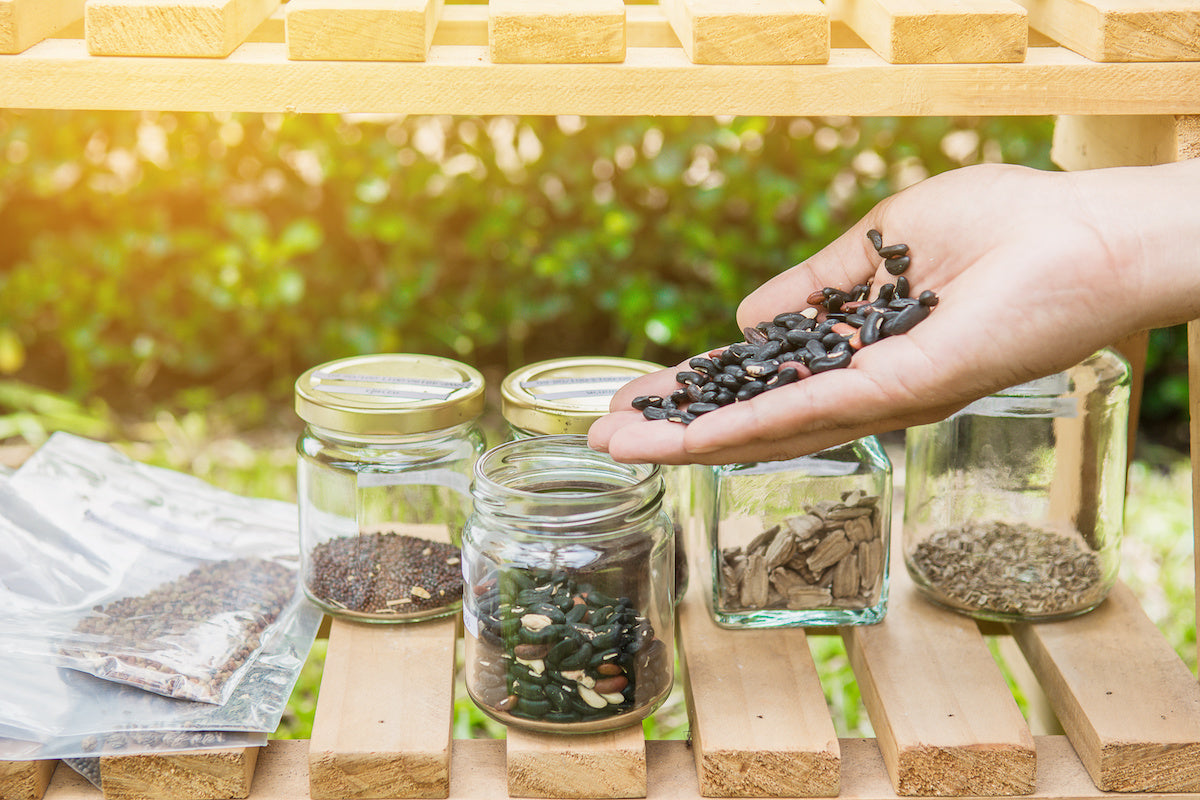
Storing Seeds
Proper seed storage keeps your vegetable seeds healthy and ready for planting. Seeds need protection from moisture, heat, and light. Without good storage, seeds can lose their ability to grow. Saving seeds is just the first step. Storing them correctly ensures success in your garden next season.
Use Labeled Envelopes Or Containers
Place dried seeds in paper envelopes or small containers. Label each with the vegetable name and date collected. This helps you keep track of different seeds easily. Avoid using plastic bags without ventilation. Paper allows seeds to breathe and stay dry.
Store In Cool, Dark, Dry Place
Choose a place that stays cool all year. A closet, cupboard, or basement works well. Keep seeds away from sunlight and moisture. Heat and light can damage seeds quickly. Dryness prevents mold and early sprouting. Store seeds in a sealed container with a silica gel packet for extra dryness.
Consider Refrigeration For Longevity
For longer seed life, use a refrigerator. Keep seeds in airtight containers to avoid moisture. Avoid freezer unless seeds are very dry. The fridge slows down seed aging and keeps them viable for years. Check seeds yearly for signs of damage or mold.
Credit: sowrightseeds.com
Testing Seed Viability
Testing seed viability is essential to ensure your saved vegetable seeds will grow healthy plants. It helps you know which seeds are still good and which ones have lost their ability to sprout. This simple process saves time and effort in your garden by focusing on seeds that will produce strong seedlings.
Perform Germination Test
Start by selecting a small number of seeds from your saved batch. Usually, 10 seeds work well for this test. Place the seeds in a warm, moist environment to encourage sprouting. This method shows how many seeds can successfully germinate and grow.
Prepare Seeds With Paper Towel Method
Take a clean paper towel and moisten it with water. Lay the seeds evenly spaced on one half of the towel. Fold the towel over the seeds to cover them completely. Put the folded towel inside a plastic bag or container to keep moisture in.
Count Sprouted Seeds
Check the seeds daily for signs of sprouting. After about 5 to 7 days, count how many seeds have sprouted. Calculate the germination rate by dividing sprouted seeds by total seeds tested. A rate above 70% means your seeds are good to plant.
Common Mistakes To Avoid
Saving vegetable seeds from your garden is rewarding. Avoiding common mistakes ensures strong, healthy seeds for next season. These errors can reduce seed quality and germination rates. Learn what to watch out for to protect your seeds.
Neglecting Proper Labeling
Not labeling seeds causes confusion later. You might forget the plant variety or harvest year. Always write the seed type and date on the packet. Use waterproof markers to keep labels clear. Proper labeling saves time and prevents planting errors.
Saving Seeds From Hybrid Plants
Hybrid plants produce seeds that may not grow true to the parent. Their offspring can show mixed traits or be weak. Avoid saving seeds from hybrids if you want consistent plants. Choose open-pollinated or heirloom varieties instead. This keeps your garden reliable and healthy.
Storing Seeds In Humid Conditions
Humidity damages seeds by causing mold and early sprouting. Store seeds in dry, cool places to keep them viable. Use airtight containers and add silica gel packets if possible. Check seeds regularly to ensure no moisture is present. Proper storage extends seed life and improves germination.
Tips For Different Vegetables
Saving seeds from your garden is a rewarding way to continue growing favorite vegetables. Different vegetables have unique seed-saving needs. Understanding these helps keep seeds viable longer. Here are some tips for saving seeds from common vegetables.
Tomatoes And Melons Last Longer
Seeds from tomatoes and melons stay good for several years. They have a natural protective coating. Store them in a cool, dry, dark place. Use paper envelopes or glass jars for storage. Proper storage helps maintain their germination power.
Onion Seeds Have Shorter Lifespan
Onion seeds do not last as long as others. They usually remain viable for one year only. Keep them dry and cool to extend their life. Harvest onion seeds only from healthy, mature plants. Use them quickly to ensure good sprouting rates.
Plant Extra To Offset Low Germination
Some seeds lose their ability to sprout over time. Plant more seeds than usual to make up for this. This improves the chance of enough plants growing. Testing seed germination before planting is helpful. It tells how many seeds are still good.

Credit: www.amazon.com
Frequently Asked Questions
How To Save Seeds From Your Garden For Next Year?
Collect mature seeds from healthy plants on a dry day. Clean and dry seeds for 1-3 weeks. Store them labeled in cool, dark, dry containers. Test germination before planting. Plant extra seeds to ensure growth next season.
Are 20 Year Old Seeds Still Good?
20-year-old seeds might still grow if stored in cool, dark, dry conditions. Germination rates usually drop significantly. Test viability before planting.
How Long Do You Let Seeds Dry Before Storing?
Let seeds dry for 1 to 3 weeks on a paper or cardboard surface before storing. Ensure they are completely dry to prevent mold.
What Are Common Seed Saving Mistakes?
Common seed saving mistakes include poor drying, improper labeling, storing in humid places, mixing seed varieties, and not testing germination before planting.
Conclusion
Saving vegetable seeds from your garden helps you grow plants year after year. Collect seeds from healthy, ripe vegetables for best results. Clean and dry seeds thoroughly before storing them in labeled containers. Keep seeds in a cool, dark, and dry place to preserve their life.
Test seed germination before planting to ensure good growth. Plant extra seeds to make up for any that don’t sprout. With simple care, you can enjoy a thriving garden every season. Seed saving saves money and keeps your garden unique.
Try it and see the difference yourself!