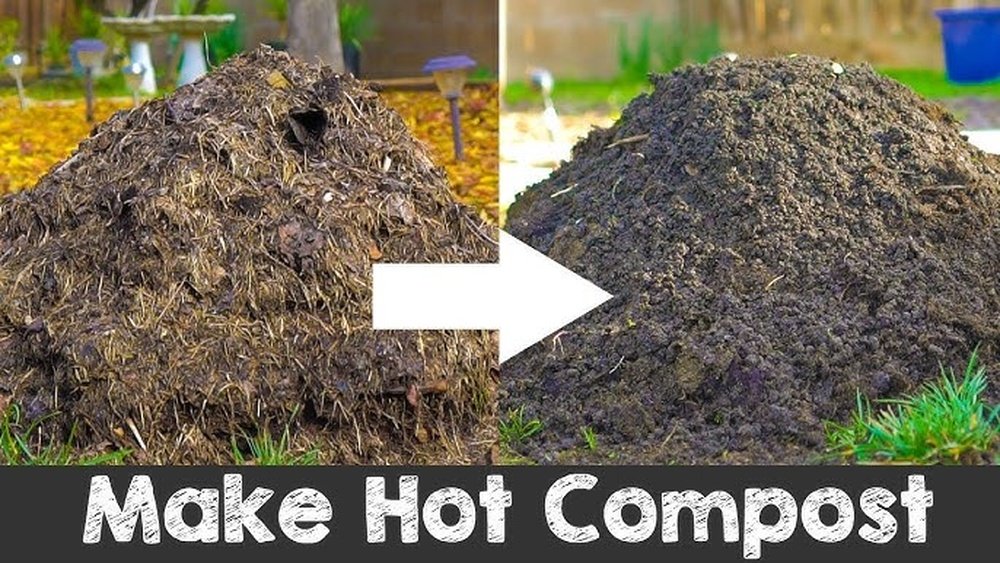
Are you ready to turn your kitchen scraps and yard waste into rich, nutrient-packed compost faster than ever? Imagine having dark, crumbly compost ready in just 18 days!
Hot composting is the secret to speeding up the natural breakdown process, and with the right steps, you can master it yourself. In this guide, you’ll discover how to create the perfect compost pile that heats up quickly, breaks down organic matter efficiently, and delivers amazing results in less than three weeks.
Keep reading, and you’ll learn exactly what to do to supercharge your garden’s soil and grow healthier plants—all while reducing waste right at home.
Preparing Materials
Preparing materials is the first key step in hot composting in 18 days. The right materials speed up decomposition and create heat. Proper preparation helps build a compost pile that breaks down quickly and evenly.
Focus on balancing different types of organic matter. Size and moisture also play a big role. Getting these elements right sets the stage for a successful hot compost.
Choosing Greens And Browns
Greens are rich in nitrogen. Examples include vegetable scraps, grass clippings, and coffee grounds. Browns provide carbon. Think dry leaves, straw, and shredded paper. A good mix keeps the compost healthy and active.
Use about two parts browns to one part greens. This balance feeds microbes and keeps the pile from smelling bad. Avoid too many wet or oily greens to prevent slow breakdown.
Shredding And Sizing
Smaller pieces compost faster. Chop or shred materials into 1 to 2 inch bits. This increases surface area for microbes to work on. Large chunks slow the process and trap air pockets.
Shredding dry leaves or stalks helps them mix well with greens. Uniform size improves heat distribution inside the pile. Aim for consistent sizing for best results.
Moisture Balance
Moisture is crucial for hot composting. The pile should feel like a wrung-out sponge—not too wet or dry. Dry materials absorb moisture and slow composting. Too much water blocks air and causes odors.
Spray water evenly while building the pile. Check moisture daily, especially in hot weather. Adjust by adding water or dry browns as needed. Proper moisture keeps microbes active and heat high.

Credit: www.youtube.com
Building The Pile
Building the compost pile is the first crucial step in hot composting. A well-built pile heats up quickly and breaks down materials fast. You need to arrange your materials carefully to create the right environment for microbes.
This section explains how to layer materials, choose the right pile size and shape, and pick the best location for your compost.
Layering Techniques
Start with a layer of coarse materials like small branches or straw. This helps air flow at the bottom. Next, add alternating layers of green and brown materials. Green materials include kitchen scraps and fresh grass. Brown materials are dry leaves, paper, or cardboard. Keep each layer about 2 to 4 inches thick. This mix balances carbon and nitrogen, helping microbes work well. Water each layer lightly to keep it moist but not wet.
Pile Size And Shape
The pile should be at least 3 feet wide, 3 feet tall, and 3 feet deep. This size keeps heat inside and allows good air circulation. Too small a pile will not heat up properly. Shape the pile with steep sides to hold heat better. A compact shape speeds up decomposition. Avoid making the pile too flat or spread out.
Location Tips
Choose a spot with good drainage to keep the pile from getting soggy. It should get some sunlight to help maintain warmth. Avoid placing the pile in full shade or near buildings that block airflow. Leave space around the pile for easy turning and adding materials. A level area helps keep the pile stable and balanced.
Maintaining Heat
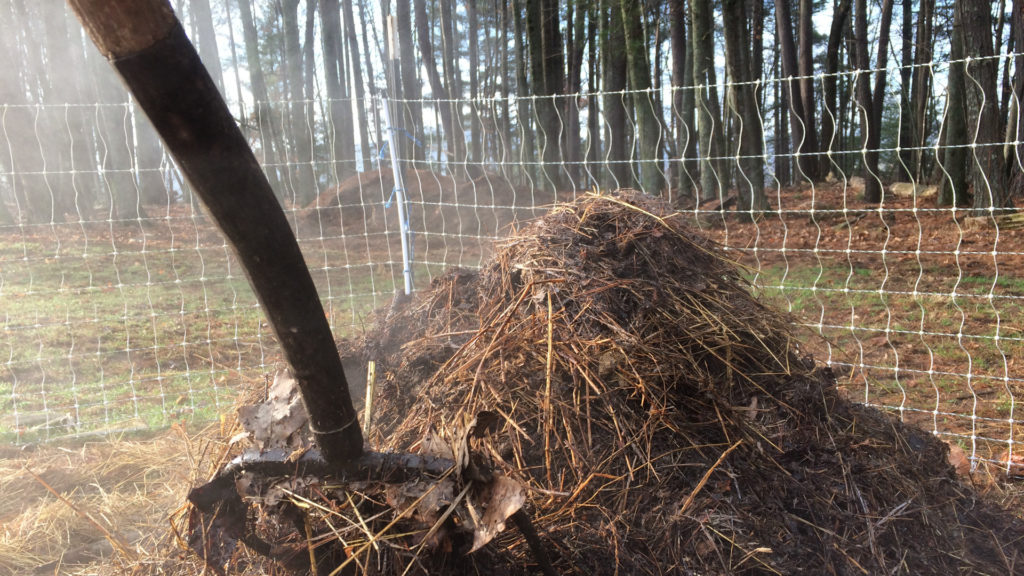
Maintaining heat is crucial for successful hot composting in 18 days. The heat drives the breakdown of materials and kills weed seeds and pathogens. Without steady heat, the process slows or stops. You must watch the pile closely and adjust it as needed. Three key factors keep the temperature right: monitoring temperature, turning the pile, and managing airflow.
Temperature Monitoring
Check the compost temperature daily using a compost thermometer. Insert it deep into the pile center for accurate readings. Ideal heat ranges from 130°F to 160°F. Temperatures below this slow decomposition. Above 160°F may kill beneficial microbes. Keep the temperature steady for fast composting.
Turning Schedule
Turn the compost pile every 2 to 3 days. Turning mixes materials and adds oxygen. It moves cooler outer layers to the center. This boosts heat and speeds decomposition. Use a pitchfork or compost aerator. Turn more often if the temperature drops. Avoid over-turning to keep heat inside.
Managing Airflow
Proper airflow fuels microbes that create heat. Too little air causes bad smells and slows composting. Too much air cools the pile. Build the pile with coarse materials like small branches or straw at the base. This helps air flow upward. Leave space between materials for ventilation. Cover the pile to keep moisture but allow air in.
Speeding Up Decomposition
Speeding up decomposition is key to making hot compost in just 18 days. The faster the organic materials break down, the quicker you get rich, dark compost. Certain methods and materials boost the activity of microbes that do the work. Keeping the pile warm and moist helps microbes thrive and speeds the process. Let’s explore some ways to speed up your composting effectively.
Adding Activators
Activators are materials that help start or boost the composting process. They add nitrogen, microbes, or enzymes to your pile. Examples include fresh grass clippings, manure, or finished compost. Adding a handful of garden soil also introduces beneficial microbes. These activators increase microbial activity and heat production. Use activators in small amounts to avoid bad smells.
Using The Berkeley Method
The Berkeley Method is a proven way to hot compost quickly. It uses a specific mix of browns and greens, layered to keep the pile balanced. The pile gets turned every two days to add oxygen. This keeps the microbes active and the temperature high. The pile size is important, usually about 1 cubic meter. This method can produce compost in 18 days or less.
Avoiding Common Mistakes
Common mistakes can slow down decomposition. Avoid adding too much wet or dry material at once. This can create bad odors or slow the process. Keep the pile moist, like a wrung-out sponge. Too much moisture blocks oxygen, too little stops microbes. Don’t forget to turn the pile regularly to add air. Avoid adding large chunks of wood or tough materials. These take longer to break down.
Finalizing Compost
Finalizing your compost is a critical step in the hot composting process. This stage ensures your compost is safe and nutrient-rich for your garden. Properly finished compost supports healthy plant growth and improves soil structure.
Recognizing Finished Compost
Finished compost looks dark and crumbly like rich soil. It smells earthy and fresh, not sour or rotten. You won’t see recognizable food scraps or leaves. The temperature will have cooled to match the outside air. These signs show the compost has fully broken down.
Curing Process
After hot composting, curing allows the material to stabilize. Keep the compost pile moist but not wet. Let it sit for 2 to 4 weeks without turning. This resting time lets beneficial microbes finish their work. Curing reduces any harsh chemicals that might harm plants.
Storage And Usage
Store your cured compost in a dry, shaded place to keep it fresh. Use it as mulch or mix it into garden beds. Compost improves soil texture and adds nutrients slowly. Avoid storing compost in plastic bags for long periods. Use compost within a few months for best results.
Credit: gardensthatmatter.com

Credit: au.permacultureprinciples.com
Frequently Asked Questions
What Is Hot Composting And How Does It Work?
Hot composting is a fast process that breaks down organic waste using high heat. Microorganisms rapidly decompose materials, generating temperatures of 130-160°F. This method kills pathogens and weed seeds, producing rich compost in about 18 days.
How Do I Start Hot Composting In 18 Days?
Begin with a balanced mix of green and brown materials. Chop waste into small pieces, layer them, and maintain moisture. Turn the pile every 2-3 days to aerate and sustain heat for quick decomposition.
What Materials Are Best For Hot Composting?
Use nitrogen-rich greens like kitchen scraps and grass clippings, combined with carbon-rich browns such as dry leaves and straw. Avoid meat, dairy, and oily foods to prevent odors and pests.
How Often Should I Turn My Hot Compost Pile?
Turn the compost pile every 2 to 3 days to supply oxygen and evenly distribute heat. Frequent turning accelerates decomposition and helps achieve the 18-day composting goal.
Conclusion
Hot composting in 18 days is simple with the right steps. Keep your pile moist, balanced, and well-aerated. Turn it regularly to speed up the process. Use a mix of green and brown materials for best results. This method saves time and creates rich soil fast.
Start today and enjoy healthy plants tomorrow. Composting helps reduce waste and supports the environment. Give hot composting a try—it works well for gardeners everywhere.