
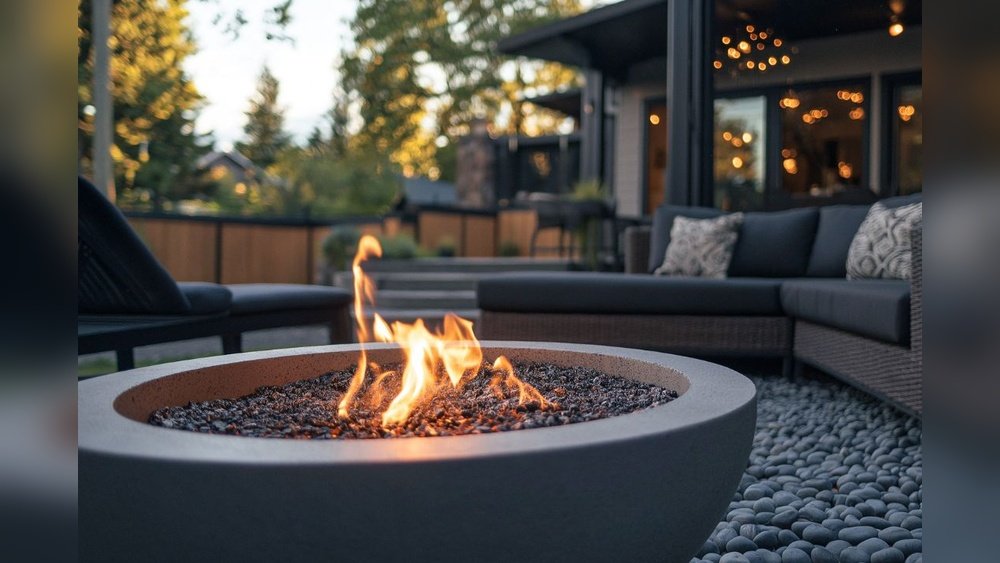
Building a backyard fire pit is more than a weekend project—it’s a way to create a relaxing outdoor space, enjoy cozy evenings, and even boost your home’s value. Many people dream about having their own fire pit, but worry it might be too hard or expensive.
The truth is, with the right steps and a bit of planning, almost anyone can build a safe, attractive fire pit that lasts for years.
This guide covers every detail you need to know. Whether you want a simple stone circle or a modern metal design, you’ll discover how to choose the best type, pick the right spot, understand safety rules, gather materials, and build your fire pit step-by-step.
You’ll also learn the costs, see practical examples, and find out how to avoid common mistakes. If you’re ready to transform your backyard into a welcoming place for family and friends, keep reading—you’ll soon have the confidence to start your own fire pit project.
Why Build A Backyard Fire Pit?
A fire pit is more than just a decorative feature. It has many benefits that make it a smart addition to your outdoor space.
- Social Gathering Spot: Fire pits are perfect for bringing people together. You can host parties, roast marshmallows, or enjoy quiet evenings with loved ones.
- Year-Round Use: Even in cooler months, a fire pit lets you spend more time outdoors.
- Increases Property Value: According to the National Association of Realtors, outdoor living spaces can boost home value by up to 10%.
- Versatile Designs: You can customize your fire pit to fit your style—rustic, modern, or anything in between.
- Cooking Opportunities: Many fire pits allow for grilling or roasting, adding extra fun to your backyard.
These benefits show why fire pits have become so popular. But before you start building, it’s important to understand your options and the key steps involved.
Fire Pit Types And Which To Choose
Choosing the right fire pit is the first big decision. There are several types, and each has unique advantages and disadvantages.
| Type | Material | Cost Range | Ease of Build | Maintenance |
|---|---|---|---|---|
| In-Ground | Stone, Brick | $100–$350 | Moderate | Low |
| Above-Ground | Metal, Stone, Concrete | $150–$500 | Easy to Moderate | Medium |
| Portable | Metal | $50–$250 | Easy | Low |
| Gas Fire Pit | Metal, Stone | $300–$1,500 | Complex | Medium |
In-ground Fire Pit
- Sits below ground level.
- Looks natural and blends well.
- Good for wood burning.
- Needs digging and careful setup.
Above-ground Fire Pit
- Sits on top of the ground.
- Easy to build with blocks or bricks.
- Can be moved or changed if needed.
Portable Fire Pit
- Metal bowls or baskets.
- Can be moved anywhere.
- Great for renters or small spaces.
Gas Fire Pit
- Uses propane or natural gas.
- Clean burning, less smoke.
- Needs professional installation for gas lines.
For most homeowners, a simple above-ground stone fire pit is the best choice. It’s affordable, looks great, and is easy to build. If you want something permanent, in-ground pits are also a good option. For flexibility, portable metal fire pits are ideal.
Credit: www.reddit.com
Choosing The Perfect Location
Location is one of the most important decisions. Picking the wrong spot can lead to safety hazards or make your fire pit less enjoyable.
What To Consider
- Distance from Structures: Keep at least 10 feet away from your house, shed, fence, or trees.
- Wind Direction: Avoid windy spots—smoke and sparks can travel.
- Flat Surface: Use a level area to prevent tipping or uneven burning.
- Local Rules: Check city or county regulations. Some places restrict fire pits or require permits.
- Accessibility: Choose a spot easy to reach from your patio or seating area.
Most people miss checking local regulations. Always call your city office or visit their website before you start. Some areas limit fire pit size or ban open flames at certain times.
Example: Safe Fire Pit Placement
Imagine you have a small backyard. You find a flat spot 12 feet from your house, away from overhanging branches. It’s easy to walk to, and you can place chairs around it. This is a good, safe location.
Safety Rules And Best Practices
Fire pits are fun, but safety must always come first. Follow these best practices to protect your home and family.
- Clear Area: Remove dry leaves, branches, and grass around the fire pit.
- Use the Right Materials: Only burn dry, untreated wood. Avoid plastics, painted wood, or trash.
- Supervise: Never leave a fire unattended.
- Keep Water Nearby: Have a bucket of water, sand, or a fire extinguisher ready.
- No Overhanging Branches: Make sure nothing is above the fire pit that can catch fire.
- Avoid Flammable Liquids: Don’t use gasoline or lighter fluid to start the fire.
- Children and Pets: Keep them at a safe distance.
Many beginners forget about wind. Even a small breeze can carry sparks and cause fires. Always check the weather before lighting your fire pit.

Credit: www.reddit.com
Gathering Materials And Tools
Before building, make a complete list of what you need. This helps avoid delays and mistakes.
Materials For A Stone Fire Pit
- Fire bricks or concrete blocks (about 36–40 pieces for a 3-foot diameter)
- Gravel (2–4 bags, for the base)
- Sand (1–2 bags, for leveling)
- Fire-resistant adhesive (optional, for extra strength)
- Steel fire ring (optional, protects bricks from heat)
- Wood or charcoal (for burning)
Tools Needed
- Shovel
- Tape measure
- Level
- Rubber mallet
- Wheelbarrow
- Gloves
- Garden hose
Gathering everything before you start makes the project much smoother. If you’re building a gas fire pit, you’ll also need gas lines, burners, and a licensed installer.
Planning And Designing Your Fire Pit
A little planning saves time and money. Decide the shape, size, and look before you begin.
Shape And Size
Most fire pits are round, but square or rectangular designs are also popular. For a family fire pit, a diameter of 3–4 feet works well. This fits 4–6 people comfortably.
Height
Above-ground fire pits are usually 12–18 inches high. This is enough to contain the fire but still let people warm their hands.
Style Choices
- Rustic: Natural stones or bricks
- Modern: Smooth concrete, metal accents
- Traditional: Classic brick patterns
Drawing your design on paper or using online tools helps visualize the finished pit. Beginners often skip this step, but it prevents mistakes later.
Step-by-step Building Instructions
Now it’s time for the main event—building your fire pit. Follow these steps for a safe, durable result.
Step 1: Mark The Area
- Use a tape measure to find the center.
- Place a stake and tie a string to it. Stretch the string to your chosen radius (1.5–2 feet for a 3–4 foot diameter).
- Walk around the stake and mark the circle with spray paint or chalk.
Step 2: Dig The Base
- Dig out the circle about 6–8 inches deep.
- Remove grass, roots, and rocks.
- Level the bottom with a shovel.
Step 3: Add Gravel And Sand
- Pour gravel to cover the bottom (about 4 inches deep).
- Add a layer of sand (1–2 inches) to help with leveling.
- Use a level to make sure the base is flat.
Step 4: Lay The First Row
- Place fire bricks or blocks in a circle on the sand.
- Use a level and rubber mallet to adjust each block.
- Make sure the blocks touch tightly—no gaps.
Step 5: Build Up Rows
- Add more rows, staggering the seams for strength.
- You can use fire-resistant adhesive for extra stability.
- Build up to your chosen height (usually 2–3 rows).
Step 6: Install Fire Ring (optional)
- Place a steel fire ring inside the brick circle.
- This protects the blocks from heat and extends their life.
Step 7: Fill Gaps
- Fill small gaps between blocks with sand.
- Make sure the structure feels solid.
Step 8: Final Touches
- Check everything is level and secure.
- Clean up the area around the pit.
- Set up chairs or benches.
Step 9: First Burn
- Start with a small fire to test the pit.
- Watch for smoke or heat escaping through cracks.
Building a fire pit takes about 4–8 hours for most people, depending on the size and materials.
Costs And Budget Planning
Fire pits can be built for almost any budget. Here’s what you can expect:
| Item | Low Cost | Average Cost | High Cost |
|---|---|---|---|
| Materials (blocks, gravel, sand) | $120 | $250 | $500 |
| Fire ring | $45 | $80 | $150 |
| Tools (if not owned) | $30 | $70 | $120 |
| Permits/Fees | $0 | $50 | $100 |
| Professional installation | $0 | $300 | $900 |
Most DIY stone fire pits cost $150–$350 if you already own basic tools. Gas fire pits or custom designs can cost much more. Always check your local permit costs before starting.
Common Mistakes And How To Avoid Them
Even experienced DIYers can make mistakes. Here are the most frequent problems—and how to prevent them.
- Choosing the Wrong Location: Too close to the house or trees can be dangerous. Always measure and check city rules.
- Using Unsafe Materials: Regular bricks or blocks can crack from heat. Use fire-rated bricks or blocks designed for high temperatures.
- Skipping the Gravel Base: Without a proper base, water collects and damages the pit.
- Building Too Tall or Too Small: If the pit is too high, it blocks heat; too small, it’s unsafe.
- Poor Ventilation: Always leave space for air to flow—fires need oxygen to burn safely.
- Ignoring Maintenance: Clean out ash and debris regularly to keep your fire pit safe.
- Not Checking Regulations: Building without a permit can lead to fines or forced removal.
One non-obvious tip: Always check the slope of your yard. If the area isn’t flat, water can run into the pit and cause problems. Leveling is key.
Enhancing Your Fire Pit Area
A fire pit is just the start. You can create a whole outdoor living space with a few simple upgrades.
Seating
Add benches, chairs, or built-in stone seats. Arrange them in a circle for best warmth and conversation.
Lighting
Install outdoor lights or solar lamps. This makes evenings safer and more enjoyable.
Cooking Features
Some fire pits support grills or skewers. You can cook burgers, vegetables, or marshmallows.
Landscaping
Add stone paths, plants, or decorative rocks around the fire pit. This helps blend the pit into your yard and prevents weeds.
Weather Protection
If you live in a rainy area, consider a fire pit cover. This keeps out water and extends the pit’s life.
Many people overlook seating. Comfortable, weather-resistant chairs make your fire pit much more useful.
Maintenance And Care
Proper care keeps your fire pit safe and looking good.
- Remove Ashes: Wait until ashes are cold, then scoop them out. Leaving ashes can block airflow and damage bricks.
- Check for Damage: Look for cracks or broken blocks. Replace them right away.
- Clean the Fire Ring: If you use a metal ring, wipe it to remove rust or soot.
- Cover When Not in Use: Use a cover to keep out rain and debris.
- Inspect Each Season: Check at the start of spring and fall for any needed repairs.
Neglecting maintenance is a common mistake. A few minutes each month can save you hours of repairs later.
Fire Pit Safety For Children And Pets
Fire pits attract kids and pets, but can be risky. Here’s how to keep everyone safe.
- Teach Rules: Explain fire safety to children—never touch or play near the fire pit.
- Use Barriers: Set up a fence or stones to mark a safe zone.
- Supervise Always: Never leave kids or pets alone near the fire.
- Keep Toys Away: Don’t let balls or other items near the fire pit.
Some people use a mesh screen over the fire. This blocks sparks and keeps hands away.
Seasonal Tips For Fire Pit Use
Your fire pit can be used year-round with a few adjustments.
Spring And Summer
- Burn small, clean fires to avoid too much smoke.
- Use insect repellent or citronella candles.
- Check local bans—some areas limit fires in dry months.
Fall
- Enjoy bigger fires for warmth.
- Roast marshmallows or make s’mores.
- Clean the pit before winter.
Winter
- Burn only dry wood—wet wood creates smoke.
- Dress warmly and use wind screens.
- Never burn in heavy snow or ice.
A non-obvious insight: In winter, place stones around the pit to block wind. This keeps the fire burning hotter.
Eco-friendly Fire Pit Options
You can build a greener fire pit by making smart choices.
- Use Natural Materials: Stones or recycled bricks are sustainable.
- Burn Clean Wood: Avoid treated or painted wood.
- Consider Gas: Gas fire pits produce less smoke and pollution.
- Plant Trees Nearby: Trees absorb carbon and add beauty.
Some companies offer eco-friendly fire pit kits. Research before buying to find the best option.
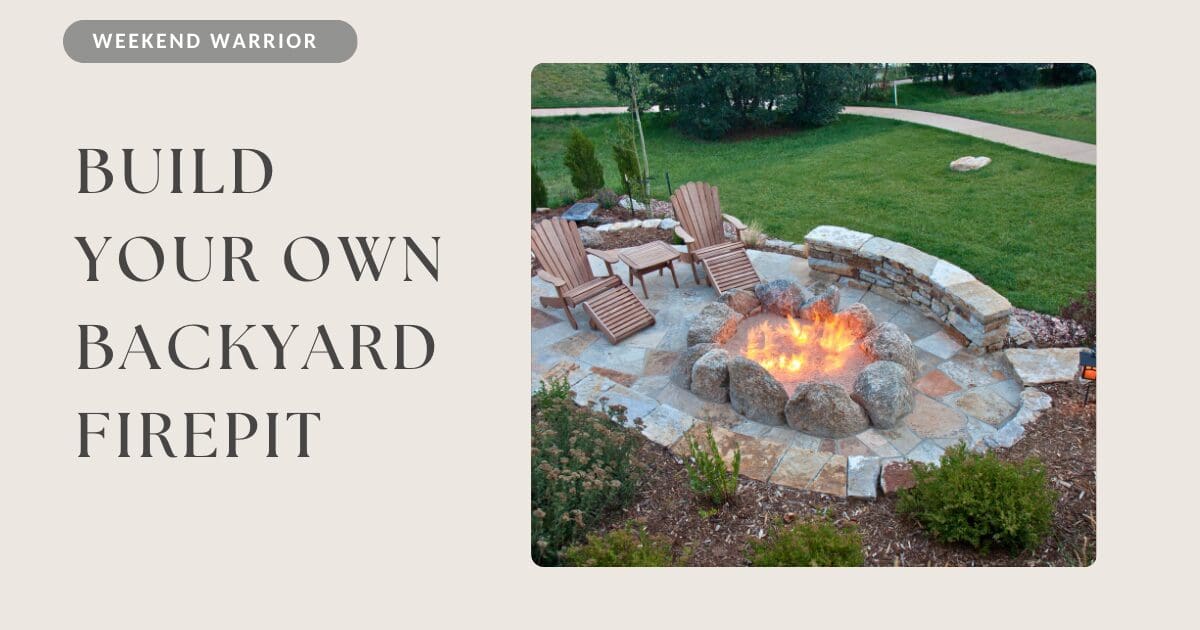
Credit: focusonnova.com
Fire Pit Permits And Regulations
Local laws can affect your fire pit project. Always check before building.
- Many cities require a permit for permanent fire pits.
- Some places ban open flames during dry seasons.
- Size and type rules: Some areas limit diameter or height.
- Fines for breaking rules can be $100–$500.
Visit your city website or call the building department. For more details, see this EPA Burn Wise guide.
Comparing Diy Vs. Professional Installation
Should you build your fire pit yourself or hire a pro? Here’s a quick comparison.
| Factor | DIY | Professional |
|---|---|---|
| Cost | $150–$350 | $500–$1,500 |
| Time | 4–8 hours | 2–4 hours |
| Skill Needed | Basic DIY skills | None |
| Customization | High | Medium |
| Warranty | No | Yes (usually) |
DIY is cheaper and lets you customize. Professional installers are faster and offer warranties. For complex gas fire pits, hiring a pro is safer.
Frequently Asked Questions
How Long Does It Take To Build A Backyard Fire Pit?
Most people finish in 4–8 hours. This depends on the size, materials, and your experience. Setting up and cleaning the area may add time.
Is It Safe To Build A Fire Pit Near Trees?
No, it’s not recommended. Always keep at least 10 feet between your fire pit and trees or bushes. Overhanging branches can catch fire from sparks.
Do I Need A Permit To Build A Fire Pit?
Many cities require permits for permanent fire pits. Check your local rules before starting. Temporary or portable pits often don’t need permits, but always confirm.
What’s The Best Material For A Fire Pit?
Fire-rated bricks or concrete blocks are best. They resist heat and don’t crack. Regular bricks may break after a few fires. Steel fire rings also help protect the structure.
Can I Cook Food On My Backyard Fire Pit?
Yes, many fire pits allow for grilling or roasting. Use a grill grate or skewers, and only burn clean, untreated wood. Avoid using the fire pit for cooking if you burn trash or treated wood.
Building a backyard fire pit is a rewarding project. With the right planning, materials, and safety steps, you’ll enjoy cozy evenings and create lasting memories. Remember to check local regulations, use proper materials, and maintain your fire pit for years of safe enjoyment.
Your backyard will become a favorite gathering place, adding warmth and value to your home.