A sagging fence gate is often due to loose hinges or structural issues and can be fixed with proper adjustments and reinforcements. Does your gate seem to drag across the ground? Maybe it doesn't close properly, leaving your yard less secure. A sagging gate can be a real nuisance, but it’s not a problem you need to live with. This guide will walk you through effective tips to repair a sagging fence gate, sharing expert advice and practical methods to restore its proper function. Whether you’re a seasoned DIYer or a novice, these steps are designed to help you get your fence gate back in shape without a hitch.
Identify the Cause of the Sag
Understanding why your gate is sagging is crucial. The most common causes include:
- Loose Hinges: Over time, hinges can loosen, causing misalignment.
- Worn or Broken Hardware: Check for rust or broken parts that could affect stability.
- Structural Shifts: Ground settling can alter the gate’s alignment.
- Material Deterioration: Rot in wooden gates or warping due to weather changes.
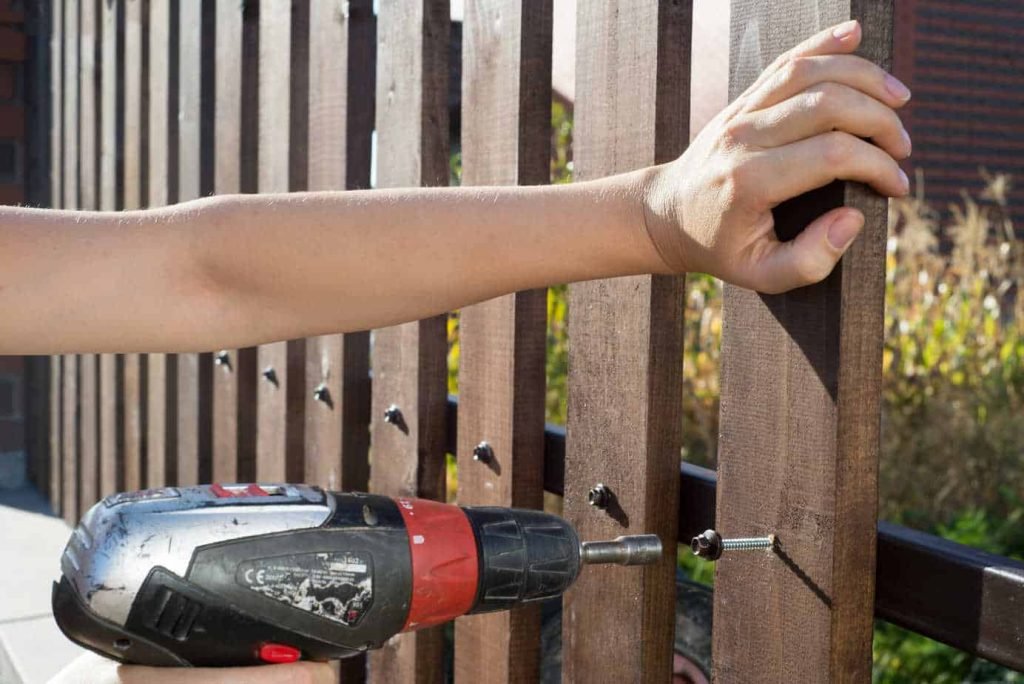
Tools and Materials You'll Need
Before you begin, gather the following:
- Screwdriver or drill
- Screws and hinges
- Level
- Measuring tape
- Wooden shims or braces
- Metal bracket or corner brace
- Rust-resistant paint or sealant
Step-by-Step Guide to Fixing a Sagging Gate
Step 1: Tighten the Hinges
- Use a screwdriver or drill to tighten all screws on the gate’s hinges.
- If screws are stripped, replace them with longer or wider ones for better grip.
- Realign the gate with the fence and use a level to ensure it’s straight.
Step 2: Reinforce Gate Structure
- For added stability, install a diagonal brace. Attach it from the top hinge corner to the opposite bottom corner.
- Use metal brackets or corner braces to strengthen the connections.
Step 3: Address Ground Shifting
- If the post has tilted, use a shovel to expose the base, straighten it, and re-pack the soil firmly.
- For persistent issues, concrete posts might be a more permanent solution.
Step 4: Replace Sagging or Damaged Parts
- Swap out any worn or broken components, like gate latches or hinges.
- Ensure all new parts are rust-resistant to endure weather conditions.
Step 5: Regular Maintenance
- Apply a rust-resistant paint or sealant on metal parts.
- Inspect the gate periodically to tighten screws and ensure alignment.

Frequently Asked Questions of How to Repair a Sagging Fence Gate Tips
What can cause a fence gate to sag?
Ground settling, loose hinges, and deterioration of materials are common culprits for a sagging gate.
How can I prevent future sagging?
Regularly tighten screws, inspect for wear, and apply protective sealants to prolong the gate's lifespan.
What tools are essential for repairing a sagging gate?
You'll need a screwdriver or drill, level, measuring tape, shims, and metal braces for effective repairs.
Can I fix a sagging gate myself?
Yes, most sagging gates can be repaired with basic tools and DIY skills. Follow the guide for best results.
How often should I maintain my gate?
Inspect and maintain your gate at least twice a year to ensure all components are in good condition.
Conclusion
Fixing a sagging fence gate can be a straightforward task that enhances both the functionality and appearance of your home. By identifying the root cause and applying these repair techniques, you can restore your gate's performance and ensure it stays in top shape for years to come. Embrace these tips as an opportunity to hone your DIY skills and keep your property secure. Ready to tackle the task? Try these methods today and enjoy a well-aligned, smoothly operating gate. Interested in more home maintenance tips? Subscribe to our newsletter for exclusive insights and updates!