To use a post hole digger correctly, ensure proper positioning and efficient digging technique.
Efficiently handling a post hole digger requires more than just strength; it demands technique and understanding. Whether you're setting up a fence or installing a mailbox, using this tool correctly can save you time and energy. Leveraging my extensive experience in outdoor projects, I’ll guide you through the steps to maximize the effectiveness of your post hole digger, ensuring straight, clean holes with minimal strain.
Understanding the Basics
Using a post hole digger might seem straightforward, but a deeper understanding of the tool and its mechanics helps achieve better results.
What is a Post Hole Digger?
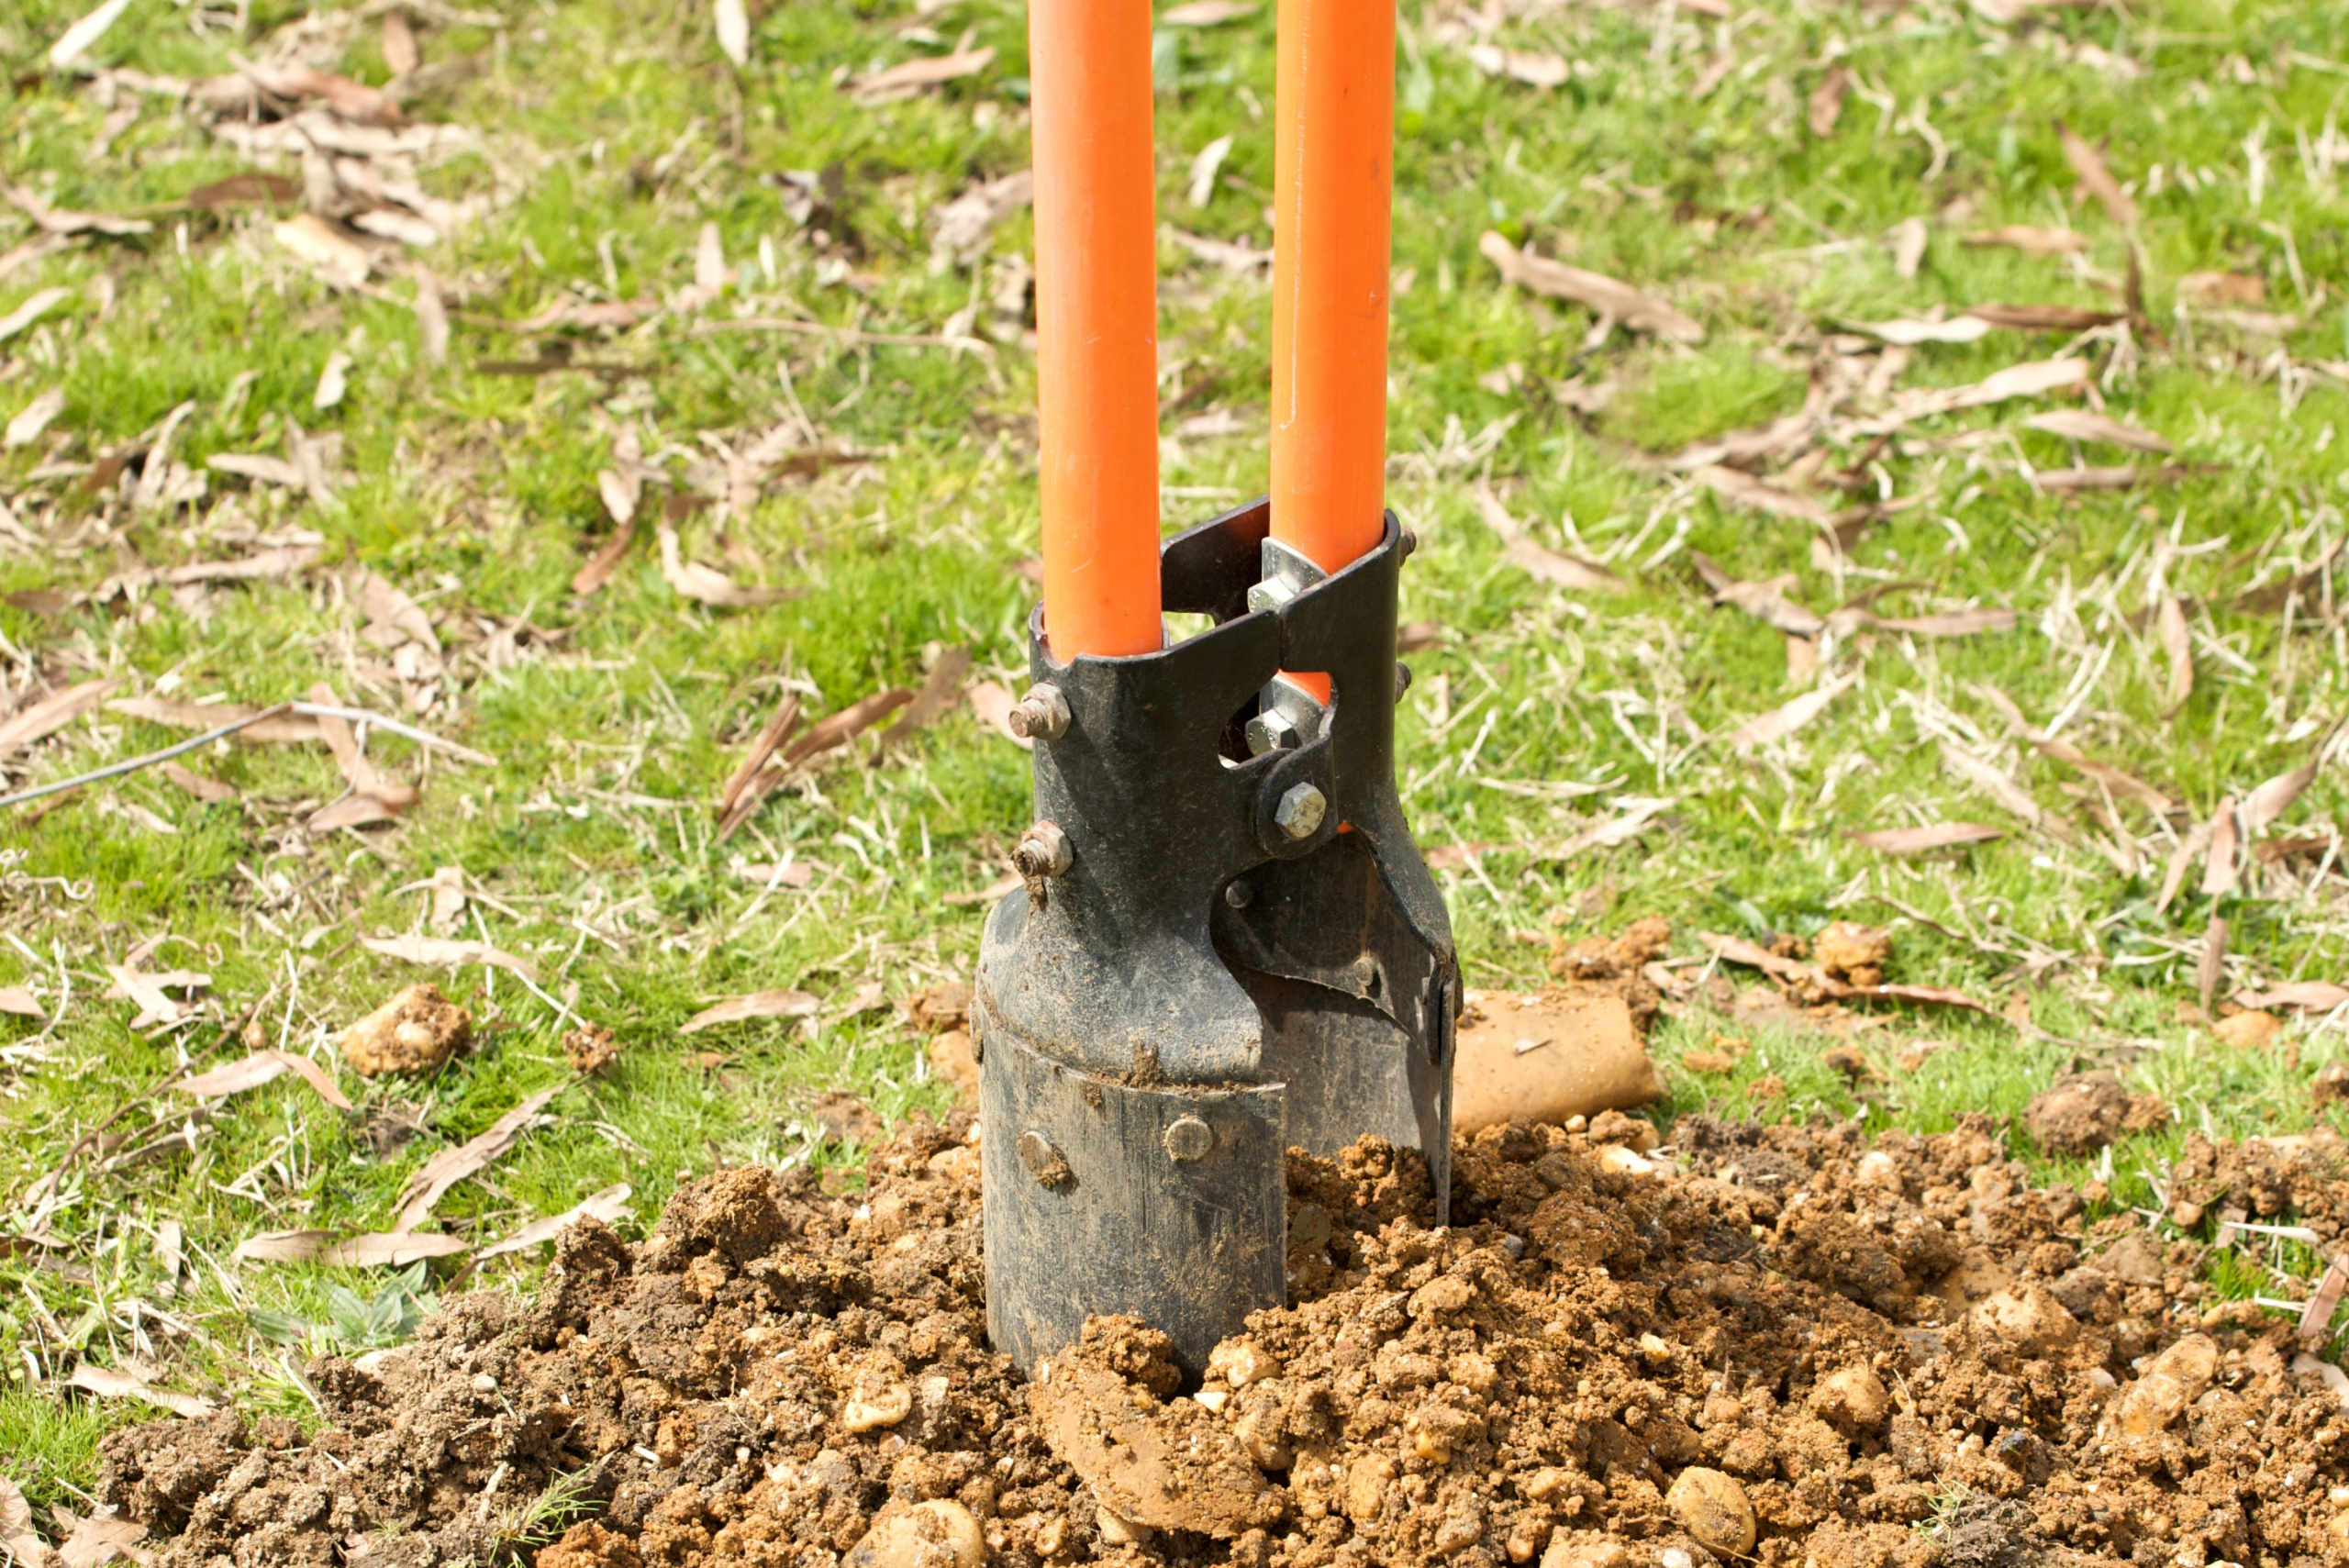
Post hole diggers are manual tools designed for digging narrow holes for posts. They typically consist of two handles and sharply pointed spade-like blades.
Types of Post Hole Diggers
- Manual Diggers: Affordable and suitable for soft soil.
- Augers: Motor-driven, ideal for hard or large-scale tasks.
Step-by-Step Guide to Using a Post Hole Digger Correctly
To effectively use a post hole digger, follow these steps:
-
Identify the Location: Mark the spot where you intend to dig. Use stakes or spray paint for accuracy.
-
Prepare the Area: Clear debris and rocks. Softening the ground with water can make digging easier.
-
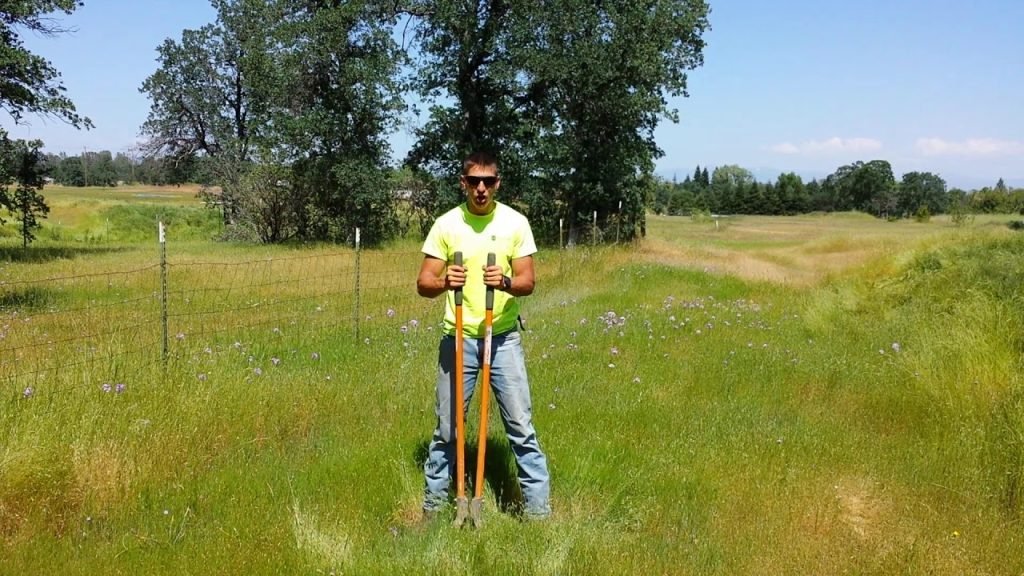
Position the Digger: Place the closed blades at the marked spot.
-
Digging Technique:
- Push Down: Use your weight to push the blades into the soil.
- Pull Apart: Forcefully spread the handles apart to capture the soil.
- Lift and Remove: Lift the digger and dispose of the soil. Repeat until the desired depth is reached.
-
Maintain Proper Posture: Keep your back straight and bend your knees to prevent strain.
Tips for Successful Digging
- Timing and Weather: Dig on dry days or when the soil is moist but not muddy.
- Tool Maintenance: Regularly sharpen blades for efficient cutting and prevent rust.
Troubleshooting Common Issues
- Hard Soil: If the soil is too compact, water it the night before.
- Rocky Ground: Use a digging bar to loosen large rocks.
Personal Insights
From years of backyard projects, I've learned the importance of patience and preparation. One summer, while setting up a garden fence, I underestimated the density of the clay soil. Soaking the ground overnight made a massive difference, an insight now part of my digging routine.
Frequently Asked Questions of How to Use a Post Hole Digger Correctly
What is the ideal depth for post holes?
Typically, post holes should be one-third the length of the post. For example, a 6-foot post should have a 2-foot hole.
Can rock or clay soil affect digging?
Yes, rock and clay can make digging challenging. Pre-soaking the area or using a motor-driven auger can help.
Are there specific safety precautions to follow?
Always wear gloves and safety goggles. Ensure that your workspace is free from overhead power lines or utilities.
How do I maintain my post hole digger?
Clean the blades after each use, keeping them rust-free. Regularly oil moving parts for smooth operation.
Does the weather impact digging?
Yes, dry, warm days are best for digging, while overly wet or extremely dry soil can complicate the process.
Conclusion
Mastering the use of a post hole digger is about technique as much as strength. By following the steps outlined above, you'll dig cleaner, accurate holes with less effort. Embark on your next project with confidence, practicing these methods to build your expertise. Don't forget to subscribe for more practical DIY tips or share your own digging experiences in the comments below!