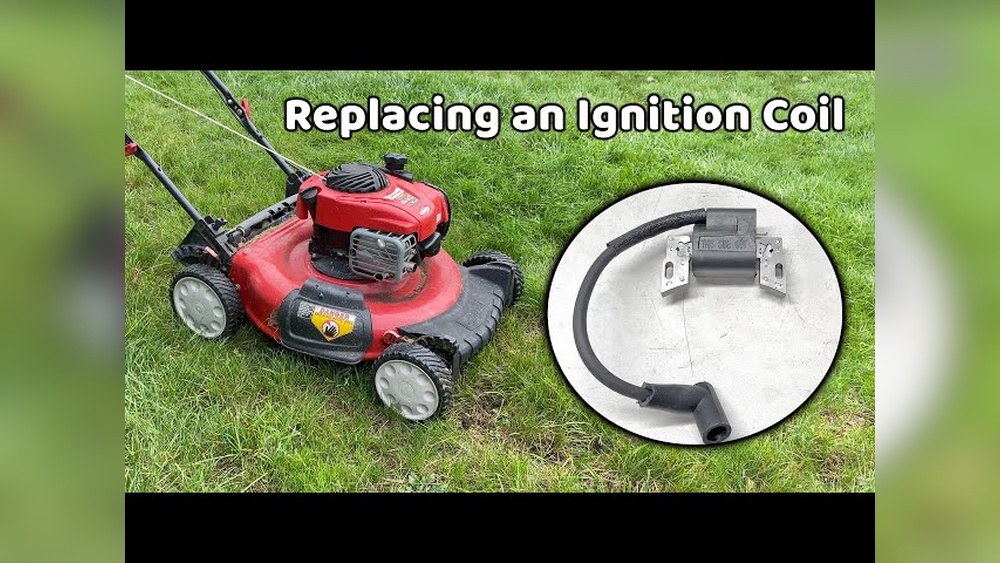
Replacing the ignition coil on a lawn mower can seem intimidating if you’ve never done it before. However, with the right guidance, tools, and a clear understanding of each step, it’s a repair most homeowners can handle in their own garage or backyard.
A faulty ignition coil is a common reason for starting problems and engine misfires. Learning to spot the symptoms and knowing how to swap out the part can save you both time and money, and restore your mower’s performance for seasons to come.
This guide walks you through everything you need to know about replacing a lawn mower ignition coil. You’ll discover what the ignition coil does, how to diagnose a bad one, and follow a step-by-step replacement process. Along the way, you’ll find helpful tips, common mistakes to avoid, and advice based on practical experience.
If you’re ready to keep your mower running smoothly, let’s get started.
Understanding The Lawn Mower Ignition Coil
The ignition coil is a small, but crucial, component in your mower’s engine. Its main job is to transform the battery’s low voltage into the high voltage needed to create a spark at the spark plug. This spark ignites the fuel-air mixture, starting the engine and keeping it running. Without a working ignition coil, your mower simply won’t start or will run poorly.
Common Symptoms Of A Bad Ignition Coil
Recognizing the signs of a failing ignition coil can save you from guessing and unnecessary repairs. Here’s what to watch for:
- Engine won’t start: The most obvious sign is when your mower cranks but won’t fire up.
- Loss of power: If your mower starts but stalls, or loses power under load, the coil could be weak.
- Intermittent misfiring: An engine that runs rough or cuts out unexpectedly may have an ignition coil problem.
- No spark: Remove the spark plug, connect it to the wire, and ground it against the engine. If there’s no visible spark when cranking, the coil could be dead.
Not all starting issues are caused by the ignition coil, so it’s important to test and rule out other problems like a fouled spark plug, dead battery, or clogged fuel line.
Tools And Parts Needed
Before starting the replacement, gather everything you’ll need. Having the right tools on hand makes the process much smoother:
- Replacement ignition coil (specific to your mower model)
- Screwdrivers (flathead and Phillips)
- Socket set or nut drivers
- Feeler gauge (for setting air gap)
- Pliers
- Spark plug wrench
- Clean rag or brush
- Work gloves
- Owner’s manual (for part numbers and diagrams)
Choosing The Right Ignition Coil
Not all coils fit every mower. Check your mower’s model number and engine type, usually found on a tag or stamped on the engine cover. Use this information to order the correct part. Buying a generic coil without checking compatibility is a common mistake.
Here’s a quick comparison of ignition coil types:
| Ignition Coil Type | Common Engines | Special Notes |
|---|---|---|
| Single Cylinder Coil | Most walk-behind mowers | One spark plug wire |
| Twin Cylinder Coil | Riding mowers, tractors | Two spark plug wires |
| Universal Replacement | Various models | Check compatibility carefully |
Credit: www.searspartsdirect.com
Safety First: Preparing For The Job
Before working on your mower, safety should come first. Here’s what you should always do:
- Disconnect the spark plug wire: This prevents accidental starting.
- Remove the ignition key if your mower has one.
- Work in a well-ventilated area: Gasoline fumes can build up in small spaces.
- Wear gloves and safety glasses to protect your hands and eyes.
Spending a few moments on these steps can prevent injuries and make your work area safer.
How To Replace Lawn Mower Ignition Coil: Step-by-step
Changing the ignition coil is straightforward if you follow these steps closely. The process is similar for most walk-behind and riding mowers, though access to the coil may differ slightly.
1. Remove The Engine Cover
Most ignition coils are located under the top or side cover of the engine. Use your screwdriver or socket set to remove the screws holding the cover in place. Set the screws aside in a safe spot—you’ll need them later.
Tip: Take a photo of the assembly before you remove anything. This helps you remember how it goes back together.
2. Locate The Ignition Coil
The ignition coil is usually a small black module with a wire leading to the spark plug. It’s mounted near the flywheel, which is the large round metal part that spins when you pull the starter cord or turn the key.
3. Disconnect The Coil Wires
Carefully unplug the spark plug wire from the coil. Some coils have an additional small ground or kill switch wire—make a note of its location and disconnect it.
4. Remove The Old Ignition Coil
Use the correct socket or nut driver to remove the bolts holding the coil in place. Set the bolts aside. The coil should lift off easily. If it sticks, gently wiggle it free, but do not force it.
5. Clean The Mounting Area
Dirt and grass clippings often collect under the engine cover. Before installing the new coil, use a clean rag or brush to clear away debris. A clean surface ensures a good electrical connection and prevents overheating.
6. Install The New Ignition Coil
Position the new coil in place and insert the mounting bolts. Do not fully tighten them yet—you’ll need to set the air gap first.
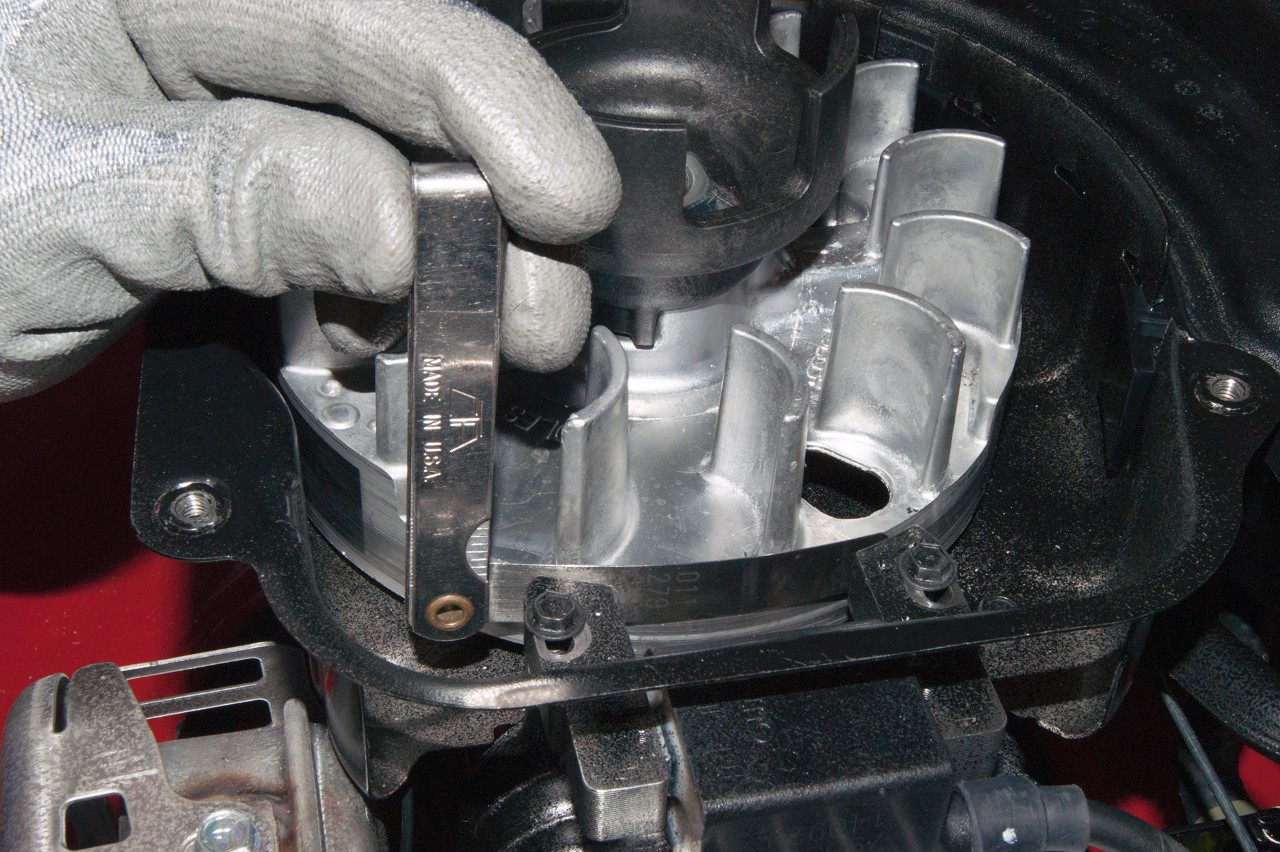
Setting The Correct Air Gap
The air gap is the space between the coil and the flywheel. This gap is critical for proper spark. If it’s too wide or too narrow, your mower may not start or run poorly.
Check your owner’s manual for the correct gap, but it’s usually between 0. 010 and 0. 014 inches (0. 25–0. 36 mm).
How to set the air gap:
- Place a feeler gauge of the correct thickness between the flywheel and coil.
- Push the coil against the gauge so it sits flush.
- Tighten the mounting bolts while holding the coil in place.
- Remove the feeler gauge.
This ensures the coil is installed at the precise distance needed for a strong spark.
7. Reconnect Wires
Attach the spark plug wire to the new coil. Reconnect any ground or kill switch wires you noted earlier. Double-check all connections for tightness and security.
8. Reinstall The Engine Cover
Replace the cover and secure it with the screws you removed earlier. Make sure nothing is pinched under the cover.
9. Test The Mower
Reconnect the spark plug wire. Start the mower as usual. If the engine starts easily and runs smoothly, your installation is successful.
If it still won’t start, recheck your work. A common mistake is forgetting to reconnect a ground wire or setting the air gap incorrectly.
Practical Troubleshooting Tips
While replacing the ignition coil usually solves spark problems, sometimes the issue lies elsewhere. Here are extra tips for a smooth repair:
- Test the old coil: Before replacing, you can test the coil with a spark tester or multimeter. A healthy coil should show resistance within the range specified in your manual.
- Check the flywheel magnet: The coil relies on a strong magnet in the flywheel. If the magnet is dirty or weak, clean it with a rag and check for damage.
- Inspect the spark plug: Sometimes, a worn spark plug is the real problem. Try a new plug if your mower still won’t start.
Here’s a quick comparison of potential causes for no-start issues:
| Problem | Possible Cause | Test/Remedy |
|---|---|---|
| No spark | Bad coil, spark plug, or wire | Test each part; replace as needed |
| Engine cranks but won’t start | Fuel issue or coil | Check fuel flow; test coil |
| Rough running | Weak coil or plug | Replace faulty part |
Common Mistakes To Avoid
Even experienced DIYers sometimes overlook simple details. Avoid these pitfalls:
- Not disconnecting the spark plug wire: This is the number one safety mistake.
- Using the wrong coil: Always match the part number to your mower.
- Forgetting to set the air gap: This small detail makes a big difference.
- Losing small screws or bolts: Use a magnetic tray or small cup to keep hardware safe.

Credit: www.amazon.com
Maintenance Tips To Extend Coil Life
Once your new ignition coil is installed, a few good habits can help it last longer:
- Keep the engine clean: Dirt and debris can cause overheating.
- Store your mower indoors: Moisture can corrode wires and connectors.
- Check wires for damage: Replace cracked or frayed wires promptly.
- Service the spark plug regularly: A healthy spark plug reduces coil stress.
When To Call A Professional
While most homeowners can replace a lawn mower ignition coil with basic tools, some situations are best left to the experts:
- If your mower is still under warranty, check if coil replacement is covered.
- If the engine has major electrical issues or multiple failing parts.
- If you’re not comfortable working with engine components.
Professional service may cost more, but it ensures the job is done safely and correctly.
Sourcing Parts And Further Reading
Replacement ignition coils are available at hardware stores, small engine repair shops, and online retailers. Always use genuine or high-quality aftermarket parts. For more in-depth technical details, the Wikipedia Ignition System page provides a solid technical background.
Frequently Asked Questions
How Do I Know If My Lawn Mower Ignition Coil Is Bad?
The most common signs are no spark at the plug, engine won’t start, or intermittent stalling. You can test the coil using a spark tester or multimeter to confirm if it’s faulty.
Can I Use A Universal Ignition Coil For Any Mower?
Not always. While universal coils exist, you must check compatibility with your mower’s engine model. Using the wrong coil can cause poor performance or damage.
What Is The Correct Air Gap For A Lawn Mower Ignition Coil?
The air gap is usually 0. 010 to 0. 014 inches (0. 25–0. 36 mm), but always check your mower’s manual for the exact specification. Setting it incorrectly can prevent the engine from starting.
How Long Does It Take To Replace An Ignition Coil?
For most mowers, the job takes 30–60 minutes. If it’s your first time, allow extra time to work carefully and double-check each step.
Is It Safe To Replace The Ignition Coil Myself?
Yes, as long as you disconnect the spark plug wire and follow safety precautions. If you’re unsure, it’s always best to ask a professional for help.
Replacing a lawn mower ignition coil is a practical skill that can save you money and downtime. With the right tools, careful steps, and a bit of patience, you can restore your mower’s spark and keep your lawn looking its best all season long.

Credit: www.youtube.com