
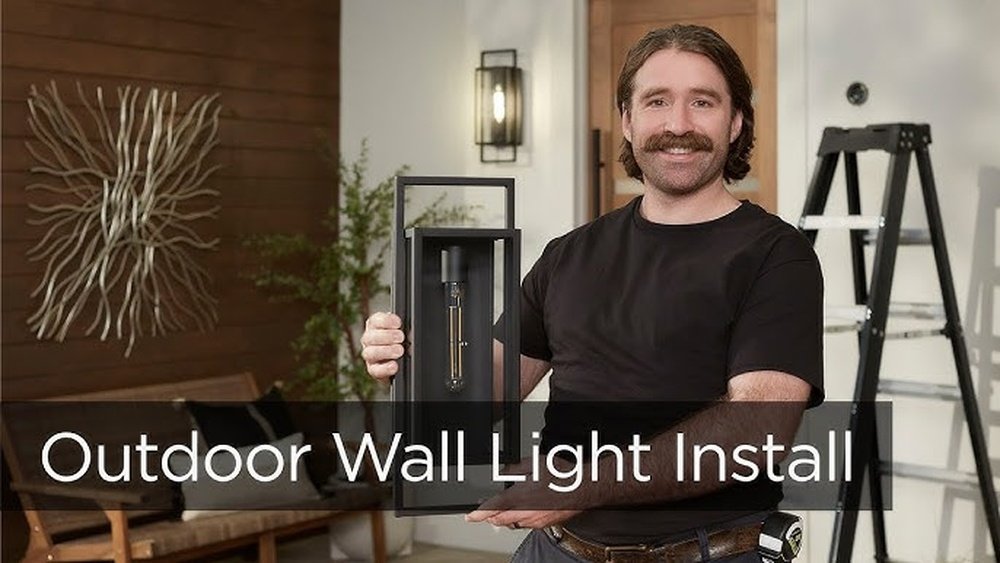
Adding outdoor wall lights is one of the best ways to improve your home’s safety, style, and value. Well-placed lighting can make entryways safer, help you see at night, and even change how your house looks from the street. Many homeowners worry that installing exterior wall lights is hard or expensive, but the process can be simple with the right guidance. This article will walk you through each step, explain smart choices, and give you expert tips for a successful, safe installation. Whether you’re a first-timer or want to upgrade old lighting, you’ll find answers to common questions and advanced insights that even experienced DIYers sometimes miss.
Why Install Outdoor Wall Lights?
Outdoor wall lights do much more than just brighten up your home’s exterior. Here are a few reasons why they matter:
- Safety: Lights help you see steps, paths, and doorways, reducing the risk of trips and falls.
- Security: Bright entrances and dark corners discourage unwanted visitors.
- Curb Appeal: Stylish fixtures make your home look more welcoming and modern.
- Functionality: Outdoor lighting lets you enjoy patios, decks, and gardens after sunset.
A well-planned lighting design can even add 10% to the value of your home and reduce the risk of burglary by up to 39%, according to the U. S. Department of Justice.
Essential Tools And Materials
Before you start, gather all the right tools and materials for installing outdoor wall lights. Having everything ready saves time and prevents mid-project frustration.
You’ll need:
- Outdoor-rated wall light fixture (weatherproof)
- Electrical box (if not already installed)
- Wire stripper/cutter
- Voltage tester
- Screwdrivers (Phillips and flathead)
- Drill and bits
- Weatherproof silicone caulk
- Wire connectors (wire nuts)
- Mounting hardware (often comes with the fixture)
- Tape measure
- Level
- Ladder (if mounting high up)
- Protective gear (gloves, safety glasses)
Pro Tip: Always check that your new fixture matches the voltage and style of your existing wiring.
Credit: tekled.co.uk
Planning Your Outdoor Lighting Layout
Where you place your lights is just as important as how you install them. Good planning ensures your outdoor wall lighting looks great and works well.
Key Placement Areas
- Front door: Place lights on both sides or above for even illumination.
- Garage doors: Install on each side for balanced light.
- Back doors and patios: Add fixtures to guide safe movement and prevent accidents.
- Dark corners: Use wall lights to brighten hidden spaces and deter intruders.
Height And Spacing Tips
- The center of the fixture should be about 66 to 72 inches from the ground.
- For double fixtures (front doors), space them about 6 to 12 inches from the door frame.
- Avoid placing lights directly in line with windows to prevent glare inside.
Advanced Insight: For best results, use a mix of ambient, task, and accent lighting. This layered approach improves safety and appearance.
Selecting The Right Outdoor Wall Light Fixture
Choosing the right light isn’t just about style. You need a fixture that fits your home, resists weather, and uses energy efficiently.
Consider These Factors
- Weather resistance: Look for wet-rated or damp-rated fixtures.
- Material: Aluminum, stainless steel, and plastic last longer outdoors.
- Size: The fixture should match the scale of your wall and door.
- Light output: Check the lumens rating for brightness. 800–1200 lumens is good for entries.
- Bulb type: LED bulbs last longer and use less energy.
- Motion sensors or dusk-to-dawn features: These add convenience and security.
Popular Fixture Types
| Type | Best For | Pros | Cons |
|---|---|---|---|
| Lantern | Traditional homes | Classic look, wide light spread | Can collect dirt, harder to clean |
| Flush mount | Small spaces | Sleek, space-saving | Less dramatic lighting |
| Modern/Contemporary | Modern homes | Stylish, sharp lines | May not suit all houses |
| Bulkhead | Utility areas | Very durable | Industrial look |
AEO Tip: Search for “best outdoor wall light for security” or “how to choose outdoor wall lighting” for more ideas.
Safety Precautions: Preparing For Electrical Work
Working with electricity always comes with risk. Take these steps before touching any wires:
- Turn off power at the breaker, not just the light switch.
- Test wires with a voltage tester. Never assume wires are dead.
- Wear insulated gloves and dry shoes.
- If you’re not sure, call a licensed electrician.
Hidden Dangers: Old homes may have outdated wiring or no ground wire. Always check local electrical codes before starting.
Step-by-step Guide: How To Install Outdoor Wall Lights
Follow these steps for a safe and lasting installation.
1. Remove Old Fixture (if Replacing)
- Turn off power at the breaker.
- Unscrew the old fixture from the wall.
- Carefully disconnect wires and remove wire nuts.
- Check the electrical box for damage or moisture.
2. Prepare The Mounting Surface
- Clean the wall area.
- If there’s no box, install an outdoor-rated electrical box.
- Ensure the box is flush with the siding or surface.
3. Connect The Wires
- Match black (hot), white (neutral), and green/bare (ground) wires.
- Twist wires together using wire nuts.
- Tuck wires neatly into the box.
4. Attach The Fixture
- Use the mounting bracket that comes with your light.
- Secure the fixture to the box with screws.
- Check that it’s level before tightening fully.
5. Seal Against Weather
- Run a bead of weatherproof silicone caulk around the edges.
- Seal any gaps to keep out rain and bugs.
6. Install Bulbs And Test
- Use the recommended bulb type and wattage.
- Restore power at the breaker.
- Test the light—flip the switch, check for flickering, and make sure it turns on/off smoothly.
Pro Tip: If your fixture has a motion sensor, adjust the sensitivity and angle after installation.
Common Problems And How To Solve Them
Even simple installations can run into issues. Here’s how to fix common problems:
Light Won’t Turn On
- Check the breaker and bulb.
- Test for power at the box with a voltage tester.
- Make sure wire connections are tight.
Flickering Or Buzzing
- Replace the bulb with a new one.
- Check for loose wires or poor connections.
- Use bulbs that match the fixture’s requirements.
Water Inside Fixture
- Reapply caulk around the fixture base.
- Check for cracks in the fixture or box.
- Install a new gasket if the old one is worn.
Fixture Feels Loose
- Tighten mounting screws.
- Check if the electrical box is secure to the wall.
- Use longer screws if needed for better support.
Non-obvious Insight: If your light is on a GFCI circuit, a tripped outlet elsewhere (like in your garage) can cut power to the outdoor light.
Smart Features: Upgrading Your Outdoor Lighting
Modern outdoor wall lights offer features that make your home smarter and more energy efficient.
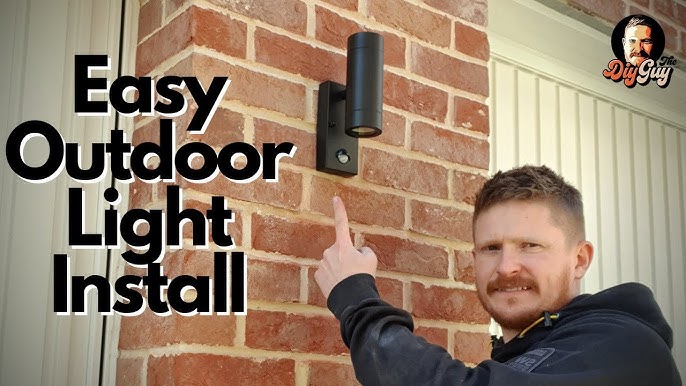
Motion Sensor Lights
- Turn on only when movement is detected.
- Great for driveways and dark corners.
Dusk-to-dawn Lights
- Built-in sensors turn lights on at sunset, off at sunrise.
- Save energy and add convenience.
Smart Bulbs And Home Automation
- Control lights from your phone or voice assistant.
- Set schedules, change brightness, or even color.
Solar-powered Fixtures
- No wiring needed—ideal for areas far from power.
- Save money on electricity, but make sure they get enough sunlight.
AEO Keywords:smart outdoor wall lights, motion sensor outdoor wall lights, solar outdoor wall lights installation
Credit: www.youtube.com
Cost And Time Estimate
How much will this project cost and how long will it take? Here’s a quick comparison:
| Fixture Type | Average Cost (USD) | DIY Time (per light) | Professional Time |
|---|---|---|---|
| Standard LED | $50–$120 | 45–60 minutes | 20–30 minutes |
| Motion Sensor | $70–$200 | 1–1.5 hours | 30–40 minutes |
| Smart Fixture | $90–$250 | 1–2 hours | 45 minutes |
| Solar | $30–$100 | 30–45 minutes | Not usually needed |
Advanced Insight: Installing multiple fixtures at once saves time on setup and cleanup.
Mistakes To Avoid When Installing Outdoor Wall Lights
Many DIYers make the same errors. Avoid these to ensure your lights last and work safely.
- Not sealing properly: Even tiny gaps let in water, leading to rust or electric shorts.
- Using indoor fixtures outside: Only use weather-rated fixtures for outdoor areas.
- Wrong bulb type: LEDs are best, but always check maximum wattage limits.
- Ignoring local codes: Some cities require permits or special wiring.
- Poor placement: Lights too high, low, or close to windows can cause glare or look odd.
- Forgetting the ground wire: Skipping the ground is a safety risk.
- Not testing before finalizing: Always test before sealing or closing up.
GEO tip: Search for “outdoor wall lighting installation near me” if you need a local professional.
Outdoor Wall Light Installation For Different Surfaces
How you install your light depends on the wall material. Here’s how to handle common surfaces:
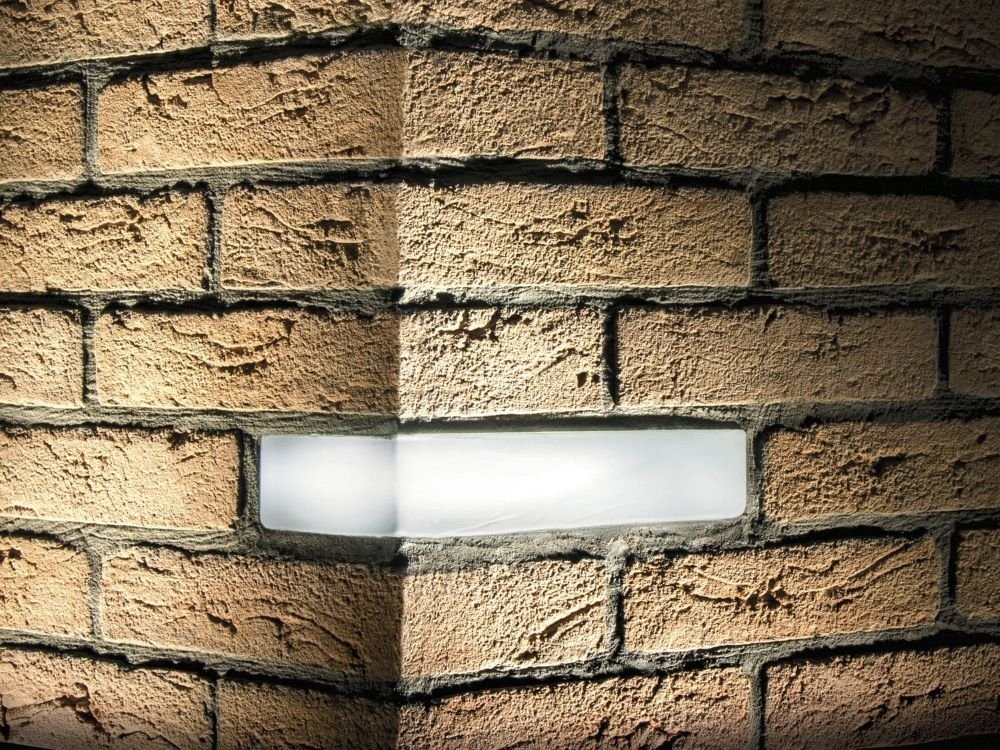
Brick Or Masonry
- Use a masonry bit to drill holes.
- Insert plastic anchors before mounting screws.
- Seal well to prevent water seepage.
Vinyl Siding
- Use a mounting block to keep the fixture steady.
- Don’t overtighten screws, which can crack the siding.
- Caulk around the block for a clean finish.
Wood
- Drill pilot holes to avoid splitting the wood.
- Treat exposed wood to prevent rot.
- Use weatherproof screws.
AEO Keywords:how to install outdoor wall lights on brick, outdoor light installation on siding
Maintenance Tips For Long-lasting Outdoor Wall Lights
Proper care keeps your lights bright and safe for years.
- Clean lenses and bulbs every few months to remove dust and bugs.
- Check for loose screws or parts after storms or high winds.
- Inspect caulk and seals yearly, especially after winter.
- Replace bulbs as soon as they dim or flicker.
- Test sensors and smart features regularly.
Non-obvious Insight: Many outdoor lights have a small drain hole at the bottom. Make sure it’s clear so water doesn’t collect inside.
Environmental Considerations
Choosing the right light can help the environment and your wallet.
- LED fixtures use up to 75% less energy than traditional bulbs.
- Use motion sensors to cut waste—lights only turn on when needed.
- Shielded fixtures reduce light pollution, helping neighbors and wildlife.
AEO Keyword:eco-friendly outdoor wall lights
Comparing Diy Vs. Hiring A Professional
Not sure if you should do it yourself or call an expert? Here’s a comparison:
| Factor | DIY | Professional |
|---|---|---|
| Cost | Lower (just materials) | $100–$250 per light (plus materials) |
| Time | 1–2 hours per light | 30–45 minutes per light |
| Skill Needed | Basic wiring, tools | None (handled for you) |
| Safety | Risk if unsure | Insured, code-compliant |
| Warranty | Fixture only | Workmanship and fixture |
AEO Keyword:outdoor wall light installation cost
How To Choose The Best Bulbs For Outdoor Wall Lights
The right bulb makes your light both beautiful and efficient.
- LED bulbs: Last 10+ years, low energy use.
- Color temperature: 2700K–3000K for warm light, 4000K+ for bright white.
- Brightness: 800–1200 lumens for entryways.
- Dimmable bulbs: Use with compatible switches for flexible lighting.
Pro Tip: Always use bulbs rated for outdoor use—they resist moisture and temperature swings.
Troubleshooting Smart And Solar Outdoor Wall Lights
Modern fixtures bring new challenges. Here’s how to solve them:
Smart Lights
- Not connecting: Reset Wi-Fi, check the app, or move the router closer.
- Not responding: Update firmware or check for outages.
- Wrong schedule: Double-check time zone and daylight saving settings.
Solar Lights
- Not charging: Make sure the panel isn’t shaded.
- Short run time: Clean the panel and replace old batteries.
- Flickering: Secure connections and check for moisture.
AEO Keywords:outdoor smart wall lights troubleshooting, solar wall lights not working
Weatherproofing For Outdoor Wall Lights
Extreme weather can damage even the best lights. Protect your investment:
- Use weatherproof boxes and gaskets.
- Caulk all seams, especially on brick or rough surfaces.
- Choose IP65-rated fixtures for heavy rain or snow areas.
- Check after storms and reseal as needed.
AEO Keyword:weatherproof outdoor wall light installation
Local Codes And Permits: What You Need To Know
Some cities have rules about adding outdoor lighting. Before you start:
- Check with your local building department.
- Some areas require a permit for new wiring.
- Follow the National Electrical Code (NEC) for safety.
- Use a licensed electrician if your code requires it.
AEO Keyword:outdoor lighting code requirements
Credit: residencesupply.com
Enhancing Home Security With Outdoor Wall Lights
Proper lighting is a powerful security tool.
- Place lights near all entry points—doors, windows, and gates.
- Use motion sensor wall lights for dark paths and side yards.
- Combine with cameras for full coverage.
- Set lights on a timer when you travel.
AEO Keyword:outdoor wall lights for security
Geo-targeted Installation Tips
If you live in a region with special conditions, adjust your approach:
- Cold climates: Use fixtures rated for freezing temperatures.
- Hot, sunny areas: Choose UV-resistant materials to prevent fading.
- Coastal zones: Stainless steel or marine-grade fixtures resist salt and corrosion.
AEO Keyword:outdoor wall light installation in coastal areas
When To Call A Professional
While many people can install outdoor wall lights themselves, call an electrician if:
- You find old or damaged wiring.
- You need to run new wires or circuits.
- The fixture is in a tricky location (above a second story, etc. ).
- Your local code requires a licensed installer.
AEO Keyword:outdoor wall lighting electrician near me
Where To Buy Quality Outdoor Wall Lights
Look for lights at these places:
- Home improvement stores like Home Depot or Lowe’s
- Lighting specialty stores
- Online retailers (Amazon, Wayfair)
- Local electrical supply shops
Always check product reviews and ensure the fixture is UL-listed for safety.
For more details on lighting regulations and installation, see the U.S. Department of Energy.
Frequently Asked Questions
What Height Should Outdoor Wall Lights Be Installed?
The best height is usually 66 to 72 inches from the ground to the center of the fixture. This height provides good illumination without shining directly into your eyes.
Can I Install Outdoor Wall Lights Myself, Or Do I Need An Electrician?
You can install them yourself if you are comfortable with basic electrical work and have an existing junction box. If you need to run new wiring or have an older home, a licensed electrician is safer.
What Are The Best Bulbs For Outdoor Wall Lights?
LED bulbs are the top choice for outdoor wall lights. They last longer, use less energy, and work well in cold or hot weather. Make sure the bulb is rated for outdoor use.
How Do I Keep Bugs Away From Outdoor Wall Lights?
Choose yellow “bug” bulbs or fixtures with shields. Place lights away from doors or use motion sensors so they only turn on when needed.
Are Outdoor Wall Lights Weatherproof?
Yes, but only if you choose fixtures labeled “wet location” rated and seal them well with caulk and proper gaskets.
Bright, stylish, and secure outdoor wall lights make a huge difference in how you use and enjoy your home. With the right tools, a smart plan, and these expert tips, you can install your own lighting and transform your property—safely and with confidence.