You want your driveway to look sharp and well-kept, right? Edging it with a lawn edger is one of the easiest ways to boost your home’s curb appeal instantly.
But if you’re new to this, it might feel a bit tricky to get clean, straight lines without making mistakes. Don’t worry—this guide will walk you through every step of how to edge your driveway like a pro. By the end, you’ll know exactly how to prepare, cut, and maintain perfect edges that last.
Ready to transform your driveway and make your lawn look amazing? Let’s dive in!
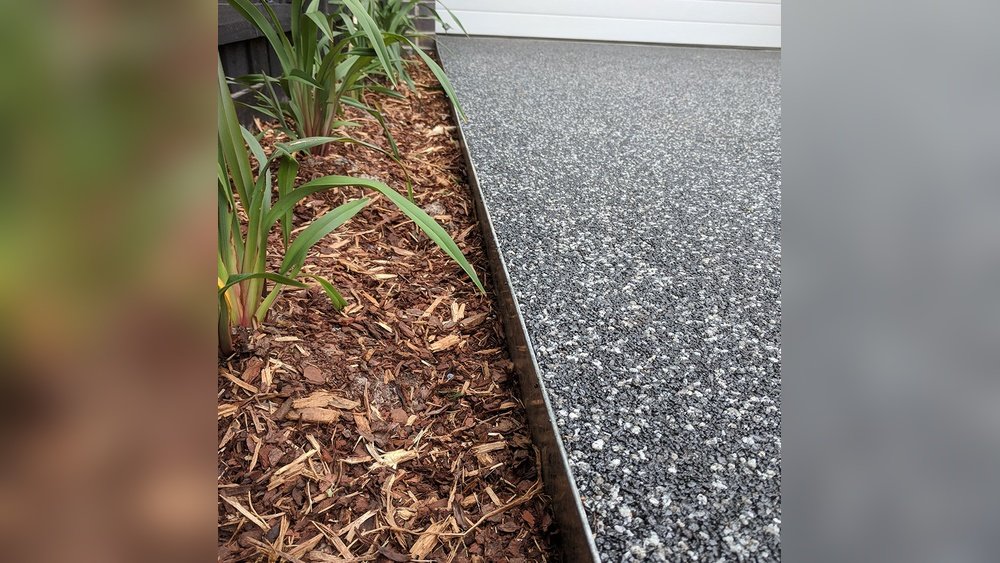
Credit: www.haddonstone.com
Choosing The Right Lawn Edger
Edging a driveway with a lawn edger creates clean, sharp lines that improve curb appeal. The process requires careful steps to achieve professional results. Follow this step-by-step edging process to make your driveway look neat and well-maintained.
Setting The Depth And Angle
Begin by adjusting the lawn edger’s blade depth. Set it to cut deep enough to separate grass from the driveway edge. Usually, 2 to 3 inches is ideal. Next, position the blade at a slight angle toward the driveway. This angle helps create a clean cut without damaging the driveway surface. Test the depth and angle on a small area before starting the entire edge.
Proper Edger Handling Techniques
Hold the edger firmly with both hands. Keep your back straight and feet shoulder-width apart. Push the edger slowly along the edge to avoid uneven cuts. Let the blade do the work; do not force it. For safety, wear protective gear like goggles and gloves. Move steadily and avoid rushing to keep control of the tool.
Creating Straight And Curved Lines
For straight edges, follow a chalk line or a string guide. This ensures a uniform, sharp edge. Move the edger in a steady, straight path for the best results. Curved lines require smooth, continuous motion. Follow the natural shape of the driveway or garden bed. Take your time on curves to avoid jagged or uneven edges.
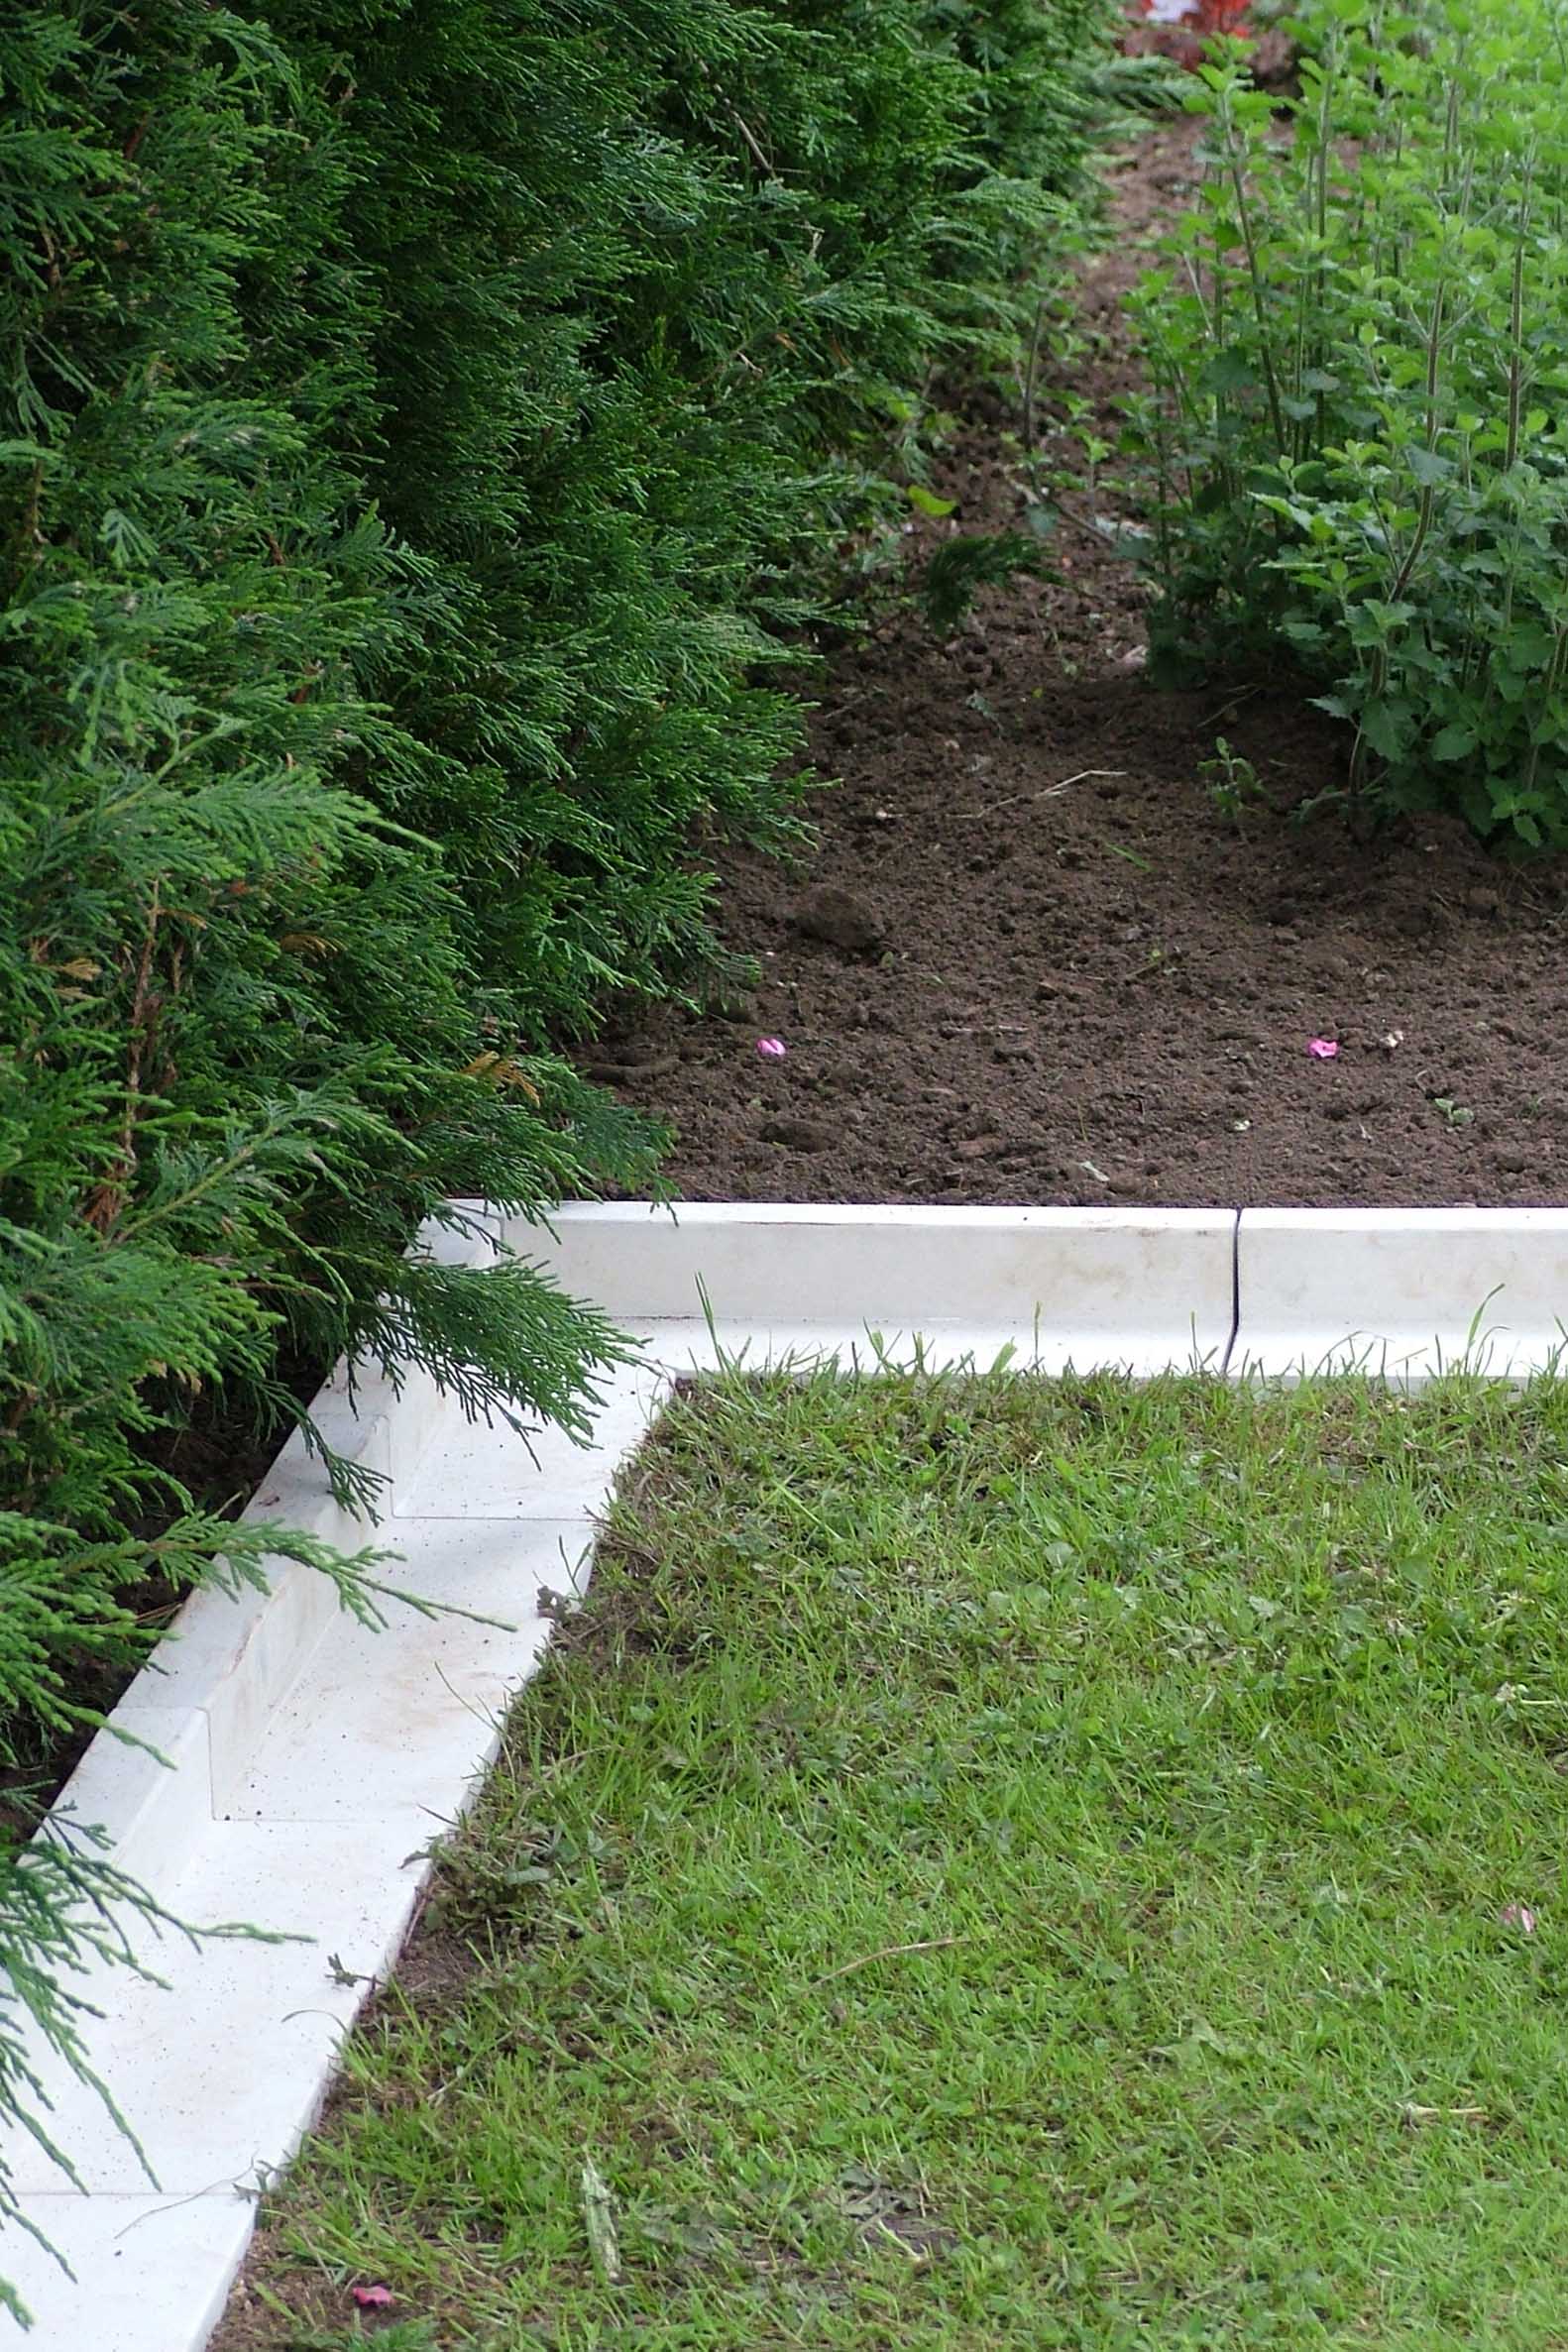
Credit: www.themarthablog.com

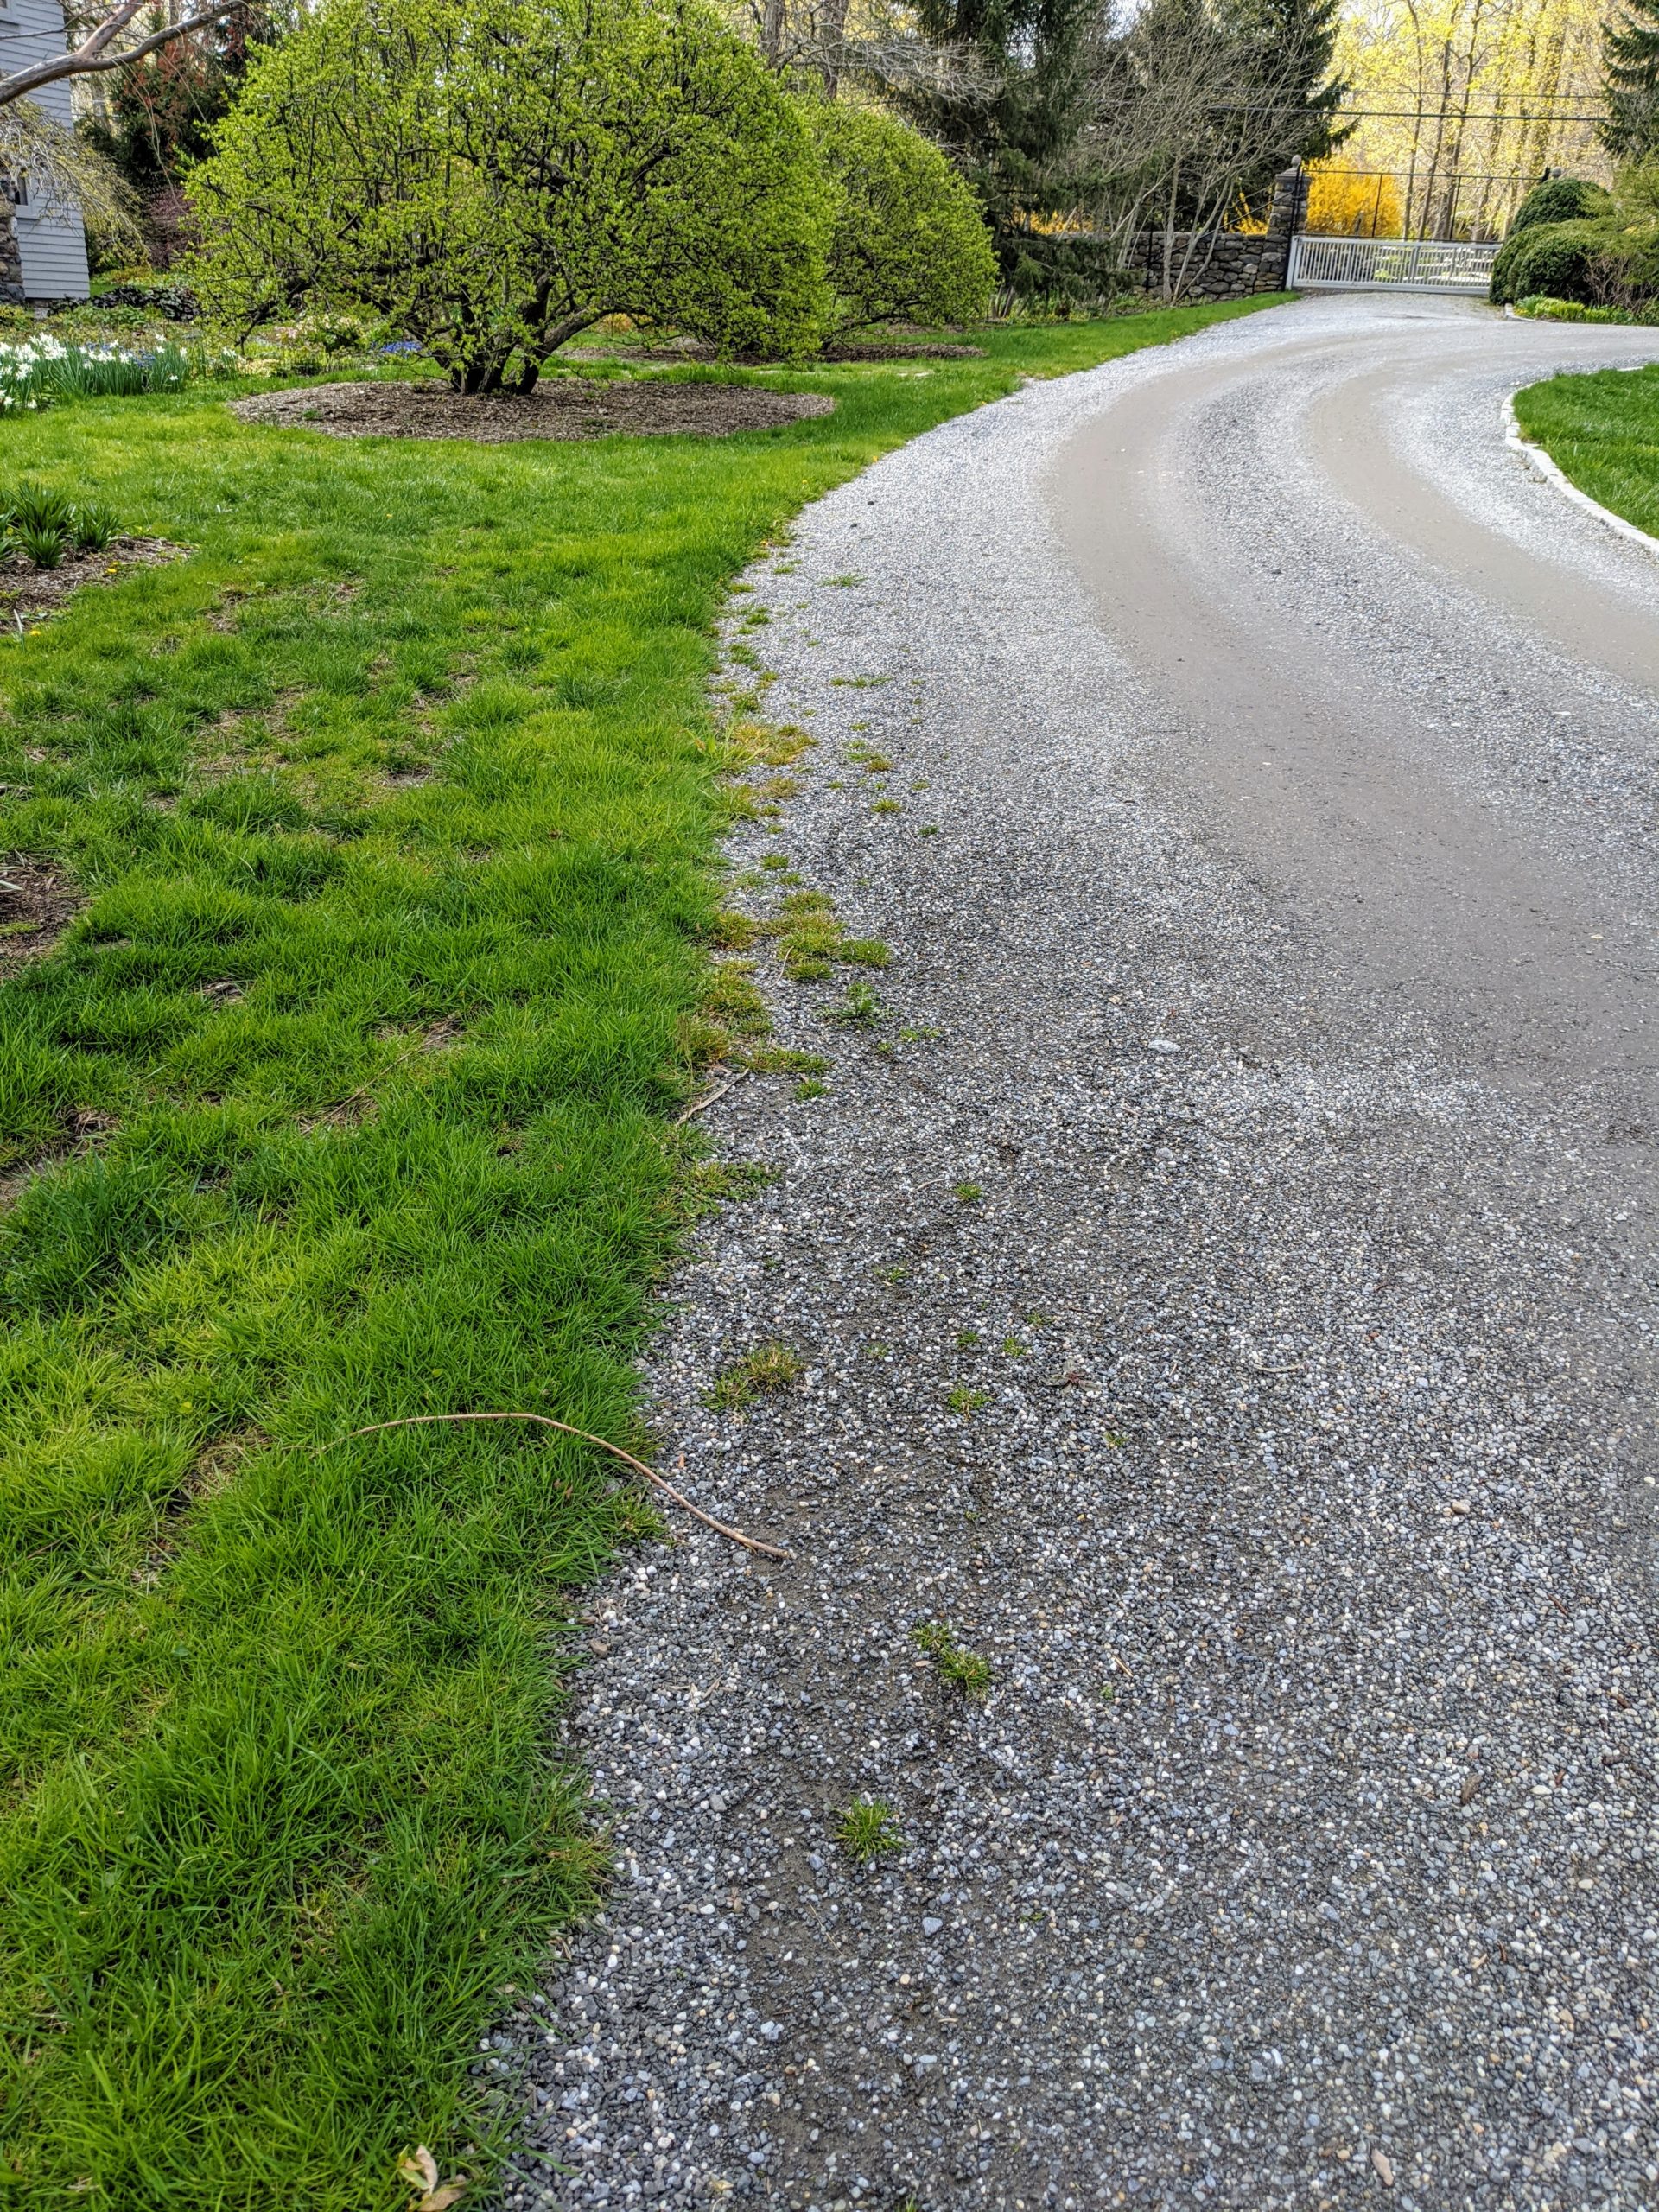
Credit: www.youtube.com
Frequently Asked Questions
What Is The Cheapest Way To Edge A Driveway?
The cheapest way to edge a driveway uses affordable materials like boulders, bricks, or metal strips. DIY installation saves labor costs. Preparing the site and leveling soil ensures durability. Regular maintenance keeps edges neat and prevents shifting.
What Are Common Mistakes When Edging?
Common edging mistakes include skipping site prep, using cheap materials, shallow or uneven installation, ignoring drainage, poor curve planning, and neglecting regular maintenance.
Do You Push Or Pull An Edger?
Push the edger forward steadily to create a clean, precise edge. Maintain firm control for straight lines.
How To Do Edging Around A Driveway?
Start by clearing debris and leveling soil along the driveway edge. Use a lawn edger to cut a clean line. Choose durable edging materials like brick or metal. Dig a trench deep enough to secure the edging firmly. Finish by backfilling soil and compacting for stability.
Conclusion
Edging a driveway with a lawn edger keeps your yard neat and tidy. Clear debris and plan your path before starting. Use steady, even strokes to create clean edges. Check your work often to avoid uneven lines. Regular trimming keeps the edges sharp and well-defined.
With practice, this task becomes easier and faster. A well-edged driveway improves your home’s curb appeal instantly. Try these simple steps to enhance your outdoor space today.