
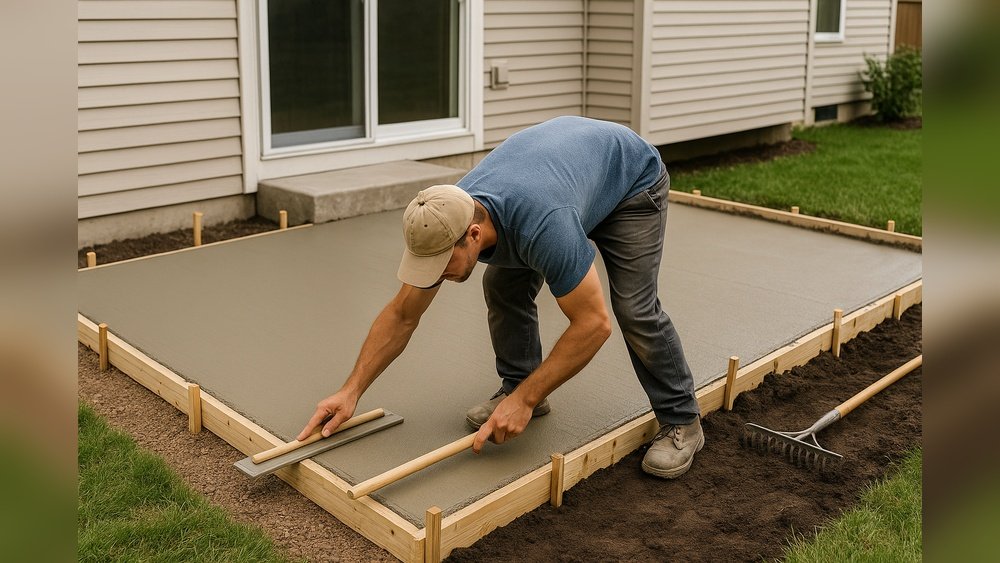
Building a patio without concrete is a smart choice for many homeowners. It saves money, skips heavy labor, and keeps your yard flexible for future changes. You can use natural materials like gravel, pavers, bricks, or even wood. With the right approach, your patio will be durable, attractive, and friendly for the environment.
This guide shows you step-by-step how to build a patio without concrete, compares material options, and shares tips that most beginners miss. Whether you want a relaxing outdoor spot or a space for parties, you’ll find practical advice here to make your patio project successful.
Why Choose A Patio Without Concrete?
Concrete patios are common, but they’re not always the best solution. Choosing non-concrete materials offers several advantages:
- Cost savings: Non-concrete patios often cost 30–50% less than poured concrete, and you save even more by doing it yourself. For example, gravel and wood tiles require less preparation and fewer tools.
- Easier installation: You need fewer tools and less skill. Most materials can be installed with basic garden tools, and you don’t need to rent heavy machinery.
- Better drainage: Materials like gravel or pavers let water flow through, reducing puddles and helping your yard recover faster after rain.
- Eco-friendly: Natural materials avoid concrete’s carbon footprint. Concrete production releases CO2, while materials like stone or wood have lower environmental impact.
- Flexibility: You can move or change your patio later without breaking up concrete. This is great if you want to expand, shift, or update your patio as your needs change.
If you live in a climate with freeze-thaw cycles, non-concrete patios are less likely to crack. They also work well for renters or people who want to experiment with different patio designs. Another bonus: you can use creative patterns and mix materials to personalize your patio, something that’s harder with poured concrete.
Planning Your Patio
A successful patio starts with good planning. Before you buy any materials, consider these key steps:
Choosing The Location
Pick a spot that’s flat, gets enough sun, and is easy to reach. Avoid areas that flood or have poor drainage. If you want privacy, look for spots shielded by trees or fences. Consider how the patio will connect to your house or garden.
If you plan to entertain, make sure there’s space for tables and chairs, and easy access from indoors.
Another important detail: check for shade during the day. Some patios become too hot if they’re in full sun, while others may be damp if shaded all the time. You can adjust the location or add shade structures later, but knowing the sun pattern helps you plan.
Measuring And Marking
Use a tape measure to mark your desired patio size. Common sizes are 12×16 feet for a small patio and 20×20 feet for a larger one. Mark the area with stakes and string, or use spray paint. Before finalizing, walk around the marked area and imagine furniture placement, walking paths, and views.
For irregular shapes, use flexible garden hoses or ropes to outline curves. This helps you see the patio shape in your yard before digging. Remember to allow extra space for edging and landscaping.
Checking Local Regulations
Some cities require permits for patios. Always check with your local building department. Avoid placing patios over septic tanks or buried wires. If you live in a neighborhood with a homeowners association (HOA), review their rules about patios, materials, and placement.
It’s also wise to call “811” or your local utility marking service before digging. They’ll mark underground lines to keep your project safe. Failing to check can lead to costly repairs or safety hazards.
Estimating Budget
Patio costs can vary widely. Here are average prices for popular materials:
| Material | Estimated Cost (per sq ft) | Durability (years) |
|---|---|---|
| Gravel | $1.50–$3.00 | 10–20 |
| Pavers | $5.00–$15.00 | 25–50 |
| Brick | $6.00–$12.00 | 30–50 |
| Wood Deck Tiles | $6.00–$10.00 | 10–15 |
Set aside 10–15% extra for tools, edging, and unexpected expenses. If you’re building on sloped ground or in a rocky area, you may need more base material or extra labor. If your patio is near trees, you might need root barriers or special edging.
Consider the cost of decorations, lighting, and furniture. Many patios look unfinished without these extras, so include them in your planning.
Material Options For Patios Without Concrete
The right material for your patio depends on your style, budget, and climate. Here’s a breakdown of the most popular choices:
Gravel
Gravel patios are simple and affordable. They drain well and suit informal spaces. Choose pea gravel (rounded) or crushed stone (angular). Pea gravel is softer underfoot, while crushed stone locks together better.
Pros:
- Cheap, easy to install
- Excellent drainage
- Flexible shape and size
- Can use for walkways or garden paths
Cons:
- Can shift underfoot
- Needs edging to stay tidy
- May require occasional topping up
- Not ideal for heavy furniture (legs may sink)
Gravel is great for casual patios, pet areas, or places where you want fast installation.
Pavers
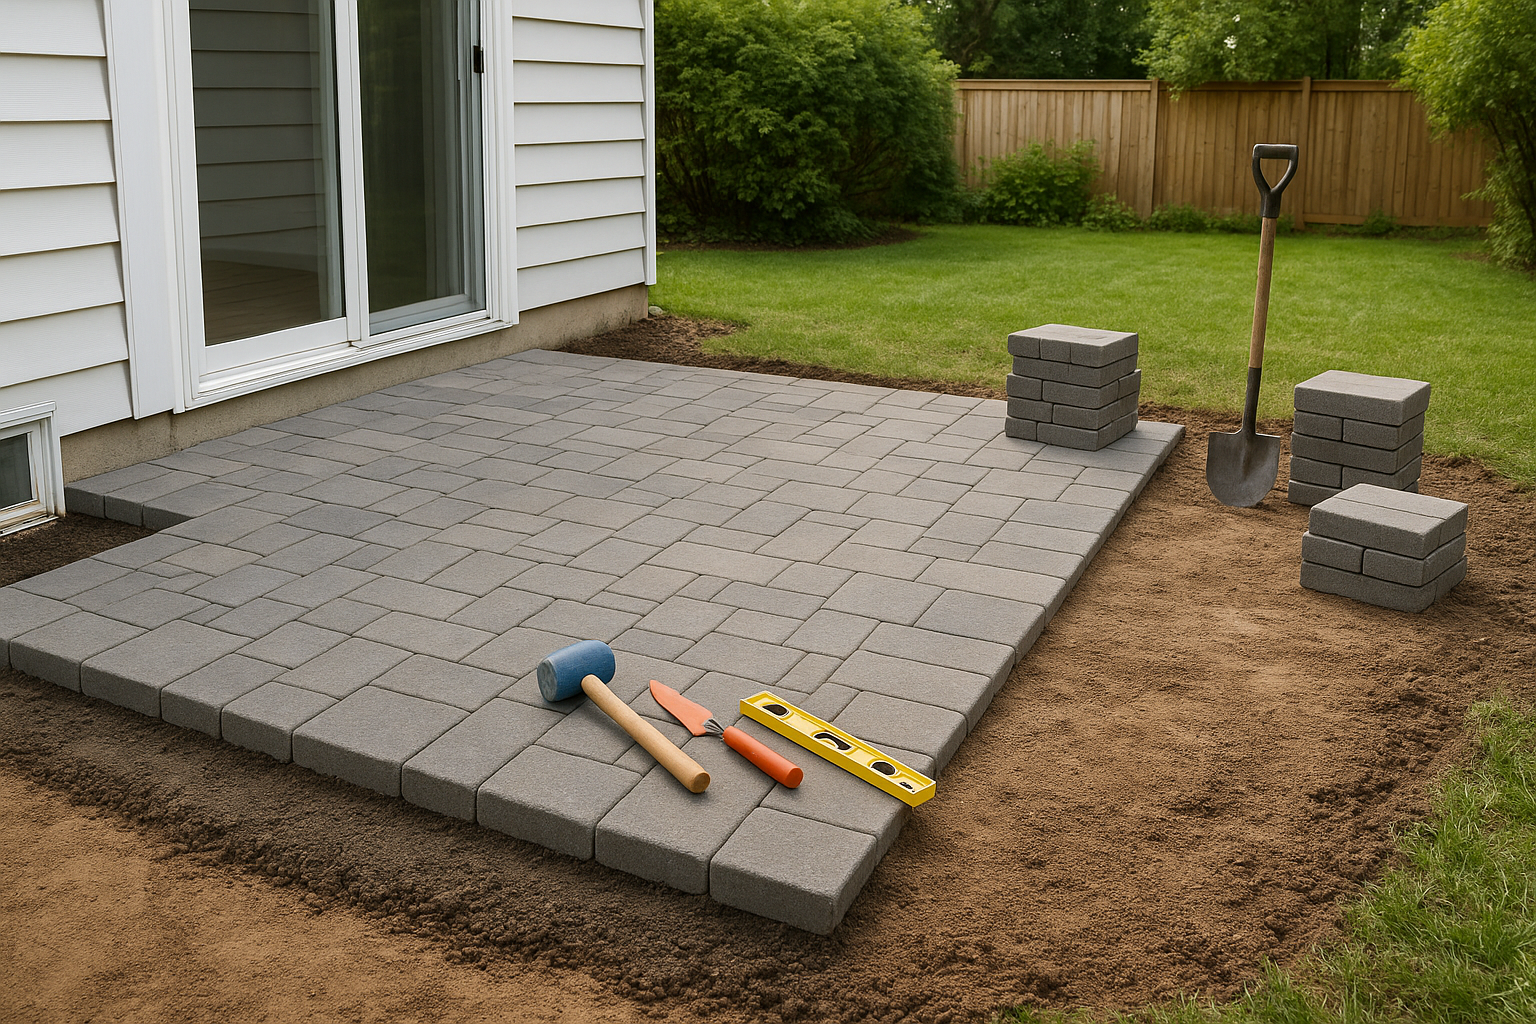
Paver patios offer a clean look and long-lasting performance. You can use concrete, stone, or porcelain pavers. Some pavers are made from recycled materials, which adds to their eco appeal.
Pros:
- Wide variety of styles
- Durable and stable
- Easy to replace individual units
- Can mix colors and patterns
Cons:
- Higher cost than gravel
- Requires careful leveling
- Needs sand or base layer for stability
Pavers are ideal for formal patios, outdoor kitchens, or high-traffic areas. They also work well for wheelchair accessibility.
Brick
Brick patios add classic charm. Use reclaimed bricks for a rustic look or new bricks for a uniform pattern. Bricks can be laid in many patterns, such as running bond or herringbone.
Pros:
- Attractive, traditional appearance
- Good durability
- Can be laid in creative patterns
- Reclaimed bricks are eco-friendly
Cons:
- Can be slippery when wet
- Requires solid base
- May need sealing in wet climates
Bricks work well in historic homes or gardens with a vintage feel. You can use bricks to edge other materials for a custom look.
Wood Deck Tiles
Deck tiles are wooden squares that lock together. They work best for patios on flat, stable ground. Some tiles are made from composite materials, which last longer.
Pros:
- Natural look
- Quick installation
- Can be moved or replaced easily
- Good for renters or temporary patios
Cons:
- Needs maintenance
- Shorter lifespan in wet climates
- Not ideal for uneven ground
Deck tiles can be used indoors or outdoors. They’re easy to cut and fit around obstacles.
Other Options
Some homeowners use mulch, flagstone, or artificial turf. These are best for unique designs or temporary patios.
| Material | Best Use | Maintenance Level |
|---|---|---|
| Mulch | Temporary patios, gardens | High |
| Flagstone | Natural look, uneven ground | Medium |
| Artificial turf | Low-maintenance play areas | Low |
Flagstone works well in gardens or around ponds, while mulch is good for children’s play areas. Artificial turf is perfect for spaces where you want green color without mowing.
Step-by-step Patio Building Guide
Now, let’s walk through building a patio without concrete. This guide focuses on gravel and paver patios, but you can adapt most steps for other materials.
1. Prepare The Site
Clear the area of grass, weeds, and debris. Dig down 4–6 inches for gravel patios or 6–8 inches for pavers. This depth allows space for the base layer and your patio material. Use a flat shovel for edges and a spade for corners.
If your yard slopes, you may need to build a small retaining edge. For slopes over 3%, consider terracing or using steps. Remove roots, large rocks, and anything that could shift later.
2. Install Edging
Edging keeps your patio neat and prevents materials from spreading. Use plastic, metal, or stone edging. Place edging along your marked boundaries and secure it with stakes. For curved patios, flexible edging works best.
Edging also helps with mowing and keeps mulch or plants from spilling onto the patio. If you use wood edging, treat it to prevent rot.
3. Lay The Base
A strong base is the secret to a stable patio. For most patios:
- Pour 2–4 inches of crushed stone or road base.
- Compact it with a hand tamper or plate compactor.
This step is often skipped by beginners, but it’s critical for long-term durability. Compact in layers, not all at once, for better stability. For larger patios, rent a plate compactor—it saves time and gives a firmer base.
If you have clay soil, add extra gravel for drainage. On sandy soil, use geotextile fabric under the base to keep it stable.
4. Add Landscape Fabric
Place landscape fabric over the base. This prevents weeds from growing up through your patio. Cut the fabric to fit, and overlap edges by several inches. Pin the fabric down with landscape staples or rocks.
Landscape fabric also helps separate the base from the patio material, making maintenance easier. For patios with heavy use, choose thick fabric.
5. Add Patio Material
For Gravel Patios:
- Pour 2–3 inches of gravel over the fabric.
- Rake it evenly.
- Compact lightly, but don’t pack too hard (you want some movement).
- Add extra gravel to low spots after settling.
For Paver Patios:
- Pour 1–2 inches of sand over the base.
- Level the sand with a screed board.
- Lay pavers in your chosen pattern.
- Tap each paver gently with a rubber mallet.
- Fill gaps with sand or fine gravel.
- Sweep sand into gaps, then spray lightly with water to set.
For bricks, use the same process as pavers, but check for color consistency and fit. Wood deck tiles snap together, so just lay them on a flat base.
6. Finish And Maintain
Sweep excess material off the surface. Water the patio lightly to settle dust. Add furniture, plants, or lighting as desired.
For maintenance:
- Refill gravel as needed
- Sweep pavers or bricks regularly
- Check edging once a year
- Remove leaves and debris to prevent stains
- Inspect for weeds or ants, and treat as needed
Every spring, check for low spots or loose stones and fix them early.
Common Mistakes And How To Avoid Them
Many beginners make errors that lead to uneven patios, weeds, or shifting. Here are some common mistakes and tips:
- Skipping the base: Without a base, your patio will sink or become uneven.
- Poor drainage: Don’t build patios where water collects. Slope the area slightly (about 1 inch per 4 feet) away from your house.
- Wrong material depth: Too little gravel or sand means weak support.
- Loose edging: Secure edging well, or materials will spread.
- Ignoring weeds: Use landscape fabric to stop weed growth.
A non-obvious insight: If you build a patio near trees, use root barriers to keep roots from pushing up your patio over time. Also, avoid placing patios where tree branches hang low—falling leaves and twigs can cause extra maintenance.
Another tip: For paver patios, use polymeric sand to lock the pavers and prevent weeds, ants, and shifting.
Choosing Patterns And Design
The look of your patio depends on how you arrange the materials. Here are popular patterns:
Gravel
- Simple spread: Rake gravel evenly for a relaxed look.
- Pathways: Use stepping stones or wood planks for walking paths.
- Mixing colors: Add two types of gravel for visual interest.
Pavers
- Running bond: Bricks in straight lines, staggered.
- Herringbone: Zig-zag pattern, strong and stylish.
- Basket weave: Alternating pairs for a classic look.
- Modular patterns: Combine large and small pavers for modern style.
Brick
- Circular: Good for small patios.
- Diagonal: Adds visual interest.
- Combination: Mix bricks with stone for custom borders.
Wood Deck Tiles
- Checkerboard: Alternating grain patterns.
- Diagonal layout: Makes space look larger.
Patterns affect stability and appearance. For pavers, herringbone is most resistant to shifting. For bricks, combining patterns with borders adds a custom touch.
Patio Drainage And Water Management
Proper drainage makes your patio last longer. Here’s what to do:
- Slope your patio away from buildings.
- Use permeable materials for water to pass through.
- Add French drains or gravel trenches if the area floods.
- Direct downspouts away from the patio.
One overlooked tip: Don’t place patios right against house walls. Leave a 6-inch gap and fill it with gravel to keep water away from foundations. For patios on hillsides, add a drainage channel or swale to move water safely.
If you live in a rainy area, consider permeable pavers or extra gravel to reduce puddles.
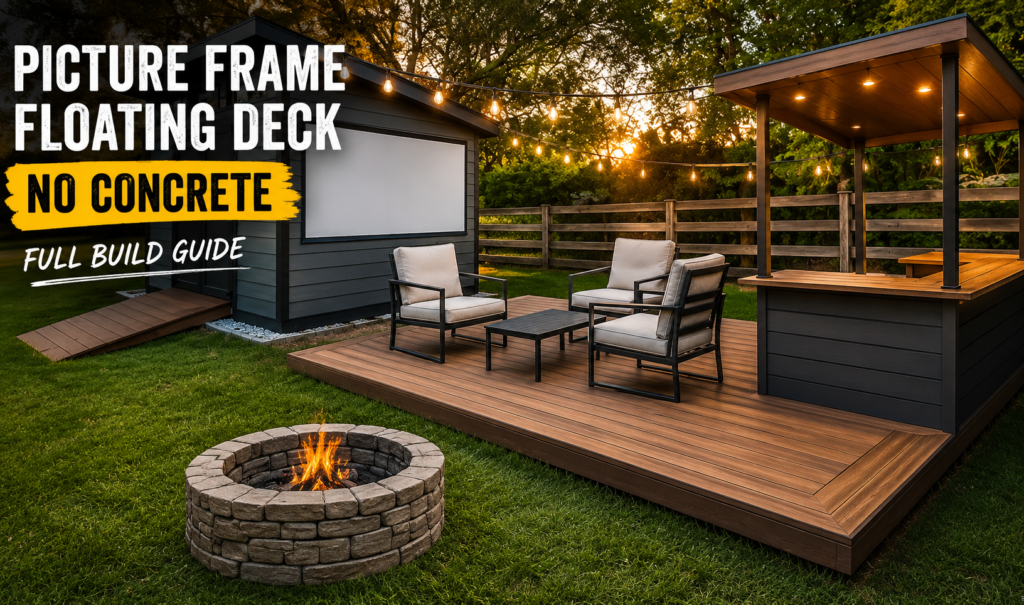
Credit: thediyjourney.com
Comparing Patio Types: Durability, Maintenance, And Comfort
To help you choose, here’s a comparison of patio types:
| Type | Durability | Maintenance | Comfort |
|---|---|---|---|
| Gravel | Medium | Low | Moderate |
| Pavers | High | Low | High |
| Brick | High | Medium | High |
| Wood Deck Tiles | Medium | Medium | High |
Gravel is best for low budgets and informal spaces. Pavers and bricks are ideal for formal patios and areas with heavy use. Wood tiles are comfortable but need more care.
Tools And Supplies You’ll Need
Here’s a list of basic tools and supplies for building a patio without concrete:
- Shovel
- Rake
- Tape measure
- Hand tamper or plate compactor
- Wheelbarrow
- Landscape fabric
- Edging materials
- Rubber mallet (for pavers)
- Level
- Screed board (for sand)
- Patio material (gravel, pavers, bricks, or wood tiles)
Optional tools:
- Power compactor (for large patios)
- Garden hose (to wet base material)
- Gloves and knee pads
- Utility knife (for landscape fabric)
- Stakes and string (for marking)
- Broom (for finishing)
Having the right tools makes your project faster and easier. Renting a compactor is worth it for patios over 100 sq ft.
Patio Building Timeline
Most patios can be built in a weekend. Here’s a rough timeline:
- Site preparation: 2–4 hours
- Edging and base: 2–3 hours
- Landscape fabric: 1 hour
- Patio material installation: 4–8 hours
- Finishing touches: 2 hours
Total: 1–2 days, depending on patio size and complexity. For larger patios or tricky shapes, allow an extra day. If rain is forecast, cover the area and pause work.
Tips For A Professional Finish
If you want your patio to look like it was built by a pro, follow these tips:
- Use a string line or level to keep edges straight.
- Compact base material well—don’t rush this step.
- Fill gaps between pavers with polymeric sand to lock them in place.
- Hide seams between landscape fabric layers under base material.
- Add lighting for evening use.
- Use contrasting edging for visual interest.
A detail many beginners miss: For gravel patios, mix two sizes of gravel. Larger stones underneath, smaller stones on top. This gives a firmer, more comfortable surface. For paver patios, set the first row carefully—if it’s straight, the rest will follow.
Add landscaping around your patio for a finished look. Small shrubs or flower beds soften edges and add color.
Eco-friendly Patio Choices
Many homeowners want sustainable patios. Here’s how to make your patio greener:
- Use recycled materials (like reclaimed bricks or composite pavers).
- Avoid chemicals—choose natural stone or untreated wood.
- Plant ground cover or flowers around your patio for biodiversity.
- Install permeable pavers to reduce runoff.
- Harvest rainwater from patio runoff for garden use.
Eco-friendly patios don’t just help the planet—they can also qualify for local rebates or tax credits. Some cities offer incentives for using permeable surfaces or recycled materials.
Another tip: Use solar-powered lights instead of wired fixtures. They’re easy to install and save energy.
Decorating Your Patio
Once your patio is built, decorate to make it inviting:
- Add outdoor furniture: Choose weather-resistant chairs and tables.
- Install planters: Use pots or built-in beds for flowers and herbs.
- Hang string lights: Great for evening gatherings.
- Use shade structures: Umbrellas or pergolas protect from sun.
- Place fire pits: For warmth and ambiance.
- Add rugs or mats: Softens the look and adds comfort.
Choose decorations that match your patio material. Wood tiles go well with rustic furniture, while pavers suit modern styles. Try mixing materials for a unique look, like metal chairs on brick or colorful cushions on gravel.
Patio Safety And Accessibility
Safety is important for any patio. Here’s what to check:
- Make sure edges are smooth—no sharp stones or bricks.
- Create clear paths for walking.
- Avoid slippery materials in wet areas.
- For accessibility, use level surfaces and wide paths (at least 36 inches).
- Add railings or ramps if needed.
One overlooked tip: If you have kids or older adults, choose patio materials that are easy to walk on (like pavers or deck tiles). For gravel patios, place stepping stones in main walkways.
Lighting also adds safety—solar lights along paths help prevent trips at night.
Weatherproofing And Seasonal Care
Patios need care to handle weather changes. Here’s what to do:
- In winter, cover wood tiles or store them indoors.
- For gravel patios, rake and refill as needed after storms.
- Use sealants on bricks or pavers if you live in wet climates.
- Clean patio surfaces twice a year to remove dirt and moss.
- Watch for freeze-thaw damage and repair as needed.
If you live in areas with heavy snow, avoid using salt on patios—it can damage stone and wood. Use sand for traction instead.
For rainy climates, check drainage channels and clean gutters to prevent flooding.
Credit: jameslandscaping.com
When To Call A Professional
Most patios without concrete are DIY-friendly. But if your patio is large (over 300 sq ft), has unusual shapes, or needs heavy grading, consider hiring a pro. Professional installers have equipment for compacting, leveling, and drainage.
You can also find detailed DIY guides on Family Handyman for more complex builds.
If your patio needs permits or connects to utilities, get expert help.
Frequently Asked Questions
What Patio Material Lasts Longest Without Concrete?
Pavers and bricks are the most durable, lasting 25–50 years with proper care. Gravel and wood tiles last 10–20 years, depending on climate and maintenance.
Can I Build A Patio Over Grass?
It’s possible, but not recommended. Grass will rot and attract insects. Always remove grass and lay a stable base before adding patio materials.
How Do I Prevent Weeds In My Patio?
Use landscape fabric under your patio material. For pavers, fill gaps with polymeric sand. Regular maintenance (sweeping and spot treatment) helps keep weeds away.
Is A Gravel Patio Comfortable For Walking And Furniture?
Gravel patios can be comfortable if you use pea gravel or small stones. Place furniture on mats or flat stones for extra stability. Mixing different sizes of gravel improves comfort.
Do Patios Without Concrete Need Permits?
Most simple patios (gravel, pavers, or wood tiles) don’t need permits, but rules vary by city. Always check with your local building department before starting.
Building a patio without concrete is easier than you may think. With careful planning, the right materials, and attention to detail, you can create an outdoor space that’s beautiful, durable, and eco-friendly. Whether you choose gravel, pavers, bricks, or wood tiles, this guide gives you all the steps and tips you need for a successful project.
Enjoy your new patio for years to come, and remember—outdoor spaces are best when they reflect your style and needs.
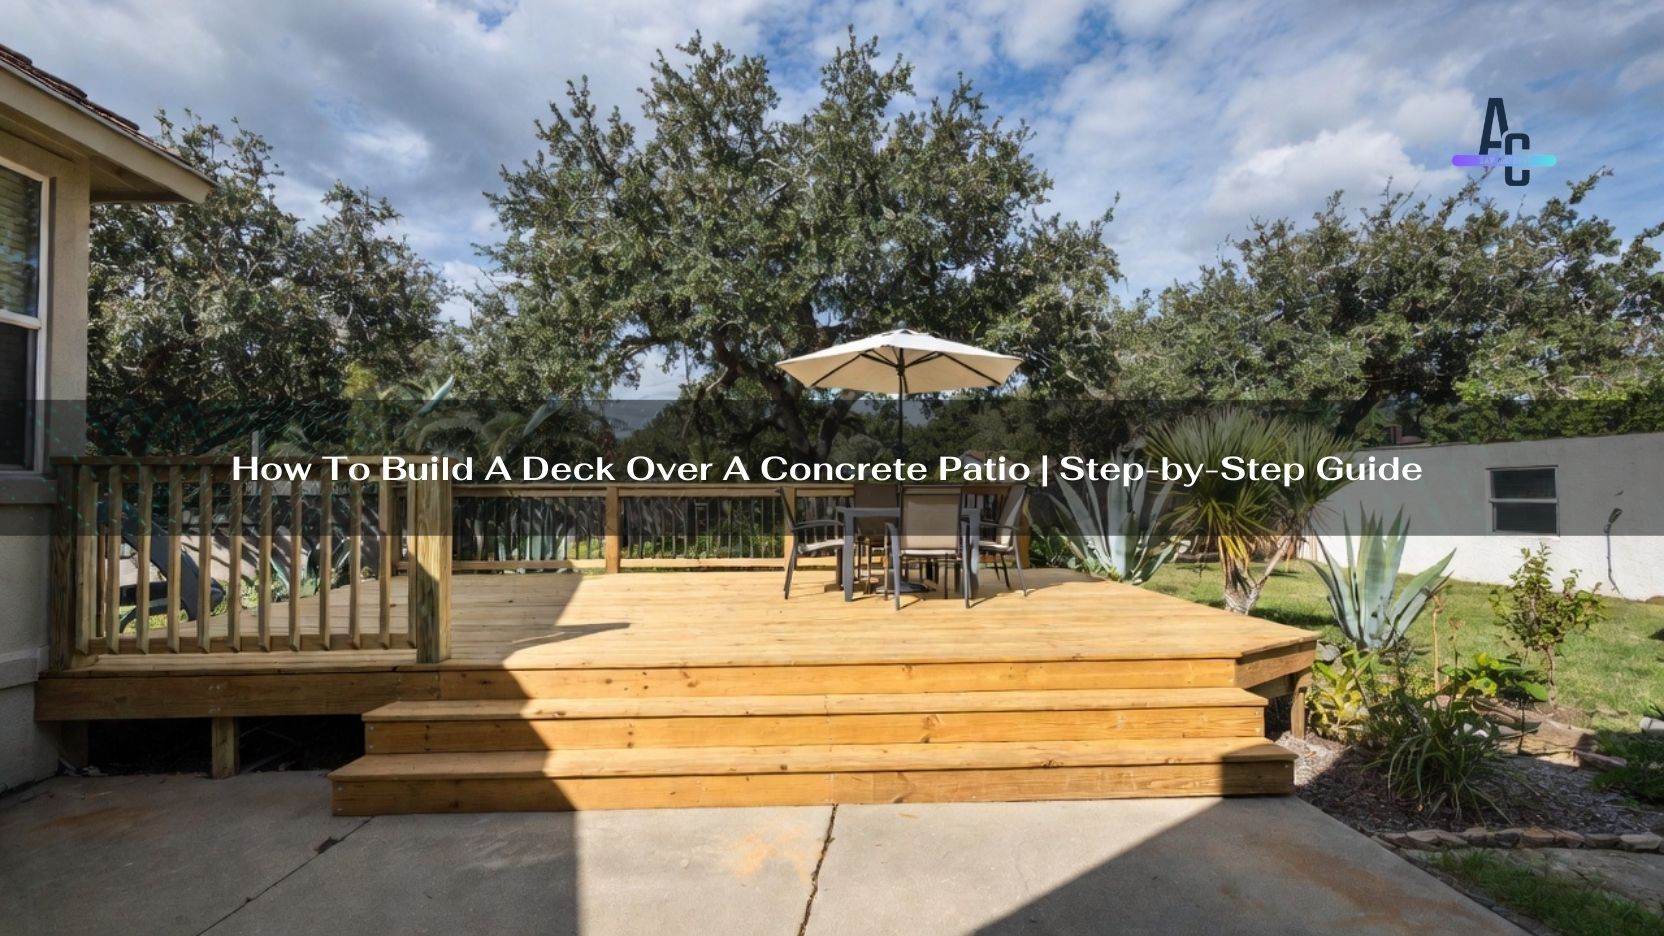
Credit: affordableconcretesanantonio.com