
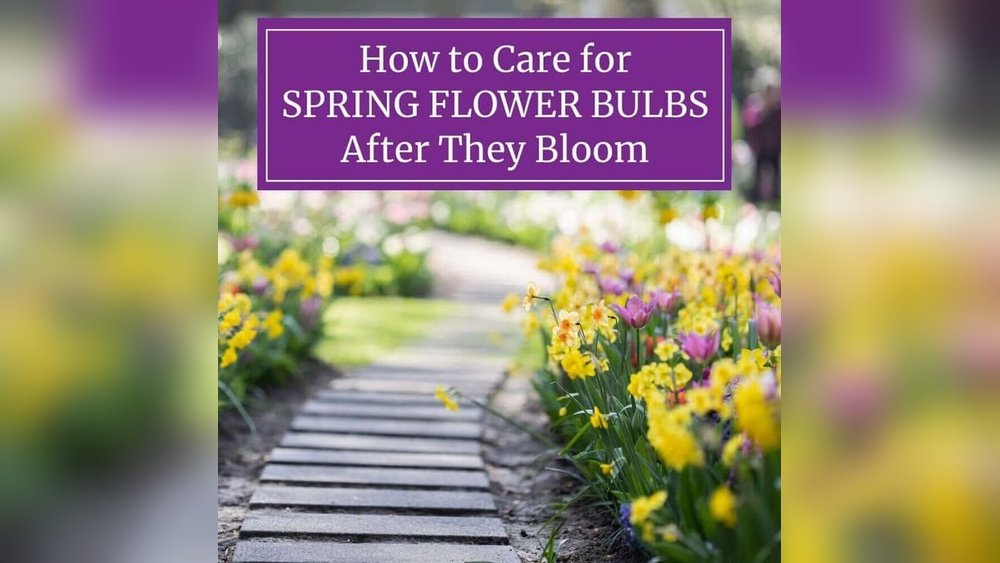
You’ve enjoyed the vibrant colors and sweet scents of your flower bulbs in full bloom. But what happens next?
How you care for your bulbs after they bloom makes all the difference in whether they’ll come back strong next season or fade away. If you want your garden to stay full of beautiful flowers year after year, you need to know the right steps to take once the blossoms have faded.
Keep reading, and you’ll discover simple, effective ways to nourish and protect your bulbs so they can shine again when spring returns. Your garden’s future beauty depends on what you do now!

Credit: www.longfield-gardens.com
Removing Spent Flowers
After flower bulbs bloom, removing spent flowers is key to healthy plants. This simple task helps bulbs save energy. It also keeps your garden looking tidy. Proper removal encourages better blooms next season. Knowing when and why to remove these flowers improves your care routine.
Timing For Deadheading
Remove spent flowers soon after they fade. Wait until petals wilt and dry. Cut just below the flower head. Avoid cutting leaves or stems. Leaves gather sunlight for bulb nourishment. Deadheading at the right time prevents seed formation. This timing helps bulbs focus on growth and energy storage.
Benefits Of Removing Seed Heads
Removing seed heads stops the plant from wasting energy. Bulbs use energy to make seeds. This energy can weaken the bulb for next year. Removing seed heads helps bulbs store food in their roots. Strong bulbs produce bigger and brighter flowers. It also prevents unwanted self-seeding in your garden.
Foliage Care After Bloom
After flower bulbs finish blooming, caring for their foliage is very important. The leaves store energy that helps bulbs bloom again next season. Proper foliage care supports strong, healthy bulbs for future growth. Avoid rushing to cut leaves and give them time to feed the bulb.
Allowing Leaves To Die Back Naturally
Let leaves stay green until they turn yellow and dry. This process moves nutrients from the leaves to the bulb underground. Cutting leaves too soon stops this transfer and weakens the bulb. Wait until all the leaves are brown before removing them. This natural die-back strengthens your bulbs for the next year.
Avoiding Premature Cutting
Do not cut leaves immediately after flowers fade. Leaves still produce food through photosynthesis even after blooming. Removing them early reduces the bulb’s stored energy. Keep leaves intact for at least six weeks after flowering ends. Only trim leaves once they look dry and lifeless. This simple care helps bulbs stay healthy and bloom well again.
Feeding And Fertilizing Bulbs
Feeding and fertilizing flower bulbs after they bloom is vital for healthy growth. Proper nutrition helps bulbs store energy for the next season. This care encourages vibrant blooms year after year. Understanding how to feed bulbs supports strong roots and leaves. It also prepares bulbs to survive dormant periods.
Post-bloom Fertilizer Tips
Apply fertilizer soon after flowers fade to boost bulb strength. Use a balanced, slow-release fertilizer for steady nutrient supply. Avoid high nitrogen fertilizers, which promote leaf growth over flowers. Light watering helps fertilizer soak into the soil around bulbs. Do not fertilize if leaves are yellow or dying. Continue feeding until leaves turn brown and die naturally. This process lets bulbs absorb nutrients fully.
Choosing The Right Fertilizer
Select fertilizers with phosphorus and potassium to support bulb development. A formula like 10-10-10 or 5-10-10 works well. Organic options, such as compost or bone meal, improve soil health. Avoid excessive nitrogen, which may weaken bulbs over time. Read labels carefully to match fertilizer with bulb needs. Using the right fertilizer enhances flowering and bulb size next season.
Watering Practices
Watering is key to helping flower bulbs recover after blooming. Proper moisture supports bulb health and future growth. Watering needs change once flowers fade. Bulbs require less water but still need some moisture to stay healthy.
Adjusting Watering Frequency
Reduce watering as leaves start to yellow. The bulb uses less water during dormancy. Water only if the soil feels dry. Avoid watering every day. A deep soak once a week is usually enough. Check soil moisture before watering again. Overwatering can cause bulbs to rot. Let the soil dry out between waterings.
Signs Of Overwatering To Avoid
Yellowing leaves can signal too much water. Soft, mushy bulbs indicate rot from excess moisture. Foul smell near bulbs means decay. Mold or fungus on soil surface shows overwatering. Avoid soggy soil and poor drainage. These conditions harm bulb health and future blooms. Stop watering if these signs appear. Let soil dry before watering again.
Digging Up Bulbs
Digging up flower bulbs after they bloom is a key step in caring for them. It helps keep bulbs healthy for next year’s growth. Knowing the right time and method to lift bulbs can improve their lifespan and flowering power. Proper handling avoids damage and disease. This section explains when to lift bulbs and how to dig them up correctly.
When To Lift Bulbs
Lift bulbs after the leaves have turned yellow or brown. The leaves feed the bulb while they are green. Wait until they die back naturally before digging. This process lets the bulb store energy for the next season. If you lift bulbs too early, they may be weak next year. Signs to check include drooping leaves and dry foliage. Usually, this happens 6 to 8 weeks after flowering ends.
Proper Techniques For Digging
Use a garden fork or spade to loosen soil around the bulbs. Dig carefully to avoid cutting or bruising them. Start digging about 6 inches away from the plant stem. Gently lift the bulbs from the soil with roots attached. Shake off excess dirt but do not wash them. Let bulbs dry in a shaded, airy place for a few days. Store them in a cool, dry spot until replanting. Proper digging helps prevent bulb rot and disease.
Storing Bulbs Safely
Storing flower bulbs safely after they bloom is essential for healthy growth next season. Proper storage keeps bulbs alive and ready to bloom again. Many gardeners overlook this step, but it ensures your bulbs stay strong.
Ideal Storage Conditions
Store bulbs in a cool, dry, and dark place. Temperatures between 50°F and 60°F are best. Avoid areas with high heat or freezing cold. A basement, garage, or shed often works well. Keep bulbs away from direct sunlight. Use breathable containers like mesh bags or paper bags. Avoid plastic bags, which trap moisture and cause damage.
Preventing Mold And Rot
Check bulbs for any signs of mold or soft spots before storage. Remove any damaged or weak bulbs. Allow bulbs to dry completely before storing. Spread them out in a single layer to air dry. Adding a little dry peat moss or wood shavings helps absorb moisture. Inspect stored bulbs regularly to catch any problems early. Throw away any bulbs that show mold or rot to protect the rest.
Replanting Bulbs
Replanting flower bulbs after they bloom helps ensure healthy growth next season. Proper replanting keeps bulbs strong and ready to flower again. It involves choosing the right time and preparing the soil well. This care will help bulbs thrive and produce beautiful blooms year after year.
Best Time To Replant
The best time to replant flower bulbs is after the foliage dies back. Leaves should turn yellow and wither naturally. This stage means the bulb has stored enough energy for next year’s growth. Usually, this occurs in late summer or early fall. Plant bulbs before the first frost to avoid damage.
Preparing Soil For New Growth
Good soil preparation is key for strong bulb growth. Start by loosening the soil to improve drainage. Mix in organic matter like compost or aged manure. This adds nutrients and helps retain moisture. Avoid heavy clay soils that hold water. Well-drained soil prevents bulbs from rotting. Plant bulbs at the recommended depth and spacing for each type.
Bulbs In Containers
Flower bulbs in containers bring color and life to patios and balconies. Their compact size makes care different from bulbs planted in the ground. After blooming, bulbs in pots need special attention to stay healthy. Proper care helps bulbs bloom again next season.
Care Tips For Potted Bulbs
Remove spent flowers to stop seed production. This helps bulbs save energy for next year’s growth. Keep watering the bulbs until the leaves turn yellow. Leaves feed the bulb, so avoid cutting them too early. Place pots in a bright spot but out of direct hot sun. Use a balanced fertilizer to provide nutrients. Avoid overwatering to prevent bulb rot.
Transitioning Bulbs Between Seasons
After leaves die back, stop watering the bulbs. Move pots to a cool, dry, and dark place for rest. This mimics natural winter conditions the bulbs need. Check bulbs for rot or damage before storing. Store bulbs in breathable containers like paper bags. In fall, repot bulbs in fresh soil and bring them back outside. This cycle helps bulbs recharge and bloom again.
Dealing With Hardy Bulbs
Hardy bulbs are tough plants that return each year. They survive cold winters and bloom again without much help. Caring for these bulbs after blooming ensures strong growth next season. Their leaves gather energy for the bulb below the soil. Proper care keeps them healthy and ready to flower again.
Leaving Bulbs In The Ground
Many hardy bulbs do best when left in the ground. Tulips, daffodils, and irises grow stronger this way. After flowers fade, cut off the dead blooms to save energy. Let the leaves stay until they turn yellow and dry. This lets bulbs store food for next year’s blooms. Avoid digging them up unless the soil is wet or crowded.
Managing Naturalizing Bulbs
Naturalizing bulbs spread over time to fill garden areas. Crocuses and snowdrops are good examples. They multiply by making new bulbs underground. Let the plants grow and die back naturally each year. Thin crowded clumps every few years to keep them healthy. Dig and divide bulbs in late summer or early fall. This helps avoid overcrowding and keeps blooms bright.

Credit: yardandgarden.extension.iastate.edu

Credit: www.almanac.com
Frequently Asked Questions
What Do You Do With Flower Bulbs After They Bloom?
After blooming, remove spent flowers to save energy for next year. Keep foliage until it yellows, then cut back. Store bulbs in a cool, dry place or leave hardy bulbs in the ground. Fertilize lightly after bloom to strengthen bulbs for next season.
Can You Leave Flower Bulbs In The Ground All Year?
Hardy bulbs like tulips and daffodils can stay in the ground year-round to bloom again. Tender bulbs need lifting after flowering to prevent rot. Leaving bulbs in the soil depends on their hardiness and local climate conditions.
Should You Cut Back Bulbs After Flowering?
Cut back spent flowers after blooming to help bulbs focus energy on next year’s growth. Leave foliage until it yellows.
Can You Leave Bulbs In Pots After Flowering In Winter?
Yes, you can leave bulbs in pots after winter flowering. They may flower less well after a few years. For best results, transplant or replace bulbs annually.
Conclusion
Caring for flower bulbs after they bloom helps them grow strong again. Remove dead flowers to save energy for next year. Keep leaves until they turn yellow or dry. Store bulbs in a cool, dry place if you dig them up.
Feed bulbs lightly after blooming to support growth. Healthy bulbs bring bright blooms season after season. Small steps make a big difference in your garden. Your flowers will thank you with vibrant colors next spring. Simple care keeps bulbs thriving year after year.