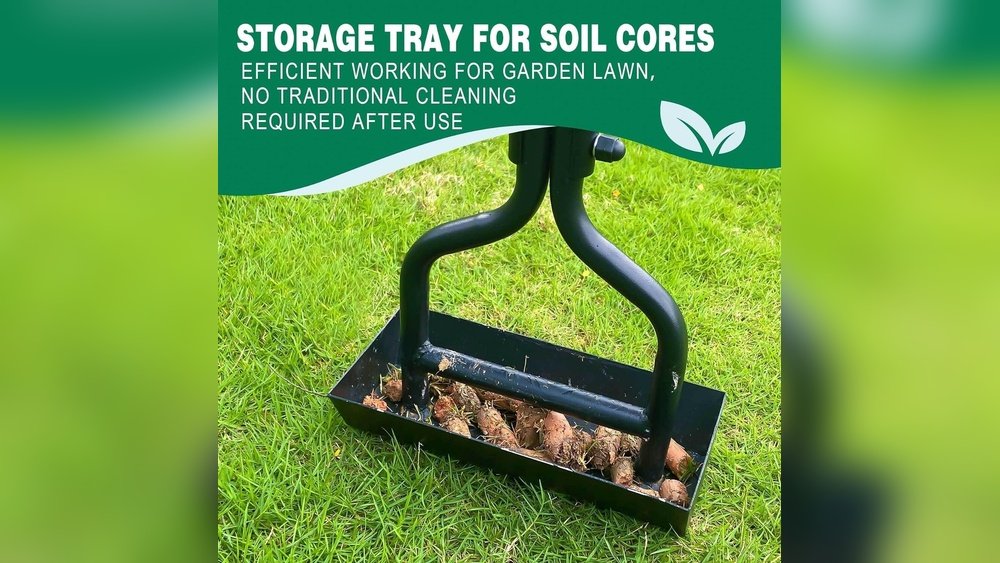
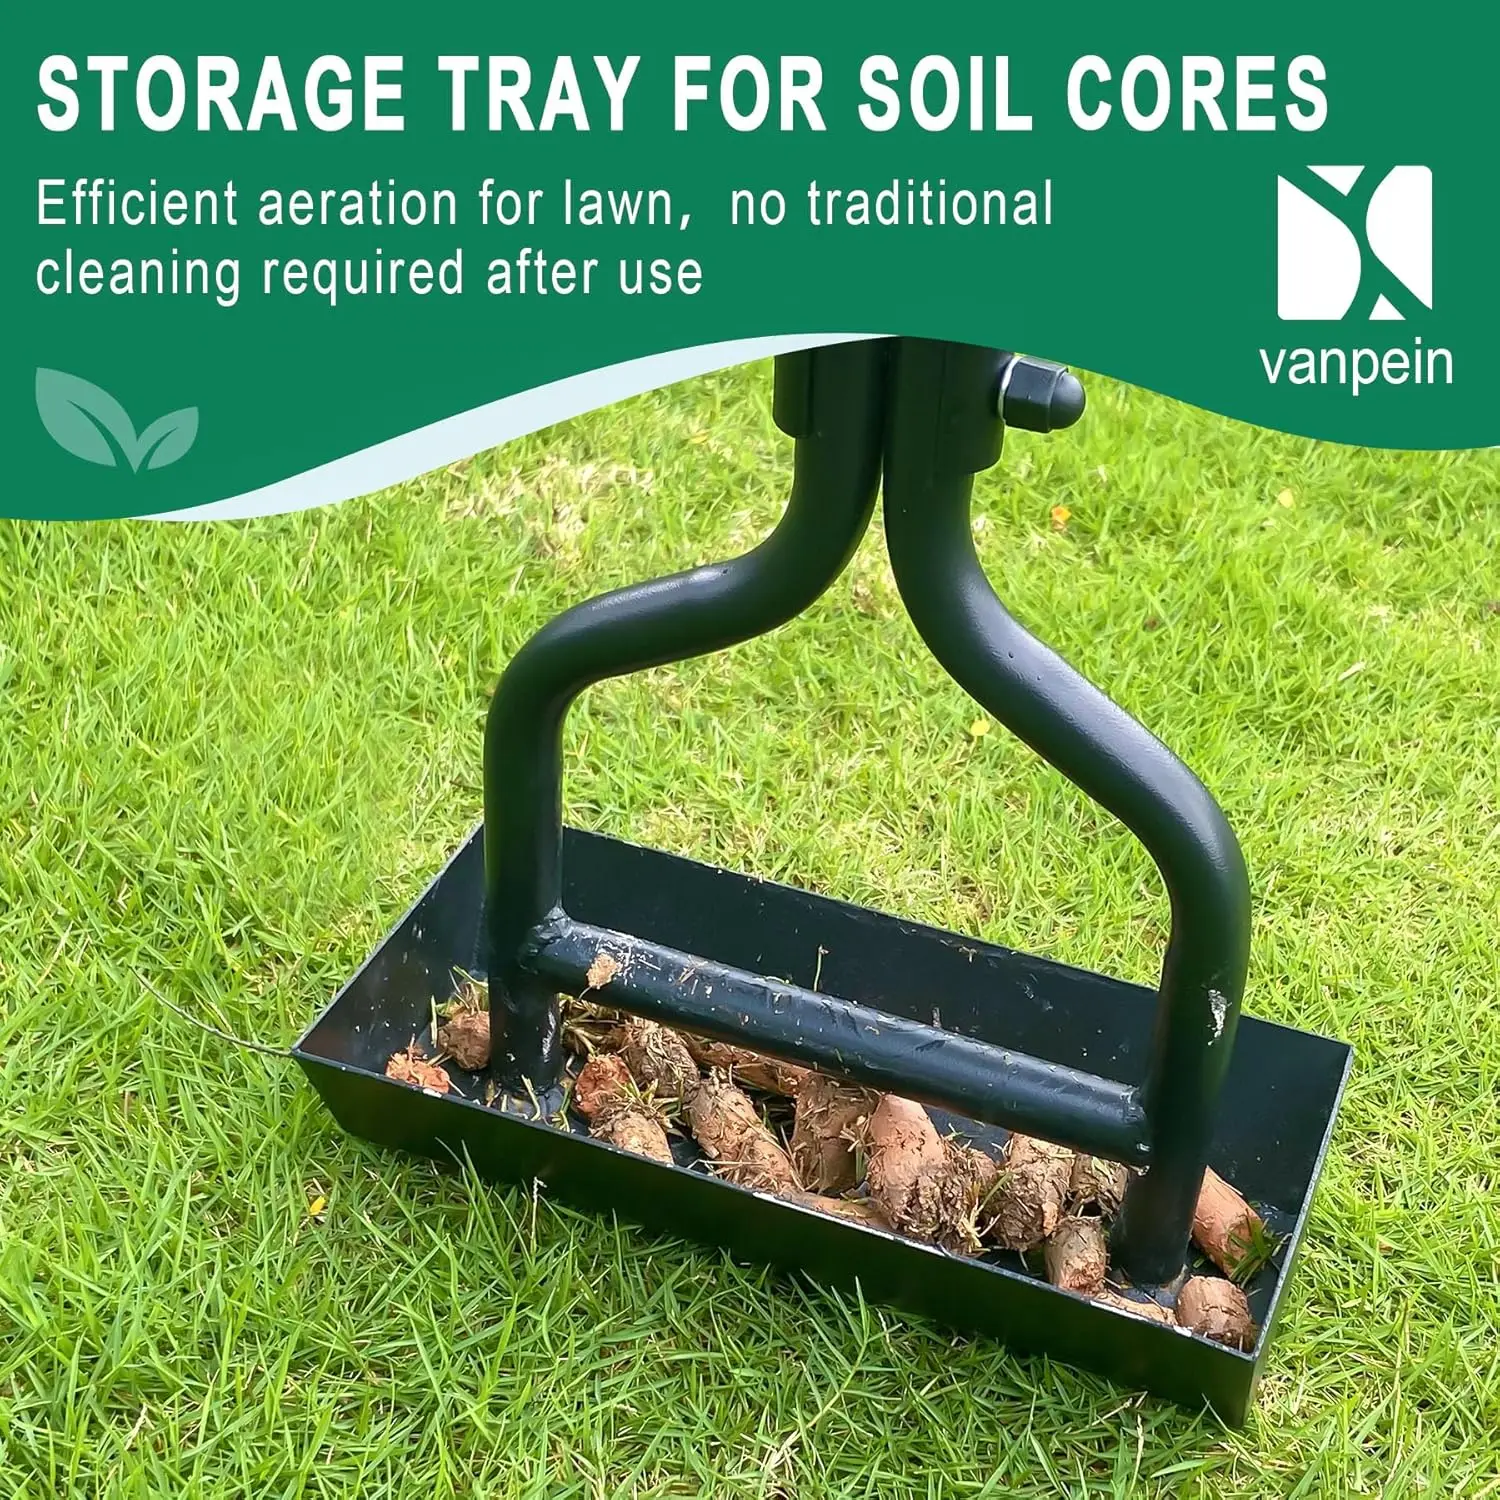
You’ve just finished aerating your lawn, and your aerator has done its job well. But have you thought about what comes next?
Cleaning your lawn aerator right after use is essential to keep it working smoothly and to extend its lifespan. If soil and debris build up on the tines or spikes, your aerator won’t perform as effectively the next time you use it.
Plus, neglecting this simple step can lead to costly repairs or replacements. In this guide, you’ll discover easy, practical steps to clean your lawn aerator quickly and thoroughly. Keep reading to learn how to protect your investment and ensure your lawn stays healthy season after season.
Prepare The Aerator
Preparing your lawn aerator for cleaning makes the process easier and safer. Start by ensuring the aerator is turned off and cooled down. This step prevents any accidents and protects the machine’s parts during cleaning. Proper preparation also helps avoid damage and keeps the aerator working well for a long time.
Taking time to prepare the aerator properly saves effort later. It allows you to clean every part thoroughly. Follow these steps to get your aerator ready for cleaning and maintenance.
Remove Loose Debris
Begin by removing loose dirt, grass, and soil from the aerator’s surface. Use a soft brush or cloth to wipe away debris. This step prevents dirt from spreading during deeper cleaning. Pay close attention to the tines and spikes, as soil often sticks there. Removing loose debris first makes washing and scrubbing easier.
Disassemble Removable Parts
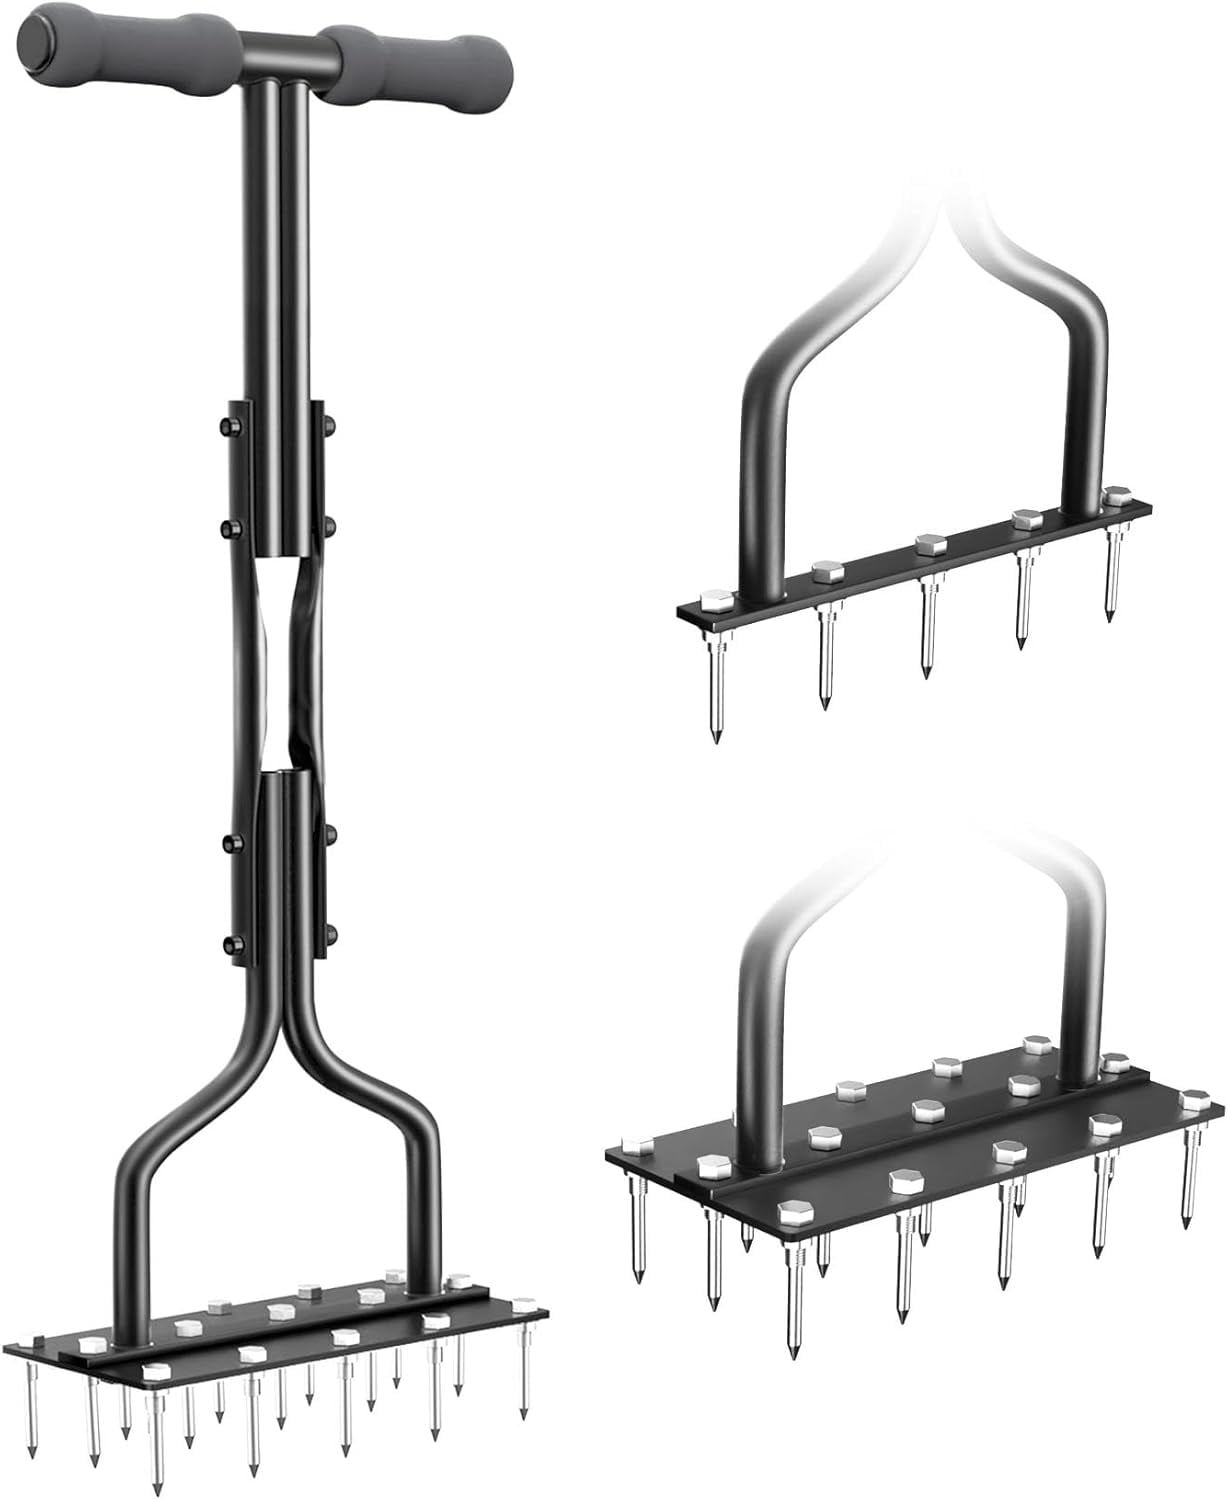
Next, carefully take apart any removable parts of the aerator. Check the user manual for guidance on which parts to remove. Detaching parts like tines or aeration spoons helps clean hard-to-reach spots. Lay the parts on a clean surface to avoid losing them. Disassembling ensures a thorough cleaning and better maintenance.
Credit: www.faenzacalcio.it
Rinse With Water
Rinsing your lawn aerator with water after use is a simple step that helps keep it in good shape. Dirt and grass can stick to the spikes or tines. Removing these residues prevents rust and keeps the aerator working well for a long time.
Water is effective for loosening soil and debris. Using the right water pressure can clean without damaging the tool. This makes rinsing a quick and easy part of your lawn care routine.
Use A Hose Or Jet Wash
Attach a garden hose with a spray nozzle to rinse the aerator. Direct water at the spikes to wash away dirt and grass clumps. For tougher soil, a jet wash can provide stronger pressure to clean deeply.
Move the water stream along all parts that touched the ground. Avoid standing water on the aerator to prevent rust. Repeat the rinsing until the aerator looks clean and free of soil.
Avoid Water Damage
Do not soak the aerator in water for long periods. Water can harm bearings and metal parts if it seeps inside. Use water carefully around joints and moving parts.
Dry the aerator completely after rinsing. Wipe metal surfaces with a clean cloth. Keeping the tool dry helps stop rust and keeps it ready for the next use.
Scrub Stubborn Dirt
Soaking your lawn aerator after use helps remove deep dirt and grime. This step reaches places a simple rinse cannot. It loosens stubborn soil and buildup stuck on tines and spikes. A good soak keeps the aerator working well for many seasons. It also prevents rust and extends tool life.
Soak In Vinegar Solution
Vinegar is a natural cleaner that breaks down grime. Mix equal parts of white vinegar and water in a bucket. Submerge the aerator parts fully in the solution. Let it soak for 30 minutes to an hour. This softens dirt and mineral deposits on metal surfaces.
After soaking, use a soft brush to scrub tines gently. Rinse the aerator with clean water to remove vinegar smell. Dry it thoroughly to stop rust from forming. Vinegar is safe and eco-friendly for your garden tools.
Use Bleach For Sanitizing
Bleach kills bacteria and mold that may grow on moist aerators. Prepare a weak bleach solution with one part bleach and ten parts water. Soak the aerator in this mix for 5 to 10 minutes only. Avoid longer soaking to protect metal parts from damage.
Wear gloves to protect your skin during this process. After bleaching, rinse the aerator well with water. Let it air dry completely before storing. Sanitizing helps keep your lawn healthy and prevents disease spread.
Credit: parsema.com
Soak For Deep Cleaning
Proper storage of your lawn aerator after cleaning keeps it in good shape. Storing it right prevents damage and extends its life. Follow simple steps to store your tool safely and avoid common problems.
Choose A Dry Location
Select a spot that stays dry and free from moisture. Damp places cause rust and weaken metal parts fast. A dry garage or shed works well for keeping the aerator safe. Good airflow helps dry any leftover moisture after cleaning.
Protect From Rust And Damage
Use a cover or cloth to shield the aerator from dust and dirt. Keep it off the ground to avoid contact with water or mud. Check the tool regularly for signs of rust or wear. Applying light oil on metal parts creates a protective barrier. This simple step stops rust and keeps moving parts smooth.
Clean Aerator Tines
Maintaining your lawn aerator after each use keeps it working well. Dirt, grass, and soil can stick to the tines and parts. Cleaning these off prevents damage and rust. A simple maintenance habit extends the tool’s life. It also saves money by avoiding repairs or replacements.
Follow a regular cleaning routine and inspect your aerator to catch problems early. This helps keep your lawn care smooth and effective every time.
Regular Cleaning Routine
Start by removing loose dirt and grass clumps from the aerator. Use a garden hose to wash off mud and soil stuck to the tines and frame. For tough grime, scrub gently with a soft brush. Avoid using metal brushes that can scratch the surface.
Dry the aerator with a clean cloth to stop rust from forming. Store it in a dry place to protect it from moisture. Clean your aerator immediately after use. This prevents soil from hardening and becoming harder to remove later.
Inspect For Wear And Tear
Check the tines for bends, breaks, or dull edges. Sharp tines make better holes in the soil. Look over bolts and screws to see if they are loose or missing. Tighten or replace them as needed to keep the aerator stable.
Examine the frame for cracks or rust spots. Rust can weaken metal parts quickly. Sand down any rusty areas and apply a light coat of oil to protect the metal. Regular inspections catch small issues before they become big problems.
Credit: deckstainpro.com
Frequently Asked Questions
What’s The Best Thing To Do After Aerating Your Lawn?
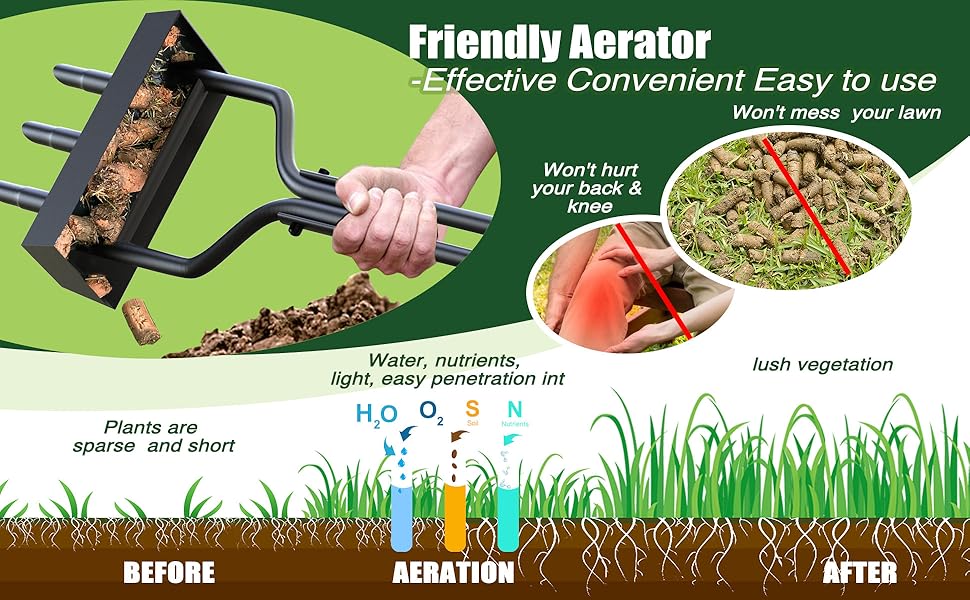
After aerating your lawn, apply fertilizer or overseed to promote growth. Then, water the lawn deeply to help nutrients absorb. Rake soil plugs if desired to speed decomposition and improve soil contact. This enhances lawn health and recovery effectively.
How To Clean A Lawn Aerator?
Clean a lawn aerator by removing soil and debris with a hose. Use a soft brush for stubborn dirt. Soak tines in vinegar for deep cleaning. Dry thoroughly to prevent rust. Store in a dry place to maintain performance and extend tool life.
What Can I Soak My Aerator In To Clean It?
Soak your aerator in white vinegar for at least five minutes to loosen grime. Use a toothbrush to scrub dirt away effectively.
Should You Clean Up After Aerating A Lawn?
Cleaning up after aerating is optional. Leaving soil plugs lets them naturally decompose and enrich your lawn. Raking helps if you prefer a tidier look.
Conclusion
Cleaning your lawn aerator after use keeps it working well longer. Remove dirt and debris with a hose or brush right away. Soaking tough grime in vinegar helps loosen it easily. Dry the aerator fully to stop rust and damage.
Regular cleaning saves time and protects your tool. Keep your lawn healthy by caring for your aerator properly. Simple steps make lawn care easier and more effective.