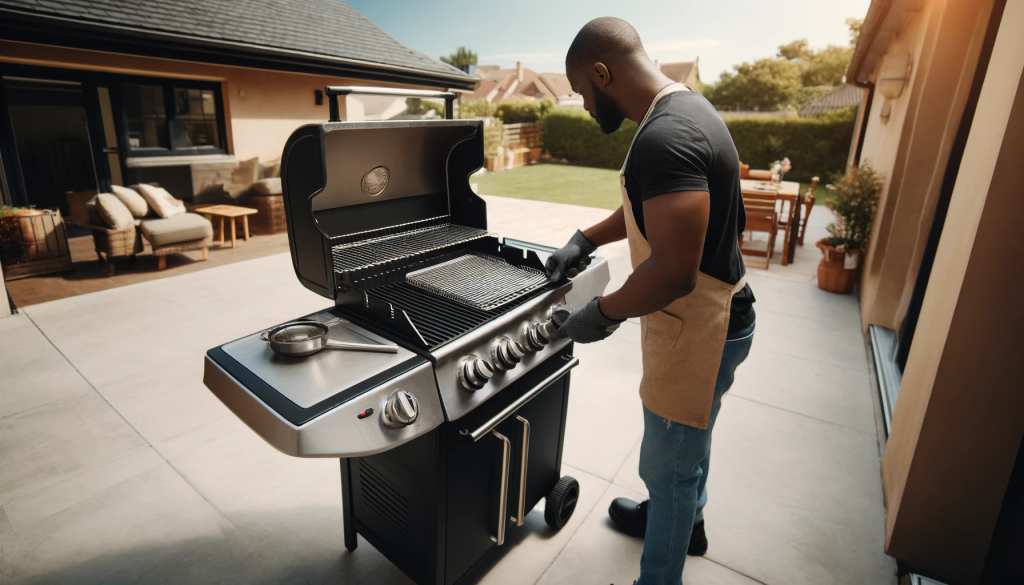
Replacing gas grill burners involves removing the old ones and installing new replacements.
Whether you’re a grilling novice or a seasoned BBQ enthusiast, maintaining your grill is crucial for optimal performance and longevity. Replacing gas grill burners is an essential part of this upkeep. If your grill isn’t heating evenly or has a weak flame, it's likely time for a burner replacement. This article will guide you through the process with practical steps, expert tips, and personal insights, ensuring your grill is back in prime condition for your next cookout.
Understanding the Basics
Replacing gas grill burners might seem daunting, but with a bit of knowledge and patience, it’s completely manageable. Let’s break down the steps to ensure a hassle-free experience.
Why Replace Gas Grill Burners?
- Uneven heat distribution: If your grill has cold spots, it may be time for a replacement.
- Flame abnormalities: Yellow or weak flames often indicate a burner issue.
- Physical damage: Rust or corrosion can compromise performance and safety.
Tools and Materials Needed
Before diving in, gather these essentials:
- Screwdriver set
- Adjustable wrench
- Replacement burners specific to your grill model
- Safety gloves
- Cleaning brush
Having everything ready ahead of time makes the process smoother and reduces frustration.
Step-by-Step Guide to Replacement
1. Safety First
- Turn off the gas supply to prevent accidents.
- Disconnect the propane tank or natural gas line.
- Allow the grill to cool entirely before starting.
2. Access the Burners
- Remove the grates and heat deflectors to reach the burners.
- Keep track of screws and small parts removed during disassembly.
3. Remove Old Burners
- Unscrew or unclip the old burners.
- Gently slide them out to avoid damaging the gas connection.
4. Clean the Area
- Use a brush to clean the area where the burners were.
- Ensure all debris or rust is cleared out to prevent future issues.
5. Install New Burners
- Slide the new burners into position.
- Secure them with screws or clips, ensuring they’re aligned with the gas valves.
6. Reassemble the Grill
- Replace the heat deflectors and grates.
- Reconnect the propane tank or gas line.
7. Test Your Work
- Turn the gas back on and ignite the grill.
- Check for even flames and proper operation.
Troubleshooting Common Issues
Even with careful installation, some issues might arise. Here's how to address them:
- Inconsistent flames: Check for loose connections or blockages.
- Burner not lighting: Ensure the igniter isn’t faulty and is aligned properly.
Personal Tips for Success
From my own experience, patience is key. Double-check each step, and don’t rush. A simple mistake can lead to improper functioning. Always keep a manual or model-specific guide handy for reference.
Frequently Asked Questions of How to Replace Gas Grill Burners Guide
What signs indicate my gas grill burners need replacement?
Burners typically need replacement if there's uneven heating, rust, or flame changes.
How often should I replace my grill burners?
Typically every 2-3 years, depending on usage and maintenance.
Can I clean burners instead of replacing them?
Cleaning can help temporarily, but if damage is extensive, replacement is best.
Are all grill burners interchangeable?
No, always purchase burners specific to your grill model for proper fit and function.
Is it difficult to replace gas grill burners?
With basic tools and clear instructions, most individuals can do it successfully.
Conclusion
Replacing gas grill burners doesn’t have to be an overwhelming task. By following this guide, you can ensure your grill remains in top condition, ready to deliver perfectly cooked meals every time. Embrace the challenge and take care of your grill; your future cookouts will benefit immensely. If you found this guide helpful, consider subscribing for more grilling tips and maintenance tricks!