Are you looking for an easy way to make watering your garden or lawn hassle-free? Installing a hose timer on your outdoor faucet can save you time, conserve water, and keep your plants healthy without constant supervision.
If you’ve never done it before, the process might seem a bit intimidating. But don’t worry — this guide will walk you through every step in simple, clear terms. By the end, you’ll have your hose timer set up perfectly, so you can enjoy a smarter, more efficient watering routine.
Ready to get started? Let’s dive in!
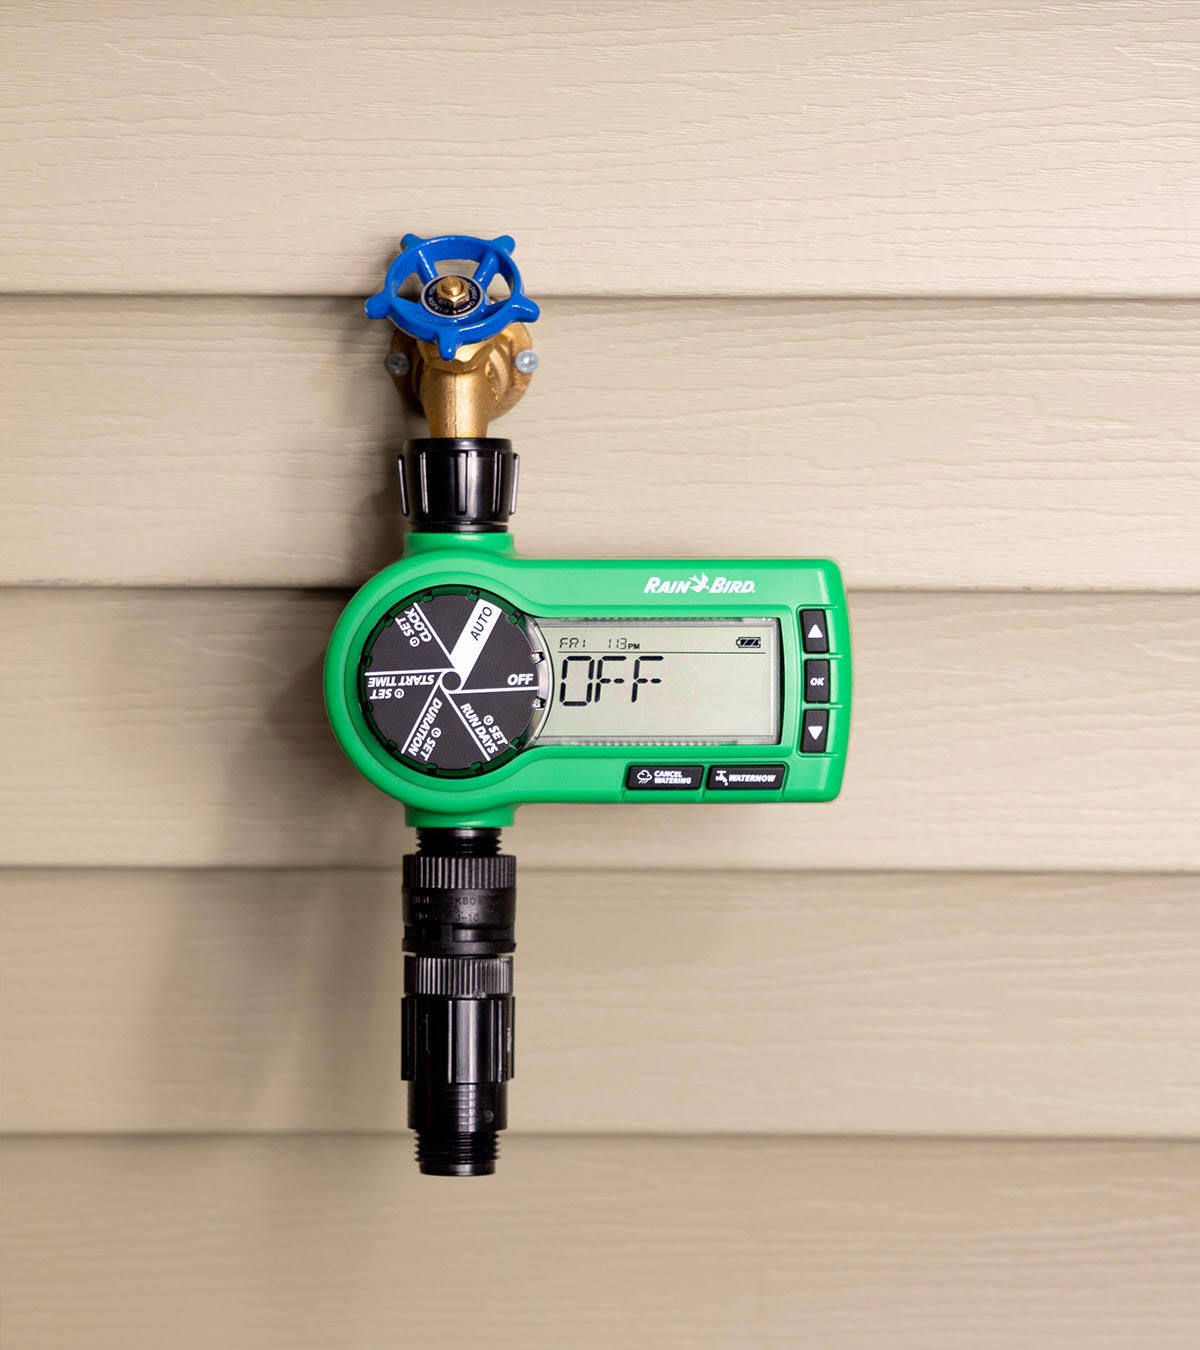
Credit: www.rainbird.com
Choosing The Right Timer
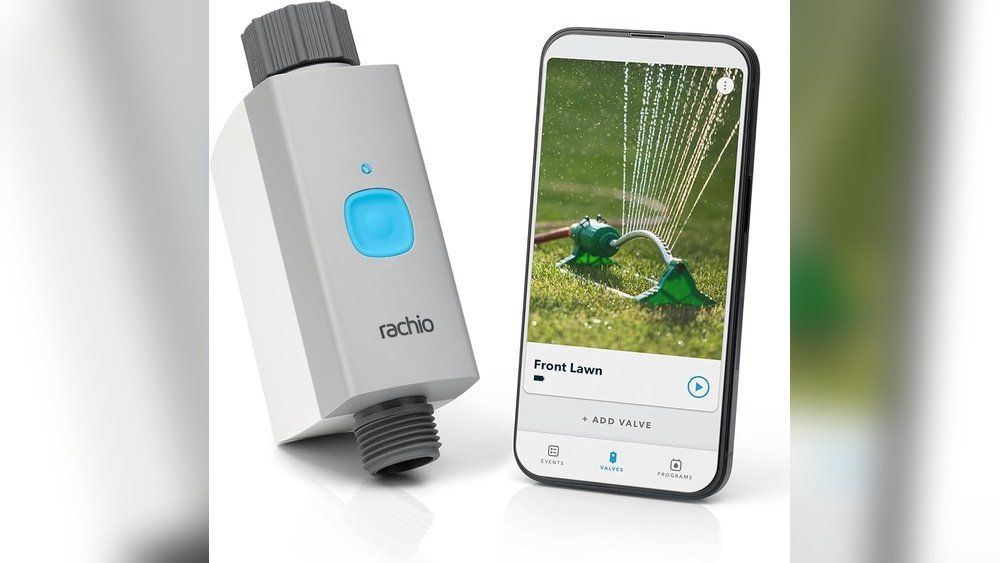
Choosing the right hose timer is key for efficient outdoor watering. The right timer saves water and protects your plants. It also makes your garden care easy and stress-free. Consider what type fits your needs and water source. Think about power options and water pressure too.
Types Of Hose Timers
There are many hose timer types. Mechanical timers are simple and easy to use. You turn a dial to set watering times. Digital timers offer more features and precise control. Some have multiple programs for different days. Choose one that matches your watering schedule and garden size.
Battery Vs. Electric Models
Battery-powered timers are flexible and easy to install. They do not need a power outlet. Batteries usually last months but need occasional replacement. Electric timers connect to power and run continuously. They work well if you have a nearby outlet. Battery models suit remote areas better. Pick based on your outdoor faucet location.
Water Pressure Considerations
Water pressure affects timer performance. Some timers need a minimum pressure to work well. Low pressure can cause weak watering or timer failure. Check your home’s water pressure before buying. Some timers include pressure regulators. These keep water flow steady and protect the timer. Ensure the timer matches your water system for best results.
Gathering Tools And Materials
Before installing a hose timer on your outdoor faucet, gather all necessary tools and materials. This step makes the installation smooth and prevents interruptions. Having everything ready helps avoid multiple trips to the store. It also ensures you complete the job quickly and correctly.
Essential Tools
Start with basic tools like an adjustable wrench and pliers. A screwdriver may be needed to open the timer’s battery compartment. Keep a tape measure handy to check hose length and placement. A cloth or rag helps clean the faucet before installation.
Additional Components
Besides the timer, you might need a backflow preventer to stop water from flowing backward. A pressure regulator protects the timer from high water pressure. Hose washers or rubber gaskets help create a tight seal. Check the timer package for any extra parts included.
Safety Gear
Wear gloves to protect your hands from sharp edges and dirt. Safety glasses keep debris out of your eyes during setup. Use knee pads if you work on the ground for a long time. These items keep you safe and comfortable during installation.
Preparing The Outdoor Faucet
Preparing the outdoor faucet is the first step to install a hose timer successfully. A clean and leak-free faucet ensures the timer works efficiently. This preparation prevents water waste and protects your garden equipment.
Turning Off The Water Supply
Start by turning off the water supply to the outdoor faucet. This stops water flow and makes installation safer. Use the main water valve or faucet handle to shut off the water. Double-check that no water comes out when you open the faucet.
Cleaning The Faucet Threads
Remove any dirt or debris from the faucet threads. Use a cloth or brush to clean the area well. Clean threads help the timer fit tightly and prevent leaks. Avoid using harsh chemicals that may damage the faucet.
Checking For Leaks
Inspect the faucet for any leaks before attaching the timer. Turn the water back on slowly and watch for drips. Fix leaks by tightening connections or replacing washers. A leak-free faucet provides a secure base for your hose timer.
Credit: bestron.com
Attaching The Hose Timer
Attaching the hose timer is a crucial step in setting up your outdoor watering system. This process ensures the timer fits securely onto your faucet, allowing it to control water flow effectively. Proper attachment prevents leaks and maintains consistent water pressure for your garden. Follow these simple steps to connect your hose timer correctly.
Aligning And Threading The Timer
Start by aligning the timer’s threaded end with your outdoor faucet. Make sure the threads match to avoid cross-threading. Turn the timer clockwise gently to begin threading it onto the faucet. Keep the timer straight as you screw it on to ensure a tight fit. Do not force it if you feel resistance; back off and realign before continuing.
Hand Tightening Tips
Use your hands to tighten the hose timer firmly but avoid over-tightening. Hand tightening is usually enough to create a good seal. Over-tightening can damage the threads or the timer’s housing. If necessary, use a soft cloth to grip the timer for extra torque. Avoid using tools like pliers that may crack or deform the timer.
Adding A Vacuum Breaker Or Pressure Regulator
Some hose timers require a vacuum breaker or pressure regulator to protect your plumbing. Attach these devices after securing the timer on the faucet. Screw the vacuum breaker or pressure regulator onto the timer’s outlet threads. This setup prevents backflow and controls water pressure to safeguard your irrigation system. Check your timer’s instructions to see if these parts are needed.
Connecting The Hose
Connecting the hose to your outdoor faucet timer is a key step. It ensures water flows smoothly and your timer works correctly. Follow simple tips to attach the hose properly. This prevents leaks and keeps your garden healthy. Let’s explore how to connect the hose with care.
Securing The Hose To The Timer
Start by aligning the hose end with the timer’s outlet. Push the hose firmly onto the timer’s connector. Turn the hose coupling clockwise to tighten. Make sure it is snug but avoid over-tightening. This secures the hose and stops leaks. Check for rubber washers inside the connection. They help seal and prevent water from escaping.
Avoiding Kinks And Twists
After securing, arrange the hose so it lies flat. Avoid sharp bends or twists near the timer. Kinks block water flow and may damage the hose. Gently straighten any curves. Allow the hose to move freely without strain. This helps water reach your plants evenly. Use hose guides or stakes if needed to keep it smooth.
Testing The Connection
Turn on the faucet slowly to test the setup. Watch for drips or leaks at the connection point. Tighten the hose coupling if you see water escaping. Let the timer run briefly to check water flow through the hose. Make sure the timer shuts off water as programmed. Confirm the hose stays connected and water flows without interruption.
Programming The Timer
Programming the hose timer is essential for efficient garden watering. It lets you control when and how long water flows. Proper programming saves water and keeps plants healthy. Follow the steps below to set the timer correctly.
Setting The Current Time
Begin by setting the current time on your hose timer. This step ensures the timer runs on the correct schedule. Use the buttons or dial on the timer to adjust hours and minutes. Confirm the AM or PM setting if your timer uses a 12-hour clock. Accurate time setting is important for consistent watering.
Scheduling Watering Intervals
Next, set the watering intervals based on your garden’s needs. Choose the days and times when you want the water to run. Most timers allow multiple programs for different days. Set the duration for each watering session. This helps avoid overwatering and saves water. Be sure to check your timer’s manual for specific programming options.
Manual Override Options
Manual override lets you water your garden outside the set schedule. Use this feature to give extra water during hot days or dry spells. Simply press the manual button to start watering immediately. You can stop manual watering anytime by pressing the button again. This option adds flexibility to your watering routine.
Testing And Troubleshooting
Testing and troubleshooting your hose timer after installation is vital. It ensures the system works properly and prevents water waste. Follow these simple steps to check your setup and fix common issues quickly.
Turning On The Water Supply
Start by slowly turning on the outdoor faucet. Watch how water flows into the hose timer. Make sure the timer opens and closes as programmed. If water does not flow, check the timer’s settings or batteries. Turn the faucet off gently after testing.
Checking For Leaks
Look closely at all connections for any water leaks. Tighten any loose fittings by hand or with a wrench. Replace washers or seals if water drips persist. Leaks can cause low water pressure and damage the timer. Fix leaks before running the system regularly.
Adjusting Water Pressure
Some hose timers need a pressure regulator to work well. Check if water pressure is too high or too low. High pressure may damage the timer or hose. Low pressure might reduce watering effectiveness. Adjust the pressure regulator or add one if needed for steady flow.

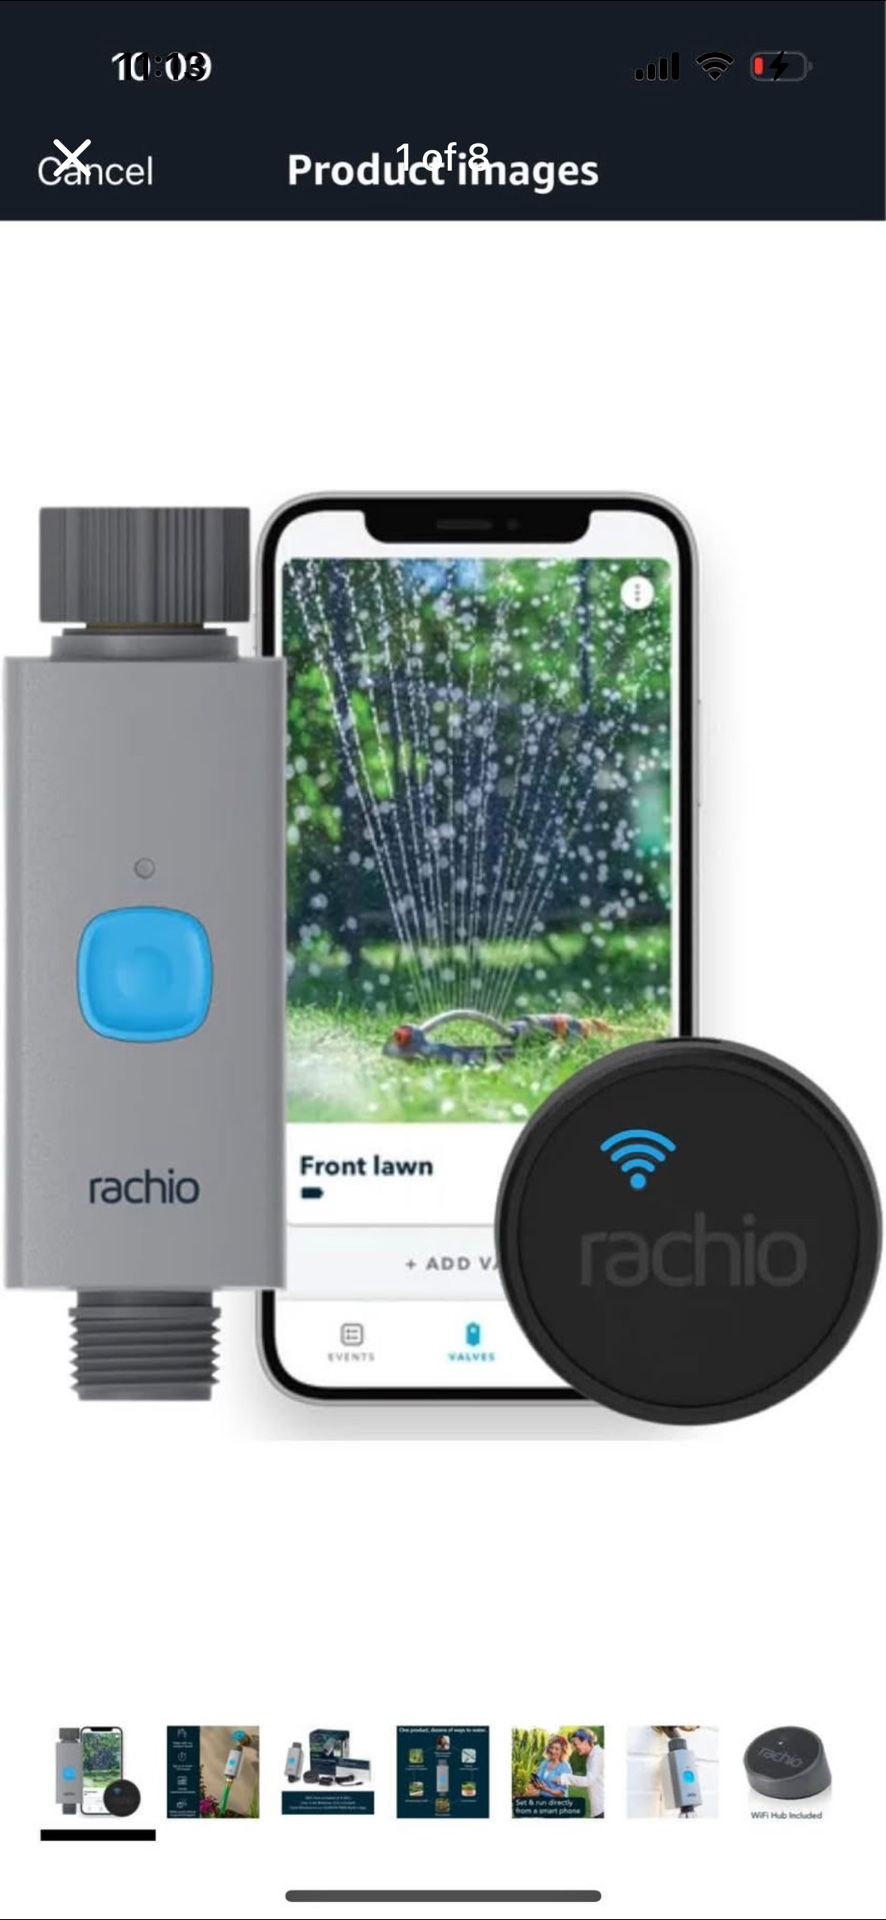
Credit: www.amazon.com
Maintenance Tips
Proper maintenance keeps your hose timer working smoothly and extends its life. Regular care prevents common problems and ensures reliable watering. Follow these simple tips to maintain your outdoor faucet timer.
Seasonal Shutdown Procedures
Before winter, disconnect the hose timer from the faucet. Remove the batteries to avoid corrosion. Drain any water inside the timer to prevent freezing damage. Store the timer in a dry, warm place until spring arrives.
Battery Replacement
Check the battery level every few months. Replace batteries once the timer starts to lose power. Use fresh, high-quality batteries for best results. Remove old batteries to stop leaks that can damage the device.
Cleaning The Timer
Clean the timer’s exterior with a soft, damp cloth. Avoid using harsh chemicals or soaking the timer in water. Clear any dirt or debris from the faucet connection. This helps maintain a tight seal and prevents leaks.
Frequently Asked Questions
How To Put A Timer On A Hose?
Attach the timer to the outdoor faucet, connect the hose, set the desired watering schedule, and check for leaks. Turn on the faucet to start.
Do You Have To Leave The Tap Running On A Hose Pipe Timer?
You do not need to leave the tap running with a hose pipe timer. The timer controls water flow automatically. Turn on the tap before setting the timer, then it will open and close the water as scheduled.
Do Hose Timers Reduce Water Pressure?
Hose timers may slightly reduce water pressure due to flow restriction inside the device. Proper installation minimizes this effect.
Does The Pressure Regulator Go Before Or After The Timer?
Install the timer first on the faucet, then connect the pressure regulator after the timer for proper water flow control.
Conclusion
Installing a hose timer on your outdoor faucet saves time and water. Follow the steps carefully to avoid leaks and ensure proper function. Check all connections before use to keep your system running smoothly. Regularly replace batteries to maintain consistent watering schedules.
This simple addition helps your garden stay healthy without constant attention. Enjoy efficient watering with minimal effort and worry.