If you want your generator to run smoothly and last longer, changing its oil regularly is a must. But maybe you’re unsure where to start or worried it might be complicated.
Don’t worry—this guide is made just for you. You’ll learn simple, step-by-step instructions to change your generator’s oil quickly and safely. By following these easy tips, you’ll keep your generator in top shape and avoid costly repairs down the road.
Ready to take control of your generator’s maintenance? Let’s dive in!
Prepare For Oil Change
Preparing for an oil change is an important step to keep your generator running smoothly. Proper preparation helps avoid spills and ensures safety. It makes the oil change process faster and easier. Follow these simple steps before you start changing the oil.
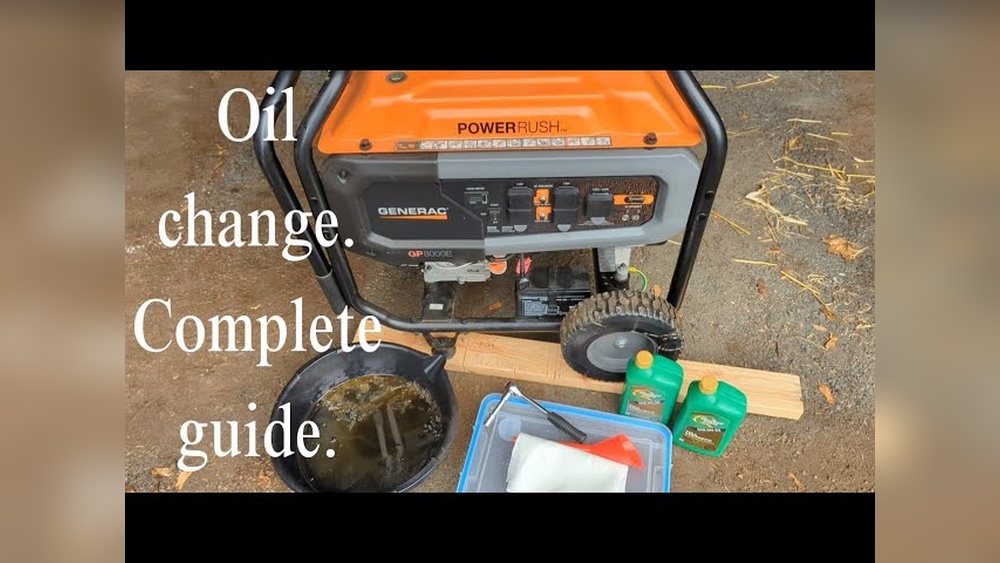
Gather Necessary Tools
Collect all tools and materials before you begin. You will need fresh oil, an oil drain pan, a wrench, and clean rags. Also, prepare a funnel to pour new oil without spilling. Having everything ready saves time and prevents interruptions.
Ensure Generator Is Off And Cool
Turn off the generator and unplug it from any power source. Let the engine cool down completely before touching it. Hot oil can cause burns and spills. Cooling prevents injuries and helps the oil drain fully from the engine.
Locate Oil Components
Locating the oil components on your generator is the first step in changing the oil. Knowing where these parts are saves time and helps avoid mistakes. Each generator model may have a slightly different layout. Still, most have similar oil parts that are easy to find. This section will guide you through finding the oil drain plug and the oil fill cap.
Find Oil Drain Plug
The oil drain plug is at the bottom of the engine. It lets old oil flow out during an oil change. Look for a small bolt or screw on the engine’s underside. It may be marked with “oil” or have a small oil can symbol. Use a flashlight to see clearly if needed. Place a container below the plug to catch the used oil. Unscrew the plug carefully to start draining.
Identify Oil Fill Cap
The oil fill cap sits on top of the engine. This is where you add fresh oil after draining the old. The cap often has an oil can icon or is labeled “oil.” It may be round and screw off by hand. Clean around the cap before opening to stop dirt from entering. Remove the cap and set it aside safely during the oil change.
Drain Old Oil
Draining old oil is the first key step in changing your generator’s oil. Removing the used oil helps keep the engine clean and running smoothly. This process prevents dirt and debris buildup inside the engine. Follow each step carefully for a safe and effective oil drain.
Position Catch Pan
Place a catch pan under the oil drain plug. The pan should be large enough to hold all the old oil. Position it so oil flows directly into the pan. This helps avoid spills and keeps your workspace clean.
Remove Drain Plug Carefully
Use the correct tool to loosen the drain plug. Turn it slowly to prevent oil from splashing. Keep your hands clear of the oil stream. Remove the plug completely and set it aside safely for reuse.
Let Oil Fully Drain
Allow all the oil to drain out completely. This may take several minutes. Wait until no more oil drips from the drain hole. A fully drained engine ensures better performance after the oil change.

Credit: maddroofing.com
Replace Oil Filter
Replacing the oil filter is a key step in changing your generator’s oil. The filter traps dirt and metal particles. This keeps the oil clean and your generator running smoothly. A fresh oil filter helps the engine last longer and work better. Follow these simple steps to replace the oil filter correctly.
Remove Old Oil Filter
Locate the oil filter on your generator. Use an oil filter wrench to turn it counterclockwise. Remove the filter carefully to avoid spilling oil. Dispose of the old filter properly. Keep a rag nearby to clean any drips.
Clean Mounting Surface
Check the filter mounting area for dirt or old oil. Use a clean cloth to wipe the surface. Make sure the old gasket is removed completely. A clean surface helps the new filter seal tightly. This prevents leaks and protects the engine.
Lubricate And Install New Filter
Take the new oil filter and apply a thin layer of fresh oil to its rubber gasket. This makes it easier to seal and remove later. Screw the new filter onto the mounting surface by hand. Tighten it firmly but do not over-tighten. Over-tightening can damage the gasket or filter.
Add New Oil
Adding new oil is a key step in changing your generator’s oil. It helps keep the engine running smoothly and prevents damage. Use the right oil type and pour it carefully to avoid spills. Always check the oil level after filling to ensure it’s correct.
Select Correct Oil Type
Choose oil recommended by your generator’s manual. Most small generators use 10W-30 oil. Synthetic oil can last longer but regular oil works well. Using the wrong oil can harm your engine.
Pour Oil Through Fill Cap
Open the oil fill cap on the generator. Use a funnel to pour oil slowly to avoid spills. Fill the oil reservoir but do not overfill. Stop pouring once the oil reaches the recommended level.
Check Oil Level With Dipstick
Insert the dipstick fully into the oil fill tube. Pull it out and wipe it clean. Insert it again and remove to check the oil level. The oil should be between the low and full marks. Add more oil if the level is low.

Credit: www.youtube.com
Finalize Process
After changing the oil in your generator, the final steps ensure everything works properly. This process secures your work and prepares the generator for use. Follow each step carefully to avoid leaks and damage.
Reinstall Drain Plug And Tighten
Put the drain plug back in its place. Turn it clockwise to tighten. Use a wrench for a firm fit. Do not overtighten to avoid damage.
Secure Oil Fill Cap
Place the oil fill cap back on the generator. Turn it until it is tight. This stops dirt from entering and oil from spilling.
Run Generator To Circulate Oil
Start the generator and let it run for a few minutes. This moves the new oil through the engine. It helps the oil reach all parts.
Inspect For Leaks
Turn off the generator and check around the drain plug and fill cap. Look for any oil drops or wet spots. Fix leaks before using the generator regularly.
Maintenance Tips
Proper maintenance keeps your generator running smoothly and extends its life. Changing the oil regularly is key. Follow these maintenance tips to ensure your generator stays in top shape. Regular checks and care prevent costly repairs and breakdowns.
Oil Change Frequency
Change the oil after the first 20 hours of use. Then, switch oil every 50 to 60 hours. For standby generators, change oil at least once a year. Always check the owner’s manual for specific intervals. Regular oil changes keep the engine clean and efficient.
Signs Oil Needs Changing
Dark or dirty oil shows it needs changing. If the oil smells burnt, change it immediately. Low oil levels can damage the engine. Check oil before every use. Strange engine noises may also signal old oil. Fresh oil protects parts from wear and tear.
Storage And Seasonal Care
Drain old oil before storing the generator long-term. Use fresh oil to avoid engine corrosion. Store the generator in a dry, cool place. Run the engine for a few minutes after oil change. This helps the new oil spread evenly. Proper storage extends your generator’s lifespan.

Credit: generatorfixer.com
Frequently Asked Questions
What Is The 20/20/20 Rule For Generators?
The 20/20/20 rule for generators means running the generator at 20% load for 20 minutes every 20 days. This prevents engine damage.
How To Change Oil Guide?
Raise the vehicle and place a catch pan under the drain plug. Remove the plug and drain oil. Replace the drain plug and torque it. Remove the old oil filter, clean the mount, and lubricate the new filter’s O-ring. Install the new filter by hand.
Add new oil through the fill cap.
What Oil For A Westinghouse Generator?
Use SAE 10W-30 oil for Westinghouse generators. Choose high-quality, detergent-based oil for optimal engine performance and protection. Change oil after first 20 hours, then every 50 hours or annually. Always check the user manual for specific model recommendations.
What Is The 80% Rule For Generators?
The 80% rule for generators means operating them at no more than 80% of their rated capacity. This prevents overload and extends generator life.
Conclusion
Changing your generator’s oil keeps it running smoothly and lasts longer. Follow each step carefully to avoid mistakes. Use the right oil type and change it regularly. Check for leaks and clean the parts well. A well-maintained generator is ready when you need it most.
Simple care saves you from costly repairs later. Keep your generator in top shape by staying consistent with oil changes. Your efforts ensure reliable power anytime.