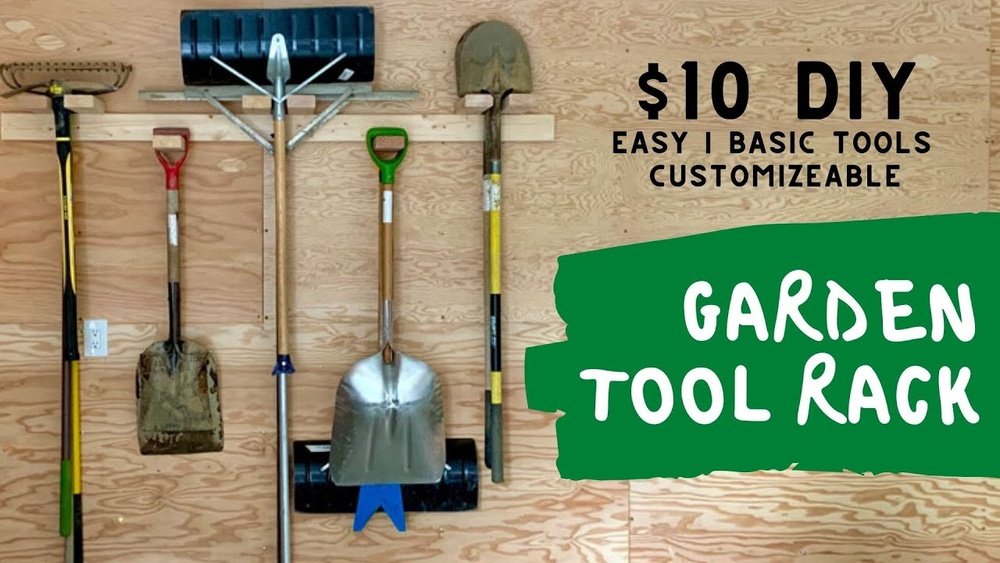
Are your garden tools scattered all over your yard or leaning awkwardly against your shed? It’s frustrating when you can’t find the right tool quickly, and clutter makes your gardening space look messy.
Imagine having a simple, sturdy storage rack that keeps every shovel, rake, and hoe neatly organized and easy to grab whenever you need it. Building your own garden tool storage rack is easier than you think—and it saves you money while giving you a custom solution that fits your space perfectly.
In this guide, you’ll learn step-by-step how to create a durable, practical rack that transforms your garden area and keeps your tools ready for action. Ready to reclaim your space and make gardening more enjoyable? Let’s get started!

Credit: www.instructables.com
Materials Needed
Gathering the right materials is the first step to building a sturdy garden tool storage rack. Choose materials that fit your space and the tools you own. Quality materials ensure durability and ease of use. Below is a list of essential materials for this project.
Wood Types And Sizes
Select wood that is strong and weather-resistant. Common choices include pine, cedar, or redwood. Use 2×4 lumber for the frame and supports. For shelves or tool holders, 1×4 or 1×6 boards work well. Cut wood pieces to fit your available space and tool sizes.
Additional Hardware
Use screws or nails to join wood pieces securely. Choose galvanized or stainless steel to prevent rust. Add wood glue for extra strength. Consider hooks or brackets to hang tools neatly. Sandpaper helps smooth rough edges and prevent splinters.
Tools Required
Prepare basic tools such as a saw, drill, screwdriver, and measuring tape. A level ensures your rack stays straight. Use clamps to hold pieces while assembling. Safety gear like gloves and goggles protects you during work. A pencil helps mark measurements accurately.

Credit: heartwoodart.com
Planning Your Rack
Planning your garden tool storage rack is the first step toward a tidy garden space. Thoughtful planning saves time and effort later. It helps you create a rack that fits your tools perfectly and maximizes your storage area.
Start by understanding the space your tools need. Choose a design that suits your garden style and tool types. Organize your tools smartly to keep them easy to find and use.
Measuring Tool Space
Begin by measuring the length of your longest tools. Include shovels, rakes, hoes, and brooms. Add a few extra inches for easy access and hanging. Measure the wall or area where you want to place the rack. Check the height and width to avoid tight spaces.
Choosing Rack Design
Select a design that fits your space and tool collection. Simple wooden racks work well for many tools. Consider a vertical rack if your space is small. A horizontal rack suits wider spaces with many tools. Think about adding hooks or slots for small hand tools. Choose materials that resist weather if placed outside.
Tool Arrangement Tips
Group similar tools together for quick access. Hang long-handled tools vertically to save floor space. Place frequently used tools at eye level. Store sharp or heavy tools lower for safety. Leave some extra room for future tools or garden gear. Label sections if needed to keep order.
Building Steps
Building a garden tool storage rack is a simple project that saves space and organizes tools neatly. Follow clear steps for a sturdy and functional rack. Each step focuses on creating a solid frame and adding holders for tools.
Cutting Wood Pieces
Start by measuring the wood based on your tool sizes. Cut 2×4 or 2×10 boards into pieces for the frame and shelves. Use a saw to make straight, clean cuts. Ensure all pieces match your design dimensions.
Assembling Frame
Lay out the cut wood on a flat surface to form the frame. Join the pieces using wood glue or clamps to hold them in place. Check that corners are square before fixing permanently. This frame will support the entire rack.
Adding Tool Holders
Attach horizontal slats or blocks inside the frame to hold tools. Space them evenly to fit handles or heads securely. You can also add hooks or slots for hanging smaller tools. Make sure holders are strong enough for heavy tools.
Securing With Screws
Use screws to fasten all parts together firmly. Pre-drill holes to prevent wood splitting. Tighten screws to ensure a stable rack without wobbling. Finally, sand rough edges for a smooth finish and safe use.
Credit: newlywoodwards.com
Creative Organizer Ideas
Creative organizer ideas can transform your garden tool storage rack. They make it easier to keep tools tidy. These ideas also save space and improve accessibility. Using simple materials, you can build a practical and neat rack. Here are three smart ways to organize your garden tools.
Repurposed Pallet Rack
Take a wooden pallet and stand it vertically against a wall. Secure it with screws or sturdy posts. The slats create natural slots to hold long-handled tools. This rack is strong and budget-friendly. It fits well in sheds or garages. Customize it by sanding and painting for a clean look.
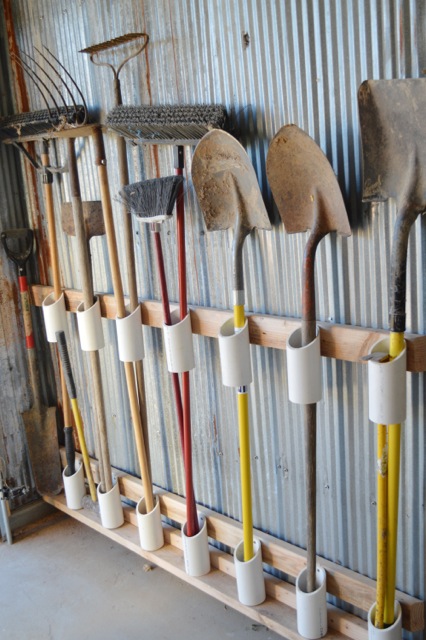
Plastic Shelf Organizer
Use an old plastic shelf to make a tool rack. Cut holes in the shelves to fit tool handles. This keeps tools upright and easy to grab. The plastic resists weather and dirt, making it ideal for outdoor use. Place it near your garden for quick access. It also works well for smaller hand tools.
Pegboard Wall Mount
Install a pegboard on a wall to hang your garden tools. Hooks and holders fit into the pegboard holes. This system is flexible and lets you rearrange tools as needed. It keeps tools visible and off the floor. Pegboards suit small spaces and provide quick tool access. Paint the pegboard to match your storage area.
Frequently Asked Questions
What Materials Are Needed To Build A Garden Tool Rack?
You need wood planks like 2x4s or 2x10s, screws, a drill, and wall anchors. Optional items include pegboards and hooks for better organization.
How Do I Arrange Tools On The Storage Rack?
Lay out your tools on the ground to decide spacing and order. Arrange long-handled tools upright and smaller tools in accessible spots.
Can I Repurpose Items For A Garden Tool Rack?
Yes, old pallets or plastic shelves can be repurposed. Secure pallets vertically or modify shelves to hold tool handles for an eco-friendly rack.
What Is The Best Location For A Garden Tool Rack?
Place the rack near your garden or shed wall. This keeps tools accessible and off the ground, saving space and reducing clutter.
Conclusion
Building a garden tool storage rack keeps your tools neat and easy to find. It saves space and protects your tools from damage. Using simple materials makes this project affordable and quick. Organizing your garden tools helps you work faster and enjoy your garden more.
Try building your own rack today and see the difference it makes. A tidy garden space feels more inviting and ready for new projects.