
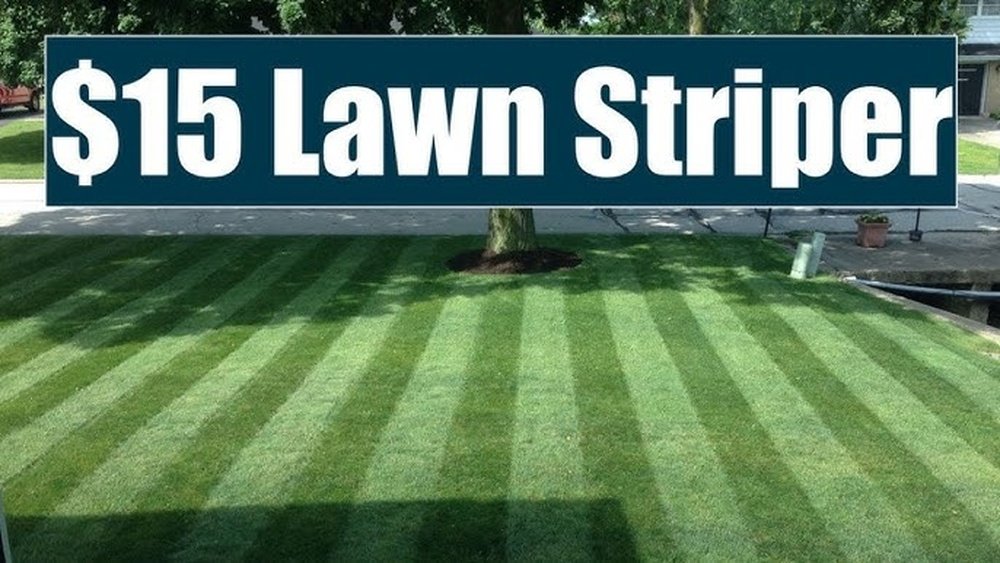
Want a lawn that looks like a sports field? Those bold, clean lines are called lawn stripes, and they add serious curb appeal. Most people think you need an expensive striping kit or special tools to get this look. But with the right method and a few household items, you can stripe your lawn without buying extra equipment. Here’s how you can turn your grass into a striped showpiece, all with tools you probably already have.
Why Lawn Stripes Look Amazing
Lawn stripes are more than just pretty lines. They are a sign of a healthy, well-kept yard. The stripes happen because grass blades bend in different directions. Sunlight reflects differently on the bent blades, creating the light and dark stripes you see. The lighter stripes are grass bent away from you; the darker stripes are bent toward you. This effect doesn’t hurt the grass, and it actually encourages thicker, healthier turf by changing mowing directions.
Tools You Can Use (no Striper Kit Needed)
You don’t need a fancy roller. Here are some tools and items you can use instead:
- Lawn mower with a rear bag or flap
- Broom or stiff brush
- Heavy garden hose
- PVC pipe or a soft water-filled roller
- Old carpet or welcome mat
- DIY weighted drag (like a sand-filled pipe)
- Leaf rake
Each of these helps bend the grass blades after you mow. For best stripes, use a mower with a flat, heavy rear flap or bag. If you don’t have one, you can attach something that gently presses down the grass as you mow.
Planning Your Stripe Pattern
Before you start, pick your pattern. The most common is straight stripes, but you can also try:
- Checkerboard (crisscross stripes)
- Diagonal (at an angle)
- Waves (curvy lines)
- Borders (stripes with a clean edge)
Start with straight stripes. They are easiest and look clean. Plan your direction based on your yard shape. For a wider look, mow stripes parallel to the street.
Step-by-step: Striping Your Lawn Without A Kit
Here’s how to do it, even if you’re a total beginner.
1. Mow Your Lawn To The Right Height
Stripe results depend on grass length. Don’t cut too short. For best stripes:
- Cool-season grasses (like fescue, rye, bluegrass): 2.5–3.5 inches
- Warm-season grasses (like Bermuda, zoysia): 1.5–2.5 inches
Longer blades bend better and show stripes more clearly.
2. Make Sure The Grass Is Healthy
Stripes look best on thick, healthy grass. Feed and water your lawn well. Remove weeds and moss. If your grass is thin or patchy, stripes won’t show up as much.
3. Mark Your First Stripe
Use a sidewalk, driveway, or fence as a guide for your first pass. If your yard has no straight edge, lay down a garden hose or string as a straight line. This first stripe sets the tone for the whole yard.
4. Mow In Straight Lines
Mow in a straight line, keeping your wheels aligned with the edge. On the return pass, overlap the wheels slightly to avoid missing any spots. Go slow and keep the mower steady.
Pro tip: When you reach the end, lift the mower to turn instead of pivoting on the grass. This avoids uneven patches.
5. Bend The Grass With A Home Tool
After mowing, use your tool of choice to bend the grass further. Here are a few DIY methods:
Using A Broom Or Brush
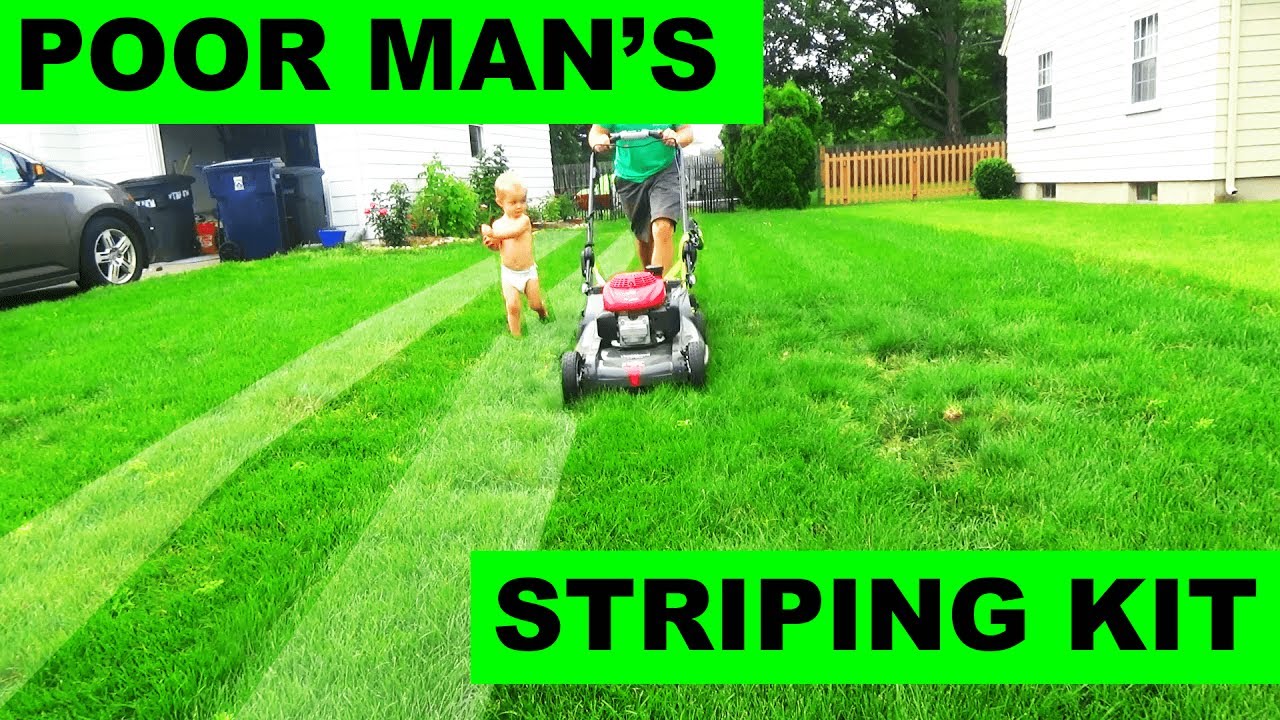
Drag a stiff broom or brush behind you as you walk the same path you just mowed. The bristles bend the blades, deepening the stripe effect.
Using A Hose Or Pvc Pipe
Lay a heavy garden hose or a piece of PVC pipe behind the mower. Secure it with rope so it gently drags and bends the grass as you mow. Make sure it’s not too heavy—it should bend, not flatten.
Using An Old Carpet
Tie or weigh down a strip of old carpet behind your mower. The carpet will press the grass down, making stripes more visible.
Diy Weighted Drag
Fill a short piece of pipe with sand and attach it with rope to your mower or a handle. Drag it behind you to bend the grass.
6. Alternate Directions Each Time
Change mowing direction every 1–2 weeks. This keeps grass healthy and prevents ruts. For checkerboard stripes, mow the whole yard in one direction, then mow again at a right angle.
7. Finish With Borders
Mow around the edge of your yard last. This neatens the look and covers up any uneven turns at the ends of your stripes.
Common Mistakes And How To Avoid Them
Many people try striping and feel disappointed with the results. Here’s why:
- Grass is too short: Short blades won’t bend enough.
- Dry or stressed lawn: Grass must be well-watered and healthy.
- Not enough weight: If your broom, hose, or carpet is too light, the stripes won’t show.
- Crooked lines: Always use a straight edge for your first pass.
Insight: Stripes can look faded on very sunny days or with certain grass types. Sometimes, mowing in the evening or early morning gives the boldest results.
Which Grass Types Stripe Best?
Not all grass works the same. Here’s a quick comparison:
| Grass Type | Stripe Visibility | Best Height |
|---|---|---|
| Fescue | Very High | 2.5–3.5 in |
| Perennial Ryegrass | High | 2.5–3.5 in |
| Kentucky Bluegrass | High | 2.5–3.5 in |
| Bermuda | Low–Medium | 1.5–2.5 in |
| Zoysia | Medium | 1.5–2.5 in |
Cool-season grasses (fescue, rye, bluegrass) show the best stripes. Warm-season grasses still work, but the effect is softer.
How Diy Striping Tools Compare
Some tools work better than others. Here’s how common household tools stack up:
| Tool | Stripe Quality | Effort Needed | Cost |
|---|---|---|---|
| Broom/Brush | Good | Medium | Low |
| Garden Hose | Very Good | Low | Low |
| PVC Pipe | Very Good | Low | Low |
| Old Carpet | Fair | High | Free |
| Leaf Rake | Good | High | Low |
| Weighted Drag | Excellent | Low | Low |
If you want the boldest stripes, try the weighted drag or a garden hose method. For smaller yards, a broom or rake works well.
Practical Tips For Sharper Stripes
- Water the day before: Moist grass bends better.
- Sharpen your mower blade: Clean cuts make grass healthier and the color more even.
- Add a little weight: If your DIY tool is too light, tape on extra weight, but don’t crush the grass.
- Stand back to check: After a few stripes, step back and check your lines from a distance.
- Mow when grass is dry: Wet grass can clump and won’t stripe cleanly.
Insight: For a professional look, practice makes perfect. Start simple, and try more complex patterns as you get comfortable.
Credit: www.youtube.com
When Not To Stripe
Striping isn’t for every lawn. Avoid striping if:
- Your grass is newly seeded or thin.
- The ground is very uneven—stripes will look wavy or broken.
- You mow very short (under 1.5 in)—stripes won’t show.
If your lawn is patchy, focus on improving grass health first. Overseed, fertilize, and water well.
How To Maintain Your Stripes
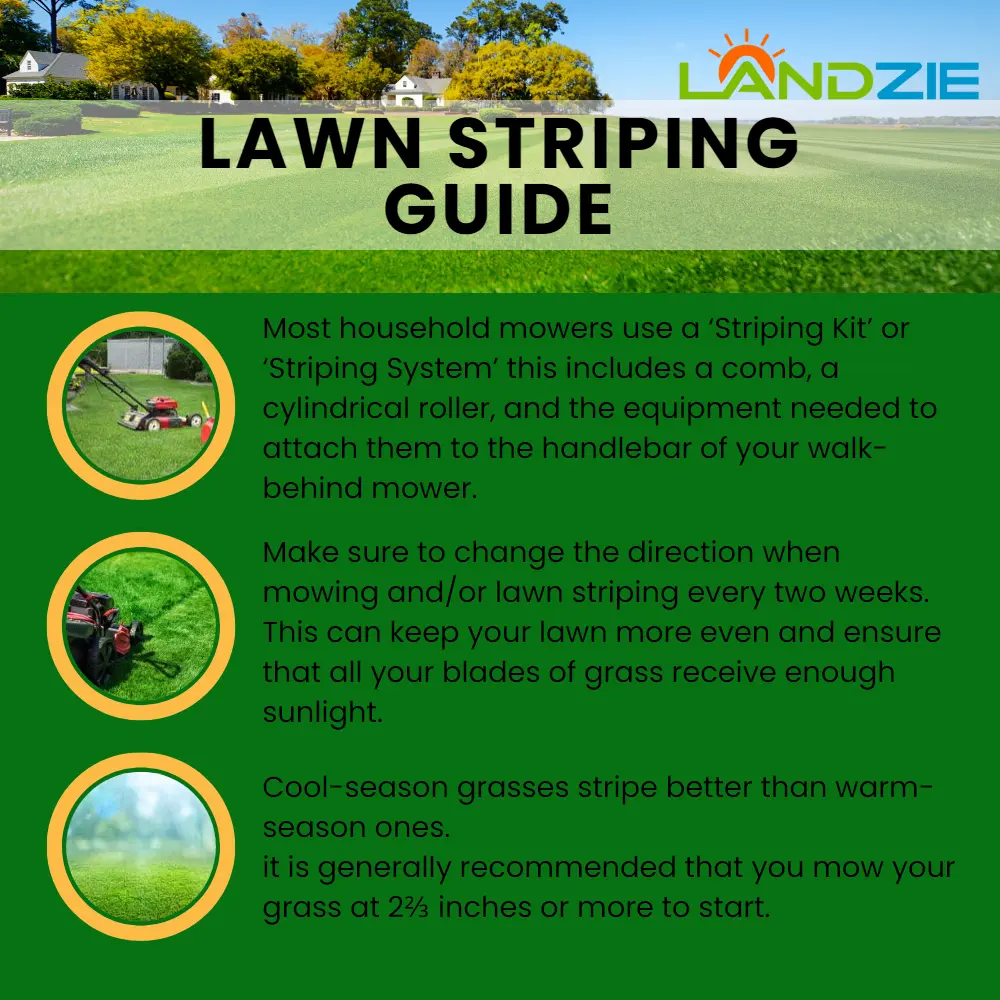
Lawn stripes fade after a few days as the grass springs back. To keep them looking fresh:
- Mow and stripe every 5–7 days during the growing season.
- Alternate patterns every few mowings.
- Avoid mowing the same direction every time—this prevents soil compaction.
If you want to keep stripes longer, lightly drag your broom, hose, or roller over the stripes between mowings.
Credit: fishrpc.kz
When To Try Other Patterns
Once you master straight stripes, try something new:
- Checkerboard: Mow stripes, then mow again at a 90-degree angle.
- Diagonal: Mow at a 45-degree angle to your house.
- Diamond: Combine diagonal and straight stripes.
- Waves or curves: Gently turn the mower as you move, but keep turns wide for a smooth look.
These patterns work best on larger, open lawns. For small yards, stick to straight or diagonal stripes for the biggest impact.
Stripe Safety And Lawn Care
Always check your lawn for rocks, sticks, or toys before mowing. Never attach anything sharp or heavy that could damage your mower. If you use a weighted drag, make sure it’s well-secured and only bends, not crushes, the grass.
Pro tip: Never mow more than one-third of the grass blade at a time. Cutting too much stresses the lawn and ruins stripe quality.
Real-world Example
A homeowner in Cincinnati, Ohio tried striping with a regular push mower and an old broom. After a few tries, the stripes looked almost as good as the baseball field nearby. The secret was mowing at 3 inches and dragging the broom twice—once right after mowing, and again the next morning. This doubled the stripe boldness and only took a few extra minutes.
More Resources
For those who want to read more about the science behind lawn stripes and grass health, check out this detailed guide from the Wikipedia.

Credit: www.ryobitools.com
Frequently Asked Questions
How Long Do Lawn Stripes Last?
Stripes usually last 3–7 days, depending on grass type and weather. Rain, mowing, or heavy foot traffic can fade them faster. You can refresh stripes by dragging your DIY tool over them every few days.
Can I Stripe A Lawn With A Riding Mower?
Yes. Riding mowers can make stripes, especially if you attach a weighted drag like a hose or roller behind them. Make sure the tool is wide enough to cover the mower’s path for even stripes.
Will Striping Damage My Lawn?
No, striping does not hurt healthy grass. It simply bends the blades. In fact, changing mowing directions encourages thicker turf. However, over-bending or using heavy tools can crush or damage grass, so use a gentle touch.
Why Are My Stripes Not Showing Up?
Common reasons are grass cut too short, dry or unhealthy grass, or not enough weight on your tool. Make sure you mow at the right height and your DIY striping tool bends the grass, not just glides over it.
What’s The Easiest Diy Tool For Beginners?
A garden hose or a stiff broom are the simplest. They’re easy to find, safe, and give good results with little effort. Attach behind your mower or drag by hand for quick stripes.
Creating striped lawns is not just for pros—it’s possible for any homeowner with a bit of patience and creativity. With the right mowing height, a simple DIY tool, and a steady approach, you can have a yard that turns heads all season long.
Try it out, refine your method, and enjoy the fresh, professional look of your own striped lawn.