
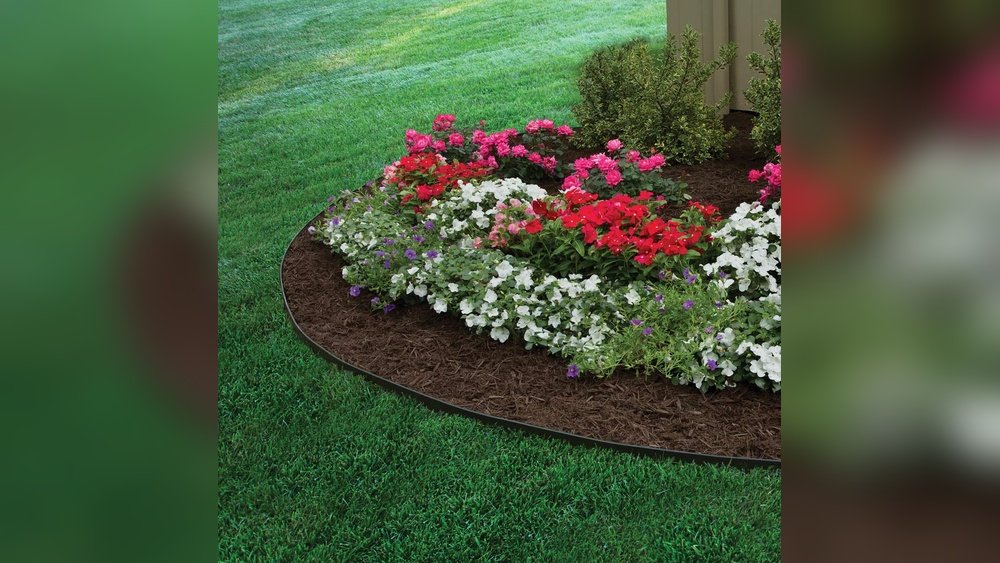
Are you ready to give your garden beds a clean, polished look that lasts? Installing garden edging is one of the simplest ways to define your planting areas and keep your yard looking neat and well-maintained.
But if you’ve ever struggled with messy borders or shifting edges, you know it’s not just about placing a strip of material in the ground. You need the right preparation, tools, and technique to get it right—and avoid common mistakes that can ruin your hard work.
In this guide, you’ll learn step-by-step how to install garden edging around your beds so they stay straight, secure, and stylish. Whether you choose plastic, metal, or stone edging, this easy-to-follow process will save you time and frustration. Get ready to transform your garden with clean lines that make your flowers and shrubs stand out—let’s dive in!
Credit: www.homedepot.com
Choosing Edging Materials
Installing garden edging around your beds requires the right tools and supplies. Proper tools make the job easier and the results neater. Gathering everything before starting saves time and reduces frustration. Below is a list of items needed to install garden edging effectively.
Essential Tools List
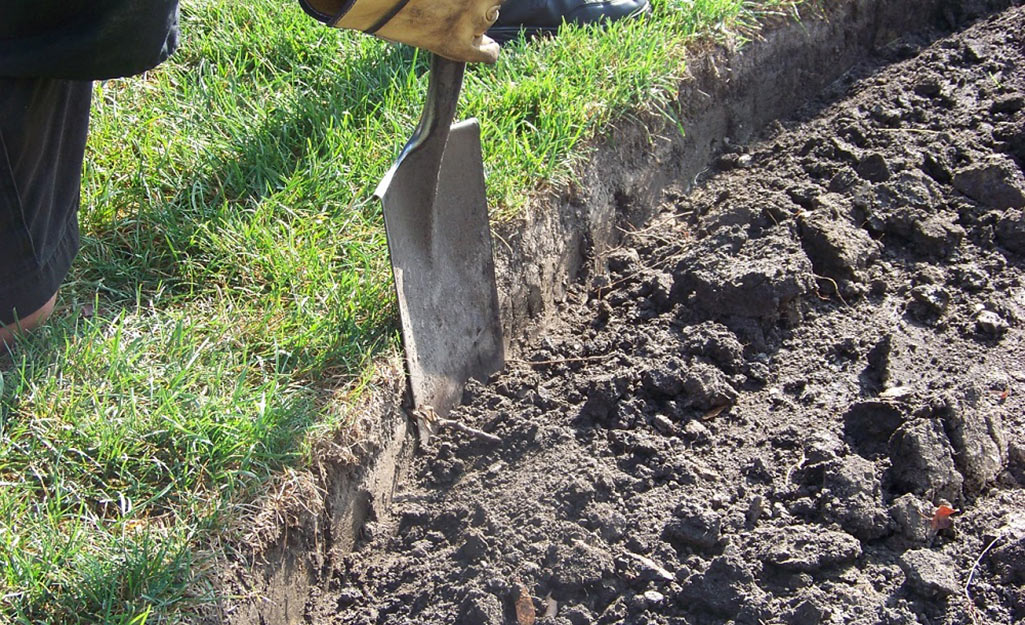
- Shovel or spade for digging trenches
- Measuring tape to mark edging length
- Garden gloves to protect your hands
- Hammer or mallet to drive stakes
- Level to ensure straight edging lines
- Utility knife for cutting plastic or metal edging
- String line to guide a straight edge
Optional Accessories
- Edging stakes for extra stability
- Landscape fabric to prevent weed growth
- Rubber mallet to avoid damaging edging
- Garden rake to smooth soil after installation
- Wheelbarrow for moving soil or mulch
Safety Gear
- Sturdy gloves to avoid cuts and blisters
- Safety glasses to protect eyes from debris
- Knee pads for comfort while working low
- Closed-toe shoes to protect feet
Credit: texasgardenmaterials.com
Preparing The Garden Bed
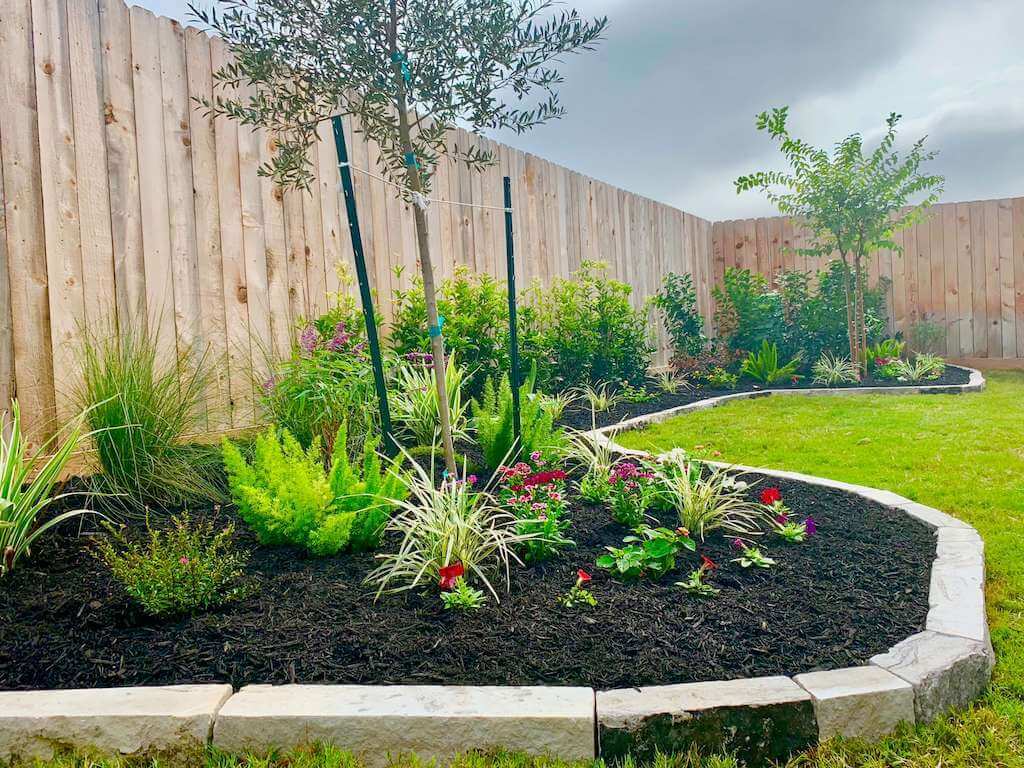
Installing garden edging around beds improves garden structure and appearance. Avoiding common mistakes makes the process easier and the results better. Proper steps ensure the edging stays in place and looks great for years.
Skipping Soil Preparation
Soil preparation sets the base for garden edging. Failing to clear debris or level the ground leads to uneven edges. Preparing soil prevents shifting and sinking over time. Take time to remove rocks, roots, and weeds before installing.
Incorrect Installation Depth
Placing edging too shallow causes it to move or fall over. Too deep installation may waste materials and effort. The edging should sit firmly with enough ground holding it tight. Use a level to keep the edging straight and stable.
Using Low-quality Materials
Cheap materials warp, crack, or fade quickly. Choose edging made for your climate and soil type. Durable materials last longer and require less repair. Investing in quality products saves money and effort in the long run.
Ignoring Drainage Needs
Poor drainage causes water to pool along edging. Water buildup can damage plants and soften soil. Make sure to allow water flow by leaving small gaps or using drainage-friendly materials. Proper drainage keeps beds healthy and edging intact.
Insufficient Maintenance
Garden edging needs regular care to look its best. Neglecting maintenance leads to soil shift and weeds invading borders. Check edging yearly for damage or movement. Clean debris and tighten loose sections to maintain neat lines.
Credit: www.youtube.com
Frequently Asked Questions
What Are Common Mistakes When Edging?
Common edging mistakes include poor soil prep, shallow or uneven installation, using wrong materials, tight curves, and neglecting maintenance.
How To Lay Edging Blocks Along Beds?
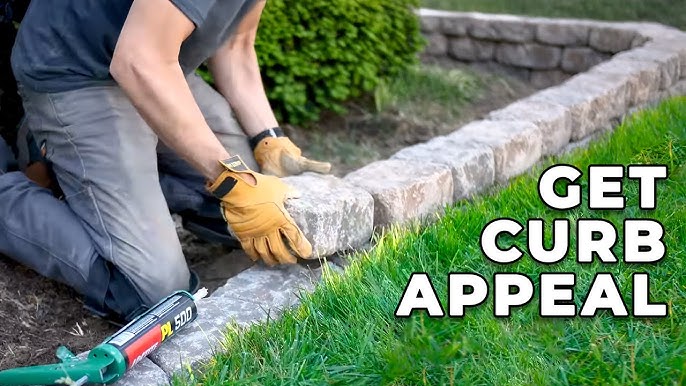
Dig a trench along the bed edge, clear debris, and level the soil. Place stakes and stretch twine for alignment. Lay blocks tightly, tap them down firmly with a hammer. Fill gaps with soil or sand for stability. Ensure the blocks are even and secure.
Do You Need Stakes For Edging?
Yes, stakes help secure edging firmly in place and prevent shifting. Use stakes for stability, especially on uneven ground or curves.
What Is The Easiest Edging To Install?
The easiest edging to install is plastic lawn edging. It’s flexible, lightweight, and requires minimal tools or skills. Simply stake it into the ground along your desired border for quick, neat results.
Conclusion
Installing garden edging around beds improves your garden’s look and function. Take time to prepare the soil and choose the right materials. Keep edges straight or smoothly curved for a neat finish. Secure the edging firmly to avoid shifting over time.
Regular maintenance helps keep borders clean and tidy. Follow these steps for a beautiful, lasting garden bed outline. Your garden will look organized and well cared for every season.