
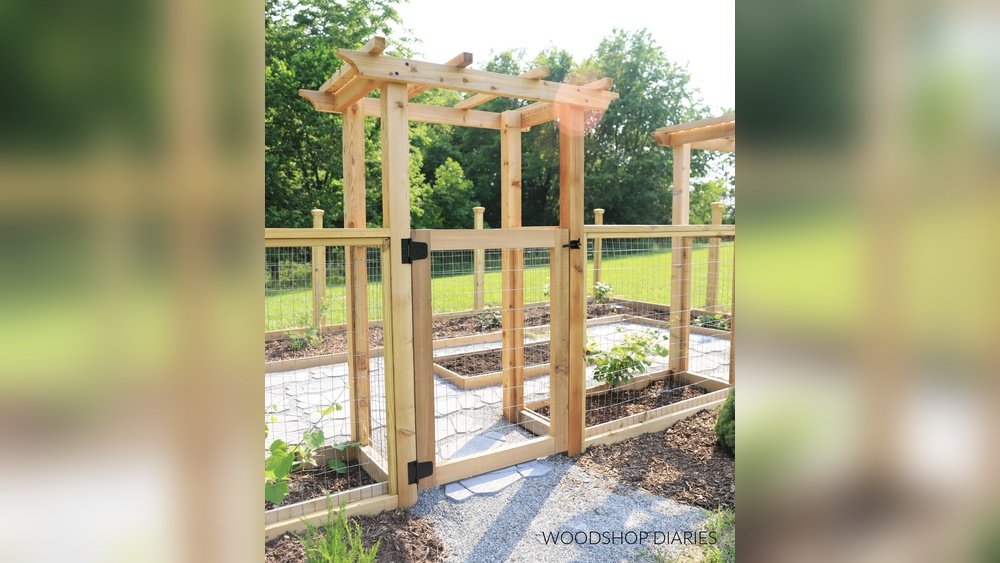
Are you ready to transform your garden with a charming arbor that adds both beauty and structure? Installing a garden arbor might seem tricky, but with the right steps, you can easily create a stunning focal point in your outdoor space.
Whether you want a cozy entryway or a lovely spot for climbing plants, this guide will walk you through each step clearly and simply. By the end, you’ll have the confidence to install your own garden arbor that not only looks great but stands strong for years to come.
Let’s dive in and make your garden dreams a reality!
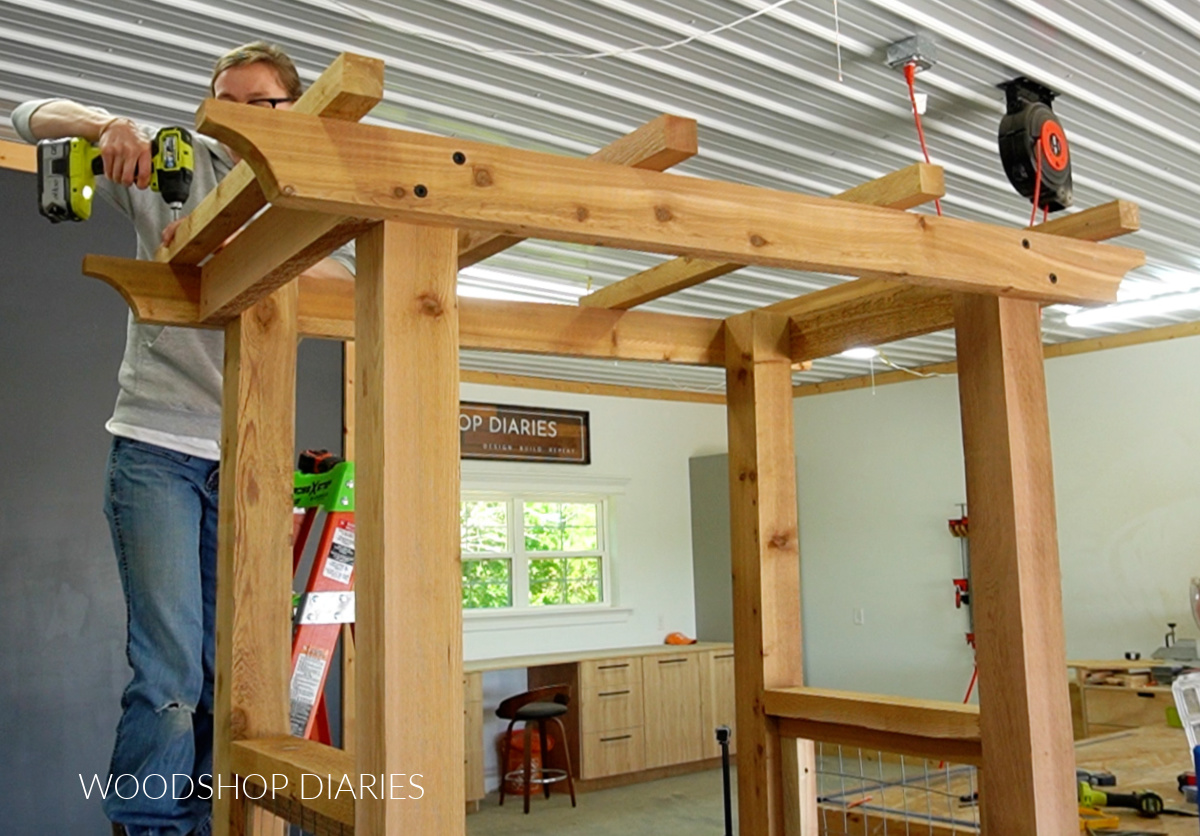
Credit: www.woodshopdiaries.com
Choosing The Right Arbor
Choosing the right garden arbor sets the tone for your outdoor space. It should fit your garden’s style and size. The right arbor adds charm and function. Think about how you want to use it. Will it support climbing plants? Serve as a gateway? Or just a decorative feature?
Consider the space you have and the look you want. This helps pick the perfect arbor for your garden. Let’s explore some key points to guide your choice.
Types Of Garden Arbors
Garden arbors come in many shapes and sizes. Some have simple arches, while others include benches or shelves. Traditional arbors often have a curved top. Modern styles might feature straight lines and minimalist design. Choose a type that matches your garden’s vibe and your needs.
Arbors can also be freestanding or attached to a fence or wall. Freestanding arbors work well as entry points or focal spots. Wall-mounted arbors save space and support climbing plants nicely.
Materials And Styles
Wood is a popular material for garden arbors. It looks natural and blends well with plants. Cedar and redwood resist rot and insects. Metal arbors offer durability and often come in decorative designs. They need less maintenance than wood.
Vinyl arbors resist weather and require almost no upkeep. Choose a style that fits your garden’s look. Rustic wood suits cottage gardens. Sleek metal fits modern spaces. White vinyl works well in classic or formal gardens.
Sizing For Your Space
Measure the area where you want to install the arbor. Make sure there is enough room to walk through comfortably. The height should allow easy passage without ducking. A standard arbor is about 7 feet tall and 3 to 4 feet wide.
Consider nearby plants and structures. The arbor should complement, not crowd, your garden. Leave space for climbing plants to grow. This helps the arbor look full and lively over time.
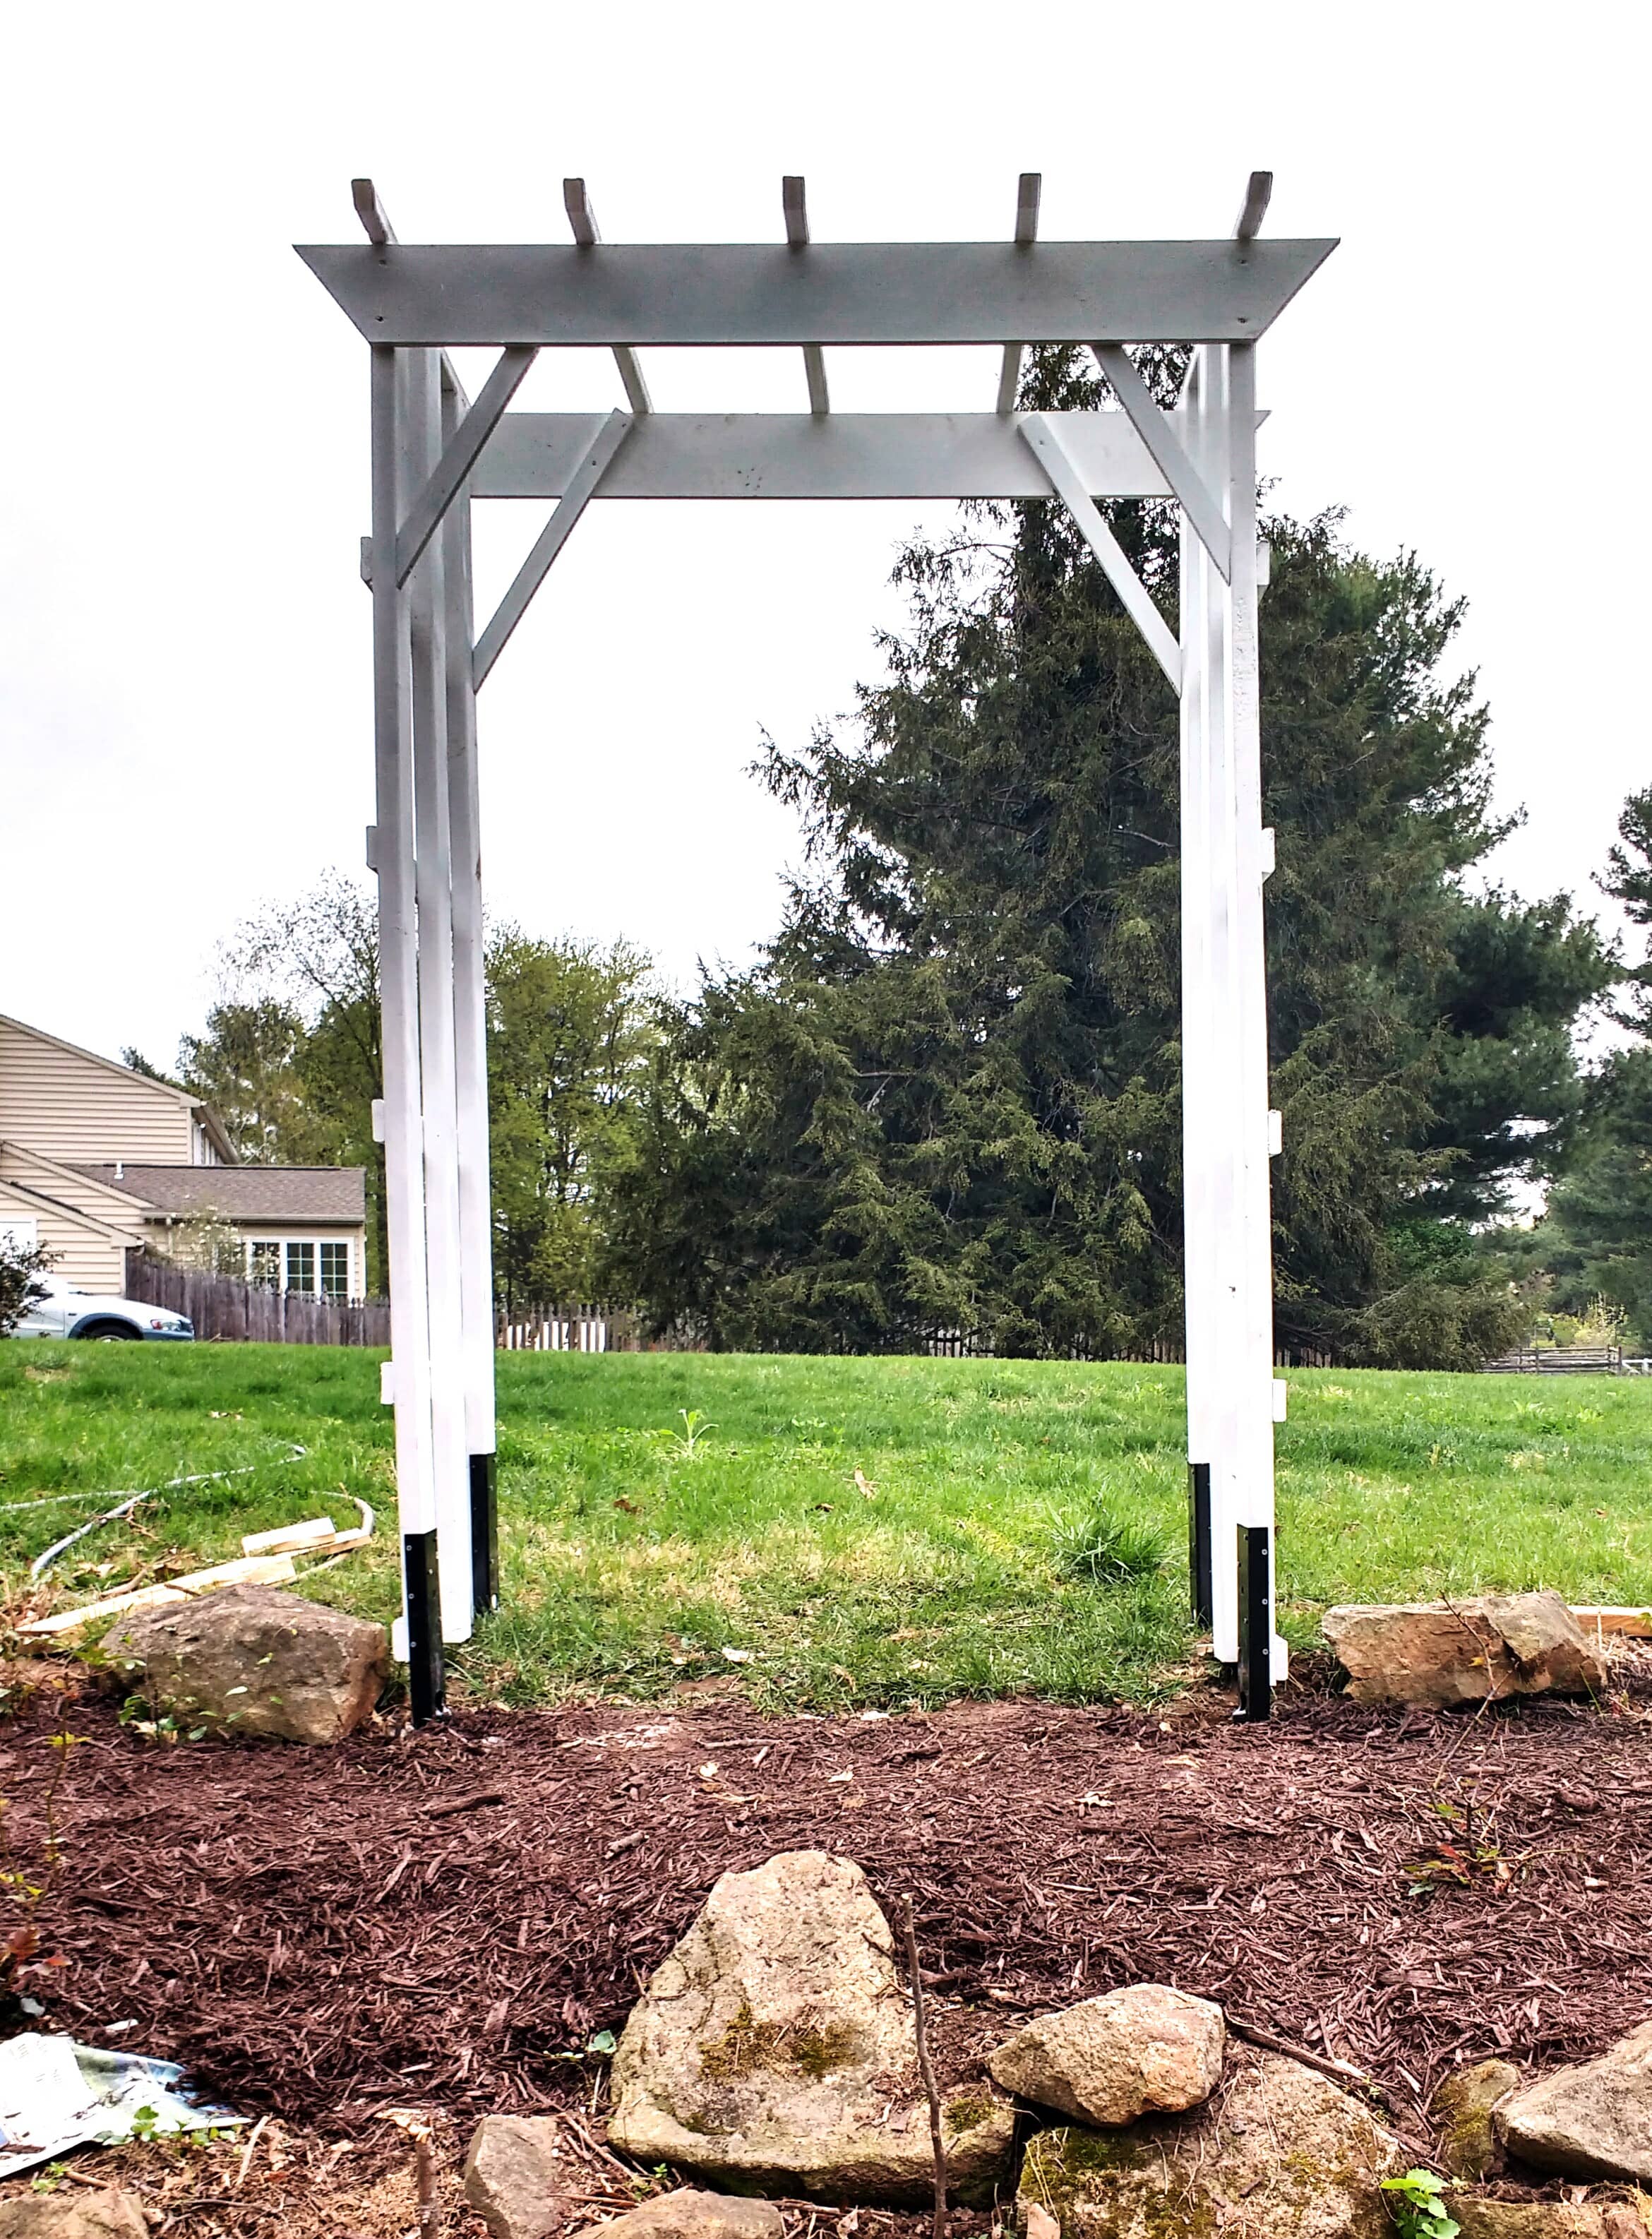
Credit: joyfullytreasured.com
Preparing The Site
Gathering the right tools and materials is key for a smooth garden arbor installation. This step prepares you for efficient and safe work. Having everything ready saves time and avoids frustration.
Start by making a list of all necessary items. Check that your tools are in good condition. Gather materials that match your arbor design and ground type. Safety gear protects you from injury during the project.
Essential Tools List
Basic tools include a tape measure, level, and drill. A shovel helps dig post holes. A hammer or mallet is useful for securing parts. Screwdrivers and wrenches assist with assembly. A saw may be needed for adjustments. Keep a pencil handy for marking measurements.
Concrete And Anchoring Supplies
Concrete mix ensures strong post support in the ground. Use a wheelbarrow or mixing tub to prepare it. Anchors or brackets hold the arbor steady on hard surfaces. Gravel improves drainage and stabilizes posts. Choose supplies that fit your soil and climate conditions.
Safety Equipment
Wear gloves to protect hands from splinters and rough edges. Safety glasses shield eyes from dust and debris. A dust mask prevents inhaling particles when mixing concrete. Closed-toe shoes keep feet safe from dropped tools. Consider ear protection when using power tools.

Credit: www.amazon.ie
Frequently Asked Questions
How To Secure A Garden Arbour?
Secure a garden arbour by digging holes for its legs, leveling it, then backfilling with soil or concrete. Use bolt-down post holders on hard surfaces. For extra stability, drive rebar into the ground and tie the arbour to it. Ensure proper drainage with gravel or weed membrane underneath.
How Do I Secure My Arbor To The Ground?
Secure your arbor by digging holes for posts, placing them level, then backfill with soil or concrete. Use post anchors on hard surfaces. Drive rebar stakes and tie the arbor for extra stability. This ensures a sturdy, long-lasting installation.
What To Put Under An Arbour?
Place gravel or a weed-suppressant membrane under an arbour for drainage and weed control. Add soil or containers for climbing plants.
How To Anchor An Arbor Without Concrete?
Anchor an arbor without concrete by driving metal stakes or rebar into the ground. Secure the arbor legs to these anchors using strong ties or brackets for stability. Ensure the soil is firm and compact around the base to prevent wobbling.
Conclusion
Installing a garden arbor can enhance your outdoor space beautifully. Follow each step carefully for a strong, stable structure. Use simple tools and materials for easier assembly. Secure the arbor firmly to prevent movement in wind. Plant climbing flowers to add natural charm and color.
Enjoy the peaceful atmosphere your new arbor creates. Regular maintenance keeps it looking fresh and sturdy. With patience and care, your garden will look inviting and lovely.