Is your core aerator struggling to break through the soil? You’re not alone.
When your aerator won’t penetrate the ground properly, it can leave your lawn compacted and unhappy. But don’t worry—fixing this common problem is easier than you think. You’ll discover simple, effective tips to fix core aerator issues and get your core aerator digging deep and pulling plugs again. Whether you are facing core aerator issues“>core aerator issues due to soil that is too hard, dry, or your aerator needs some TLC, we’ll guide you step-by-step to restore your lawn’s health and help your grass thrive. Keep reading, and you’ll have your aerator working like new in no time!
Credit: blog.lawnguru.co
Common Causes Of Aerator Issues
Proper cleaning and maintenance keep your core aerator working well“>aerator working well. Dirt, rust, and dull tines reduce its ability to penetrate soil. Regular care improves performance and extends tool life. Follow these simple tips to maintain your aerator“>maintain your aerator and get the best results every time.
Removing Rust And Dirt
Start by removing dirt and debris from the tines and body. Use a stiff brush or wire brush for stubborn soil. For rust, apply a rust remover or use sandpaper to scrub the affected areas. Clean parts dry to prevent new rust from forming. A clean aerator moves more smoothly through the soil.
Polishing Tines For Better Performance
Shiny, sharp tines penetrate soil easier than dull ones. Use fine sandpaper or a metal file to polish the tines gently. Remove any rough edges or burrs to avoid soil resistance. Polished tines reduce effort and create clean holes. This simple step boosts aeration efficiency significantly.
Regular Inspection And Replacement
Check tines for wear or bending before each use. Bent or broken tines damage the soil and reduce aeration quality. Replace damaged parts promptly to maintain tool effectiveness. Inspect bolts and handles for tightness and cracks. Routine checks prevent breakdowns and keep your aerator ready for use.

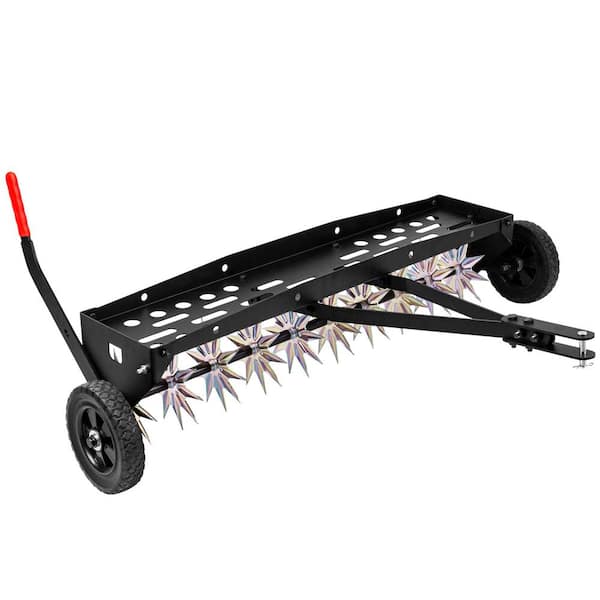
Credit: www.amazon.com
Credit: www.homedepot.com
Troubleshooting Core Aerator Issues
Why Is My Aerator Not Pulling Plugs?
Your aerator may not pull plugs due to dry, hard soil or dull, clogged tines. Clean or replace tines and moisten soil before aerating.
What To Do If The Ground Is Too Hard To Aerate?
Loosen hard soil by watering a day before aeration. Use a shovel or rototiller to break compacted ground manually. Avoid aerating dry, rock-hard soil.
How To Adjust Aerator Depth?
Adjust aerator depth by moving it forward for shallower holes and backward for deeper ones. Then, securely lock the setting.
Should Soil Be Wet Or Dry When Aerating?
Aerate soil when it is moist but not wet. Too wet soil becomes muddy and hard to work with. Avoid aerating dry, rock-hard soil by watering it 1-2 days before aeration for better penetration and plug removal.
Steps to Fix Core Aerator Problems
Assessing Soil Conditions
Before attempting to fix core aerator issues, check the soil conditions. Ensure the soil is neither too dry nor too wet for optimal aeration.
Maintaining Aerator Equipment
Regular maintenance of your aerator equipment is crucial. Clean, inspect, and replace parts as needed to ensure efficient operation.
Conclusion
Fixing a core aerator that won’t penetrate soil takes patience and the right steps. Check soil moisture and make sure it’s not too dry or compacted. With proper maintenance and care, you can resolve core aerator issues and keep your lawn healthy.