
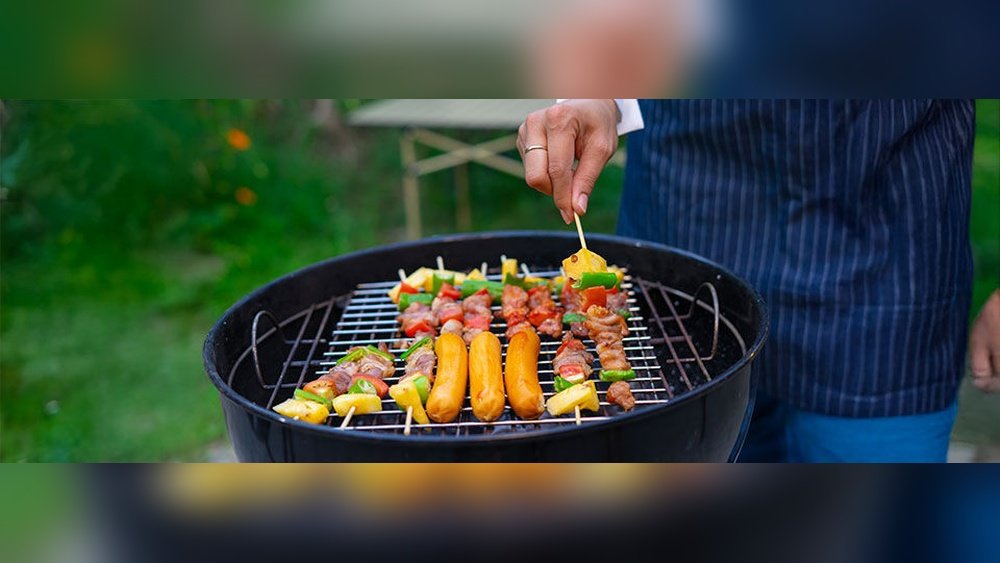
As the cold months approach, your outdoor grill needs some special care to stay in top shape. If you want your grill ready for those sunny spring barbecues, you can’t just leave it exposed to the harsh winter weather.
Winterizing your outdoor grill is simpler than you might think, and it protects your investment from rust, mold, and damage caused by moisture and freezing temperatures. In this guide, you’ll learn easy, step-by-step tips to clean, protect, and store your grill properly.
Keep reading to discover how a little effort now can save you time, money, and frustration later—so your grill stays ready for delicious meals all year round.
Prepare Grill For Cleaning
Preparing your grill for cleaning is a key step before winter storage. It helps remove food residue and grease that attract rust and pests. A clean grill lasts longer and stays safe to use in the spring.
Start by organizing your cleaning process. This makes the task easier and faster. Having everything ready prevents delays and ensures no part is missed.
Gather Necessary Supplies
Collect all tools and materials before starting. You will need a grill brush, mild soap, warm water, a sponge, and a bucket. Also, keep a pair of gloves and a cloth for drying. Using the right supplies protects your grill from damage.
Remove Grill Grates And Components
Take out the grill grates, burners, and other removable parts carefully. This allows you to clean each piece thoroughly. Soak these components in warm soapy water to loosen stuck-on food. Scrub gently with a brush or sponge to avoid scratching surfaces.
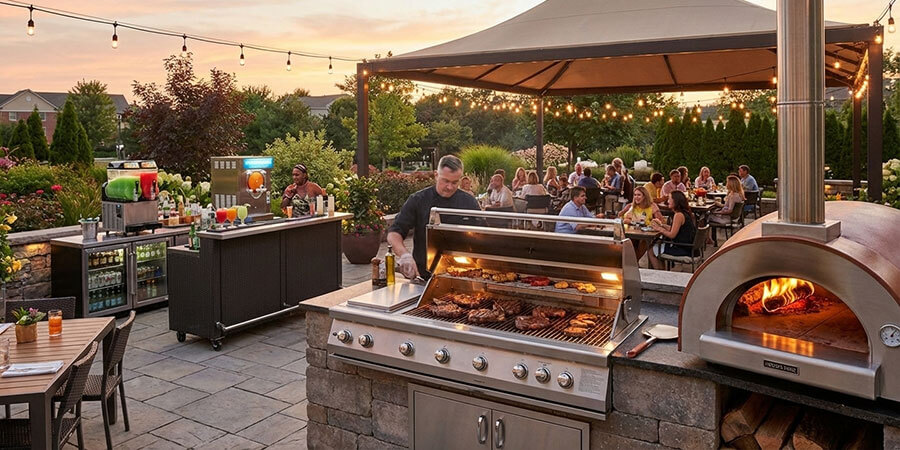
Credit: www.gofoodservice.com
Deep Clean Grill Parts
Deep cleaning your grill parts is essential before winter. It prevents rust and keeps your grill ready for the next season. Dirt, grease, and food residue can cause damage if left unattended. Taking time to clean thoroughly protects your investment and improves safety. Follow simple steps to clean each part properly.
Clean Grill Grates And Burners
Start by removing the grill grates and burners. Soak the grates in warm, soapy water for 15-20 minutes. Use a grill brush or scrub pad to remove stuck-on food. Rinse well and dry completely. For burners, gently brush off debris and check for blockages. Make sure the gas ports are clear to avoid uneven flames.
Scrub Interior And Exterior Surfaces
Use a sponge and mild detergent to clean the grill’s interior. Scrub the walls, lid, and bottom to remove grease and carbon buildup. Wipe the exterior with a cloth soaked in soapy water. Avoid harsh chemicals that can damage the finish. Rinse all surfaces with clean water and dry with a towel.
Remove Grease And Debris
Empty the grease tray or catch pan completely. Scrape off hardened grease with a putty knife if needed. Wash the tray with hot water and dish soap. Clear any debris from vents and burners to maintain airflow. Proper grease removal prevents flare-ups and keeps the grill safe during storage.
Protect Grill Components
Protecting your grill components is key to keeping your outdoor grill in top shape during winter. Cold weather, moisture, and dirt can damage parts if left exposed. Taking simple steps helps prevent rust, corrosion, and wear. This keeps your grill ready for use when warmer days return.
Apply Cooking Oil To Grates
Start by cleaning the grill grates thoroughly. Remove any food residue and ash. Then, apply a thin layer of cooking oil using a cloth or spray. This oil forms a barrier against moisture and rust. It also keeps the grates seasoned for your next cookout. Avoid using too much oil to prevent sticky buildup.
Wrap Burners With Plastic
Burners are sensitive and can rust or clog from dirt and water. Cover them with plastic wrap or a plastic bag. Seal tightly with a rubber band or tape. This simple step stops moisture from getting inside the burner tubes. It also prevents insects or debris from nesting there during winter.
Inspect And Cover Propane Tanks
Check propane tanks for leaks or rust before storing. Tighten connections and clean the exterior. Keep tanks upright and away from heat sources. Cover tanks with a breathable, weatherproof cover to protect from rain and snow. Never store propane tanks indoors or in unventilated spaces. Proper storage ensures safety and extends tank life.

Credit: avellinomasonry.com
Store Grill Properly
Properly storing your grill during the cold months protects it from damage. It helps keep the grill clean and ready for use when warmer weather returns. Taking simple steps to store your grill can extend its life and maintain its performance. Focus on choosing the right storage spot and using protective covers. Also, handle propane tanks with care to ensure safety.
Choose A Dry Storage Location
Select a place shielded from rain and snow. A garage, shed, or covered patio works well. Avoid spots where moisture can collect and cause rust. Good air circulation in the area helps keep the grill dry. Storing the grill off the ground can also prevent water damage.
Use A Durable Grill Cover
Pick a cover made of heavy-duty, weather-resistant material. It should fit snugly to block out moisture and dirt. A proper cover protects the grill from dust, bugs, and harsh weather. Check the cover periodically for tears or holes. Replace it if it no longer provides full coverage.
Avoid Indoor Propane Tank Storage
Never store propane tanks inside your home. Keep them outdoors in a well-ventilated area. Propane is highly flammable and poses a risk indoors. Place tanks upright on a flat surface, away from heat sources. Follow local rules for safe propane tank storage and handling.
Maintain Grill During Winter
Maintaining your outdoor grill during winter is vital for its longevity. Cold weather, moisture, and debris can damage your grill if left unchecked. Regular care keeps it ready for the next grilling season. Simple steps help prevent rust and mold. A few minutes each week can save costly repairs later.
Check For Moisture And Mold
Moisture collects inside the grill, causing rust and mold. Open the grill lid and check for damp spots. Use a dry cloth to wipe away water. If you see mold, clean it with warm soapy water. Let the grill dry fully before closing it. Keeping the grill dry stops mold growth and protects metal parts.
Remove Snow And Ice Accumulation
Snow and ice add weight and trap moisture. Gently brush snow off the grill after each snowfall. Avoid using sharp tools that can scratch the surface. Melted ice can drip into the burners and cause damage. Removing ice quickly prevents blockages and rust. A clean grill surface lasts longer and works better.
Perform Periodic Inspections
Check your grill regularly throughout winter. Look for loose screws, cracks, or rust spots. Inspect burners and gas connections for leaks or damage. Tighten parts if needed and replace worn components. Early detection of problems saves money and effort. A well-maintained grill stays safe and efficient for cooking.
Prepare For Spring Use
Preparing your grill for spring use ensures a smooth start to the grilling season. After months of winter storage, your grill needs attention to work safely and efficiently. Simple steps will help bring your grill back to life and keep it in top condition.
Remove Covers And Wraps
Start by taking off any covers or wraps used for winter protection. Clean these covers if you plan to reuse them next season. Removing moisture-trapping wraps prevents rust and mold buildup on your grill.
Inspect And Reassemble Components
Check all grill parts for damage or wear. Look at burners, grates, and hoses carefully. Replace any broken parts before reassembling your grill. Tighten screws and bolts to ensure stability and safety during use.
Test And Clean Before Cooking
Light the grill to test if all burners work properly. Clean the grill grates with a wire brush to remove rust and debris. Wipe down surfaces with warm soapy water for a fresh start. Proper cleaning prevents flare-ups and improves food taste.
Credit: fosterfuels.com
Frequently Asked Questions
How To Winterize An Outdoor Grill?
Clean the grill thoroughly, coat grates with cooking oil, disconnect and store propane tanks outside, cover the grill tightly, and keep it in a dry place.
Can You Leave A Gas Grill Outside All Winter?
You can leave a gas grill outside all winter if covered and cleaned. Protect grates with oil and keep the propane tank outdoors.
What Temperature Kills Mold In The Barbecue?
Heating your barbecue to at least 140°F (60°C) effectively kills mold. Use high heat for 15 minutes to ensure safety.
What Should I Do With My Grill In The Winter?
Clean your grill thoroughly, coat grates with cooking oil, cover it securely, and store in a dry, sheltered area. Remove propane tanks and keep them outside.
Conclusion
Proper winterizing keeps your outdoor grill safe and ready. Clean all parts thoroughly to prevent rust and damage. Apply a light oil layer to protect grill grates. Cover your grill with a weatherproof cover to block moisture. Store propane tanks outside in a well-ventilated area.
Taking these steps saves money on repairs and replacements. Enjoy easier grilling once warm weather returns. Protect your grill this winter for many seasons ahead. Simple care now means great meals later.