You want your steak to have that perfect, mouth-watering crust every time you fire up your gas grill. But getting the ideal sear can feel tricky—too little heat, and your steak turns out bland; too much, and it burns before cooking through.
What if you could master the technique that locks in juicy flavors and creates those beautiful grill marks that impress every time? In this guide, you’ll discover simple, proven steps to sear steak on a gas grill perfectly. Follow along, and your next steak will be the one everyone talks about.
Ready to become the grill master you’ve always wanted to be? Let’s get started.

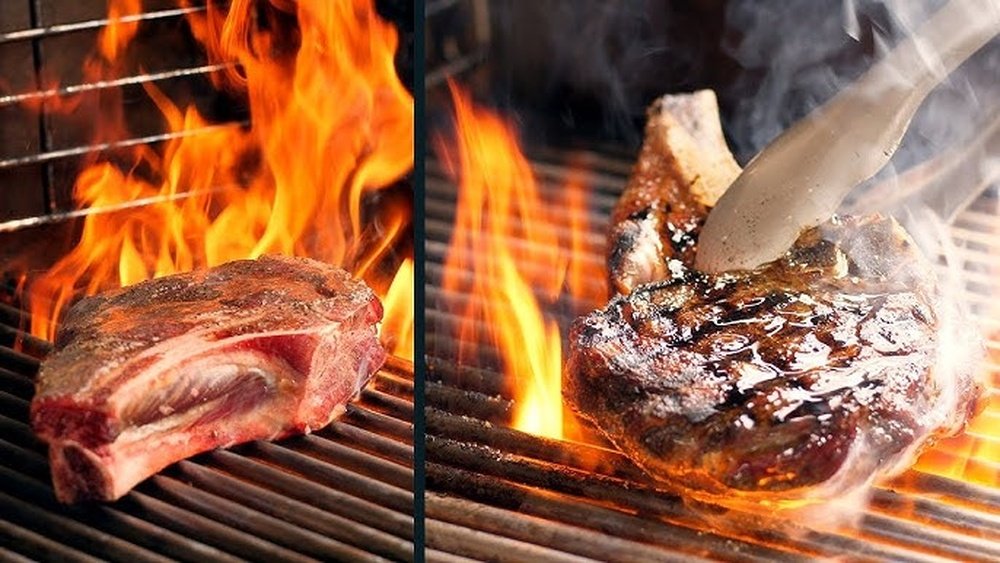
Credit: blackberrybabe.com
Preparing The Steak
Preparing the steak properly sets the stage for a perfect sear on your gas grill. It involves selecting the right cut, allowing the meat to warm, and seasoning it just right. Each step improves flavor and texture.
Skipping these can lead to uneven cooking or less tasty results. Follow these tips to get your steak grill-ready.
Choosing The Right Cut
Pick a thick cut, at least one inch or more. Ribeye, New York strip, and filet mignon work well. These cuts have good marbling, which adds flavor and keeps the steak juicy. Avoid thin or uneven pieces; they cook too fast and dry out.
Bringing Steak To Room Temperature
Take the steak out of the fridge about 30 to 60 minutes before grilling. This helps it cook evenly. Cold meat can lower the grill’s temperature and cause uneven searing. Room temperature steak sears better and cooks more consistently.
Drying And Seasoning
Pat the steak dry with paper towels. Removing moisture allows the surface to brown properly. Water causes steaming, which stops the crust from forming. Then, season generously with salt and pepper. Simple seasoning enhances the natural beef flavor without overpowering it.
Setting Up The Gas Grill
Setting up your gas grill correctly is key to searing steak perfectly. Proper preparation creates the right cooking environment. It controls heat and ensures even cooking. Follow these steps to prepare your grill for a great sear.
Creating Two Heat Zones
Start by turning on one side of the grill to high heat. Leave the other side off or on low heat. This setup creates a hot zone for searing and a cooler zone for finishing. It helps avoid burning the steak while cooking it through.
Preheating The Grill Properly
Preheat your grill for 10 to 15 minutes with the lid closed. This allows the grates to get very hot. Hot grates give the steak a nice crust and good grill marks. Avoid opening the lid too often to keep the temperature steady.
Selecting The Right Grill Grates
Choose thick, heavy grill grates made of cast iron or stainless steel. Cast iron holds heat well for a better sear. Stainless steel is easier to clean and resists rust. Clean grates prevent sticking and help create even grill marks.
Searing Techniques
Searing steak on a gas grill needs the right techniques to get a tasty crust and juicy inside. Good searing locks in flavors and creates a beautiful look. Focus on heat control, timing, and handling the meat properly for the best results.
Use clear methods to control the grill’s heat and avoid common errors. This helps the steak cook evenly and stay tender. Below are key searing techniques that make a big difference.
Using High Direct Heat
Turn your gas grill to high heat before placing the steak. High direct heat quickly forms a brown crust on the surface. This crust adds flavor and texture to the steak. Place the steak on the hottest part of the grill. Leave it alone for a few minutes to let the sear develop. Flip only once to keep the crust intact. After searing, move the steak to a cooler spot to finish cooking.
Achieving Perfect Grill Marks
Grill marks make your steak look great and add flavor. Place the steak at a 45-degree angle on the grill grates. Let it cook without moving for 2-3 minutes. Turn the steak 90 degrees to create crosshatch marks. Cook for another 2-3 minutes before flipping. This technique gives you neat, dark grill marks. Avoid pressing the steak down, which can remove juices.
Avoiding Common Searing Mistakes
Do not sear cold steak straight from the fridge. Let the meat reach room temperature first. Pat the steak dry with paper towels to remove moisture. Wet meat steams instead of browning. Do not overcrowd the grill, or the heat drops. Flip the steak only once or twice to keep the crust. Let the steak rest after cooking to keep juices inside.
Finishing The Steak
Finishing the steak properly after searing is key to juicy, tender results. This step allows the heat to cook the steak evenly without burning the outside. A controlled finish helps reach the desired doneness while keeping the flavorful crust intact. Follow these tips to complete your steak perfectly on a gas grill.
Using Indirect Heat For Even Cooking
After searing, move the steak to a cooler part of the grill. This method uses indirect heat to cook the steak through. It prevents the outside from burning while the inside reaches the right temperature. Cover the grill to trap heat and cook the steak evenly. This technique works well for thicker cuts.
Managing Lid Position
Keep the grill lid closed during the finishing process. Closing the lid maintains a steady temperature inside. It creates an oven-like environment that cooks the steak gently. Opening the lid often lets heat escape and slows cooking. Only open the lid to check the steak’s progress.
Checking Internal Temperature
Use a meat thermometer to check the steak’s internal temperature. Insert it into the thickest part of the steak. Aim for 130°F (54°C) for medium-rare or 140°F (60°C) for medium. Remove the steak from the grill a few degrees before the target temperature. The steak will continue to cook while resting.
Resting And Serving
Resting and serving are key steps after searing steak on a gas grill. They help keep the meat juicy and full of flavor. Proper resting lets the juices move back into the steak. Serving with care makes your steak look and taste even better. Follow these tips for a perfect finish to your grilled steak.
Allowing Steak To Rest
After removing steak from the grill, place it on a clean plate. Let it rest for 5 to 10 minutes. This pause allows juices to redistribute inside the meat. Cutting too soon causes the juices to run out. Resting makes your steak tender and juicy with every bite.
Slicing And Presentation Tips
Slice steak against the grain for the best texture. Thin slices are easier to chew and look neat. Use a sharp knife to make clean cuts. Arrange slices on a warm plate for a great presentation. Garnish with fresh herbs or lemon wedges for color and appeal.
Enhancing Flavor With Finishing Touches
Add a small pat of butter on top of the hot steak. It melts and adds richness to the flavor. Sprinkle a pinch of sea salt or cracked black pepper. Fresh herbs like rosemary or thyme lift the taste. A squeeze of lemon juice brightens the overall flavor.
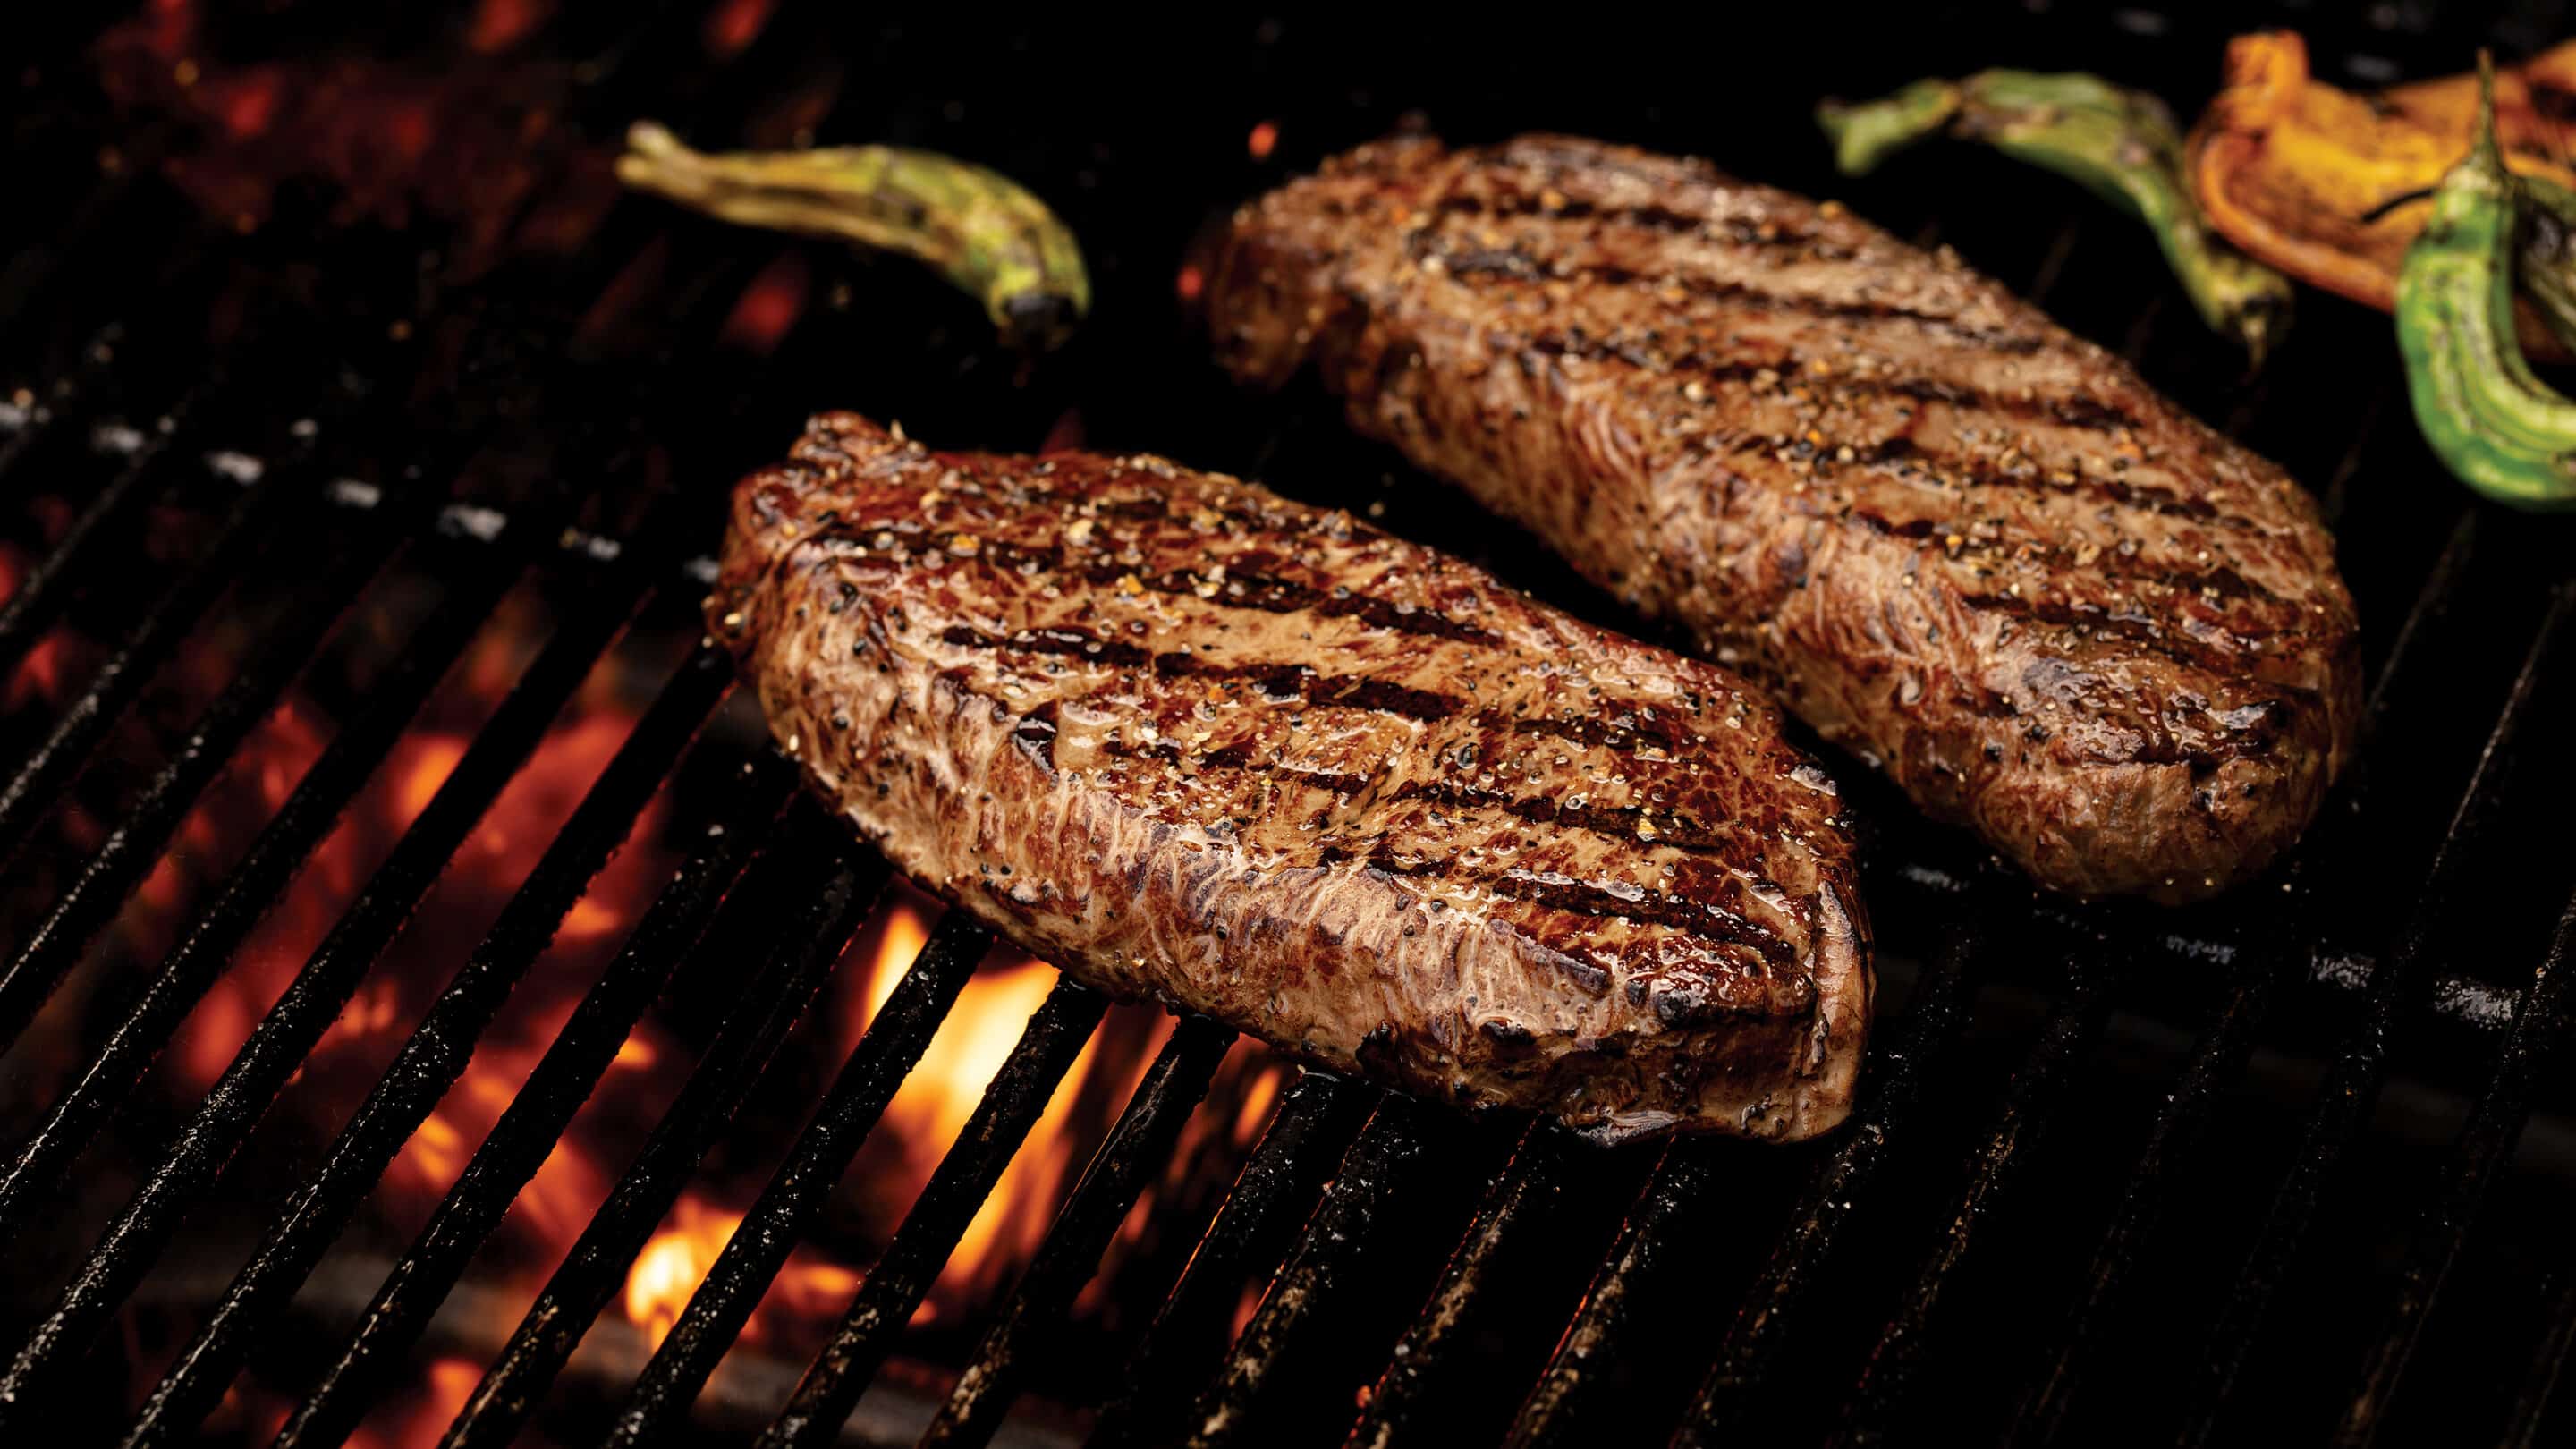
Credit: www.omahasteaks.com
Troubleshooting Common Issues
Grilling the perfect steak on a gas grill involves some challenges. Troubleshooting common issues helps improve your results. Problems like sticking, overcooking, or uneven searing often occur. Knowing how to fix these keeps your steak juicy and tasty. Here are simple tips to solve these frequent grilling problems.
Preventing Sticking To Grates
Sticking happens when the grill grates are not hot enough or dirty. Heat the grill for at least 10 minutes before placing the steak. Clean the grates with a grill brush to remove old food bits. Lightly oil the steak or the grates to create a barrier. Avoid moving the steak too soon; let it form a crust. This helps the steak release naturally and prevents tearing.
Avoiding Overcooking
High heat can quickly overcook steak if not monitored. Use a two-zone fire: one side hot for searing, the other cooler for finishing. Check steak temperature with a meat thermometer for accuracy. Remove steak from the grill a few degrees before the target temp; it will continue cooking outside. Let the steak rest for 5 minutes to lock in juices and finish cooking evenly.
Fixing Uneven Sear
Uneven sear often results from uneven heat or steak placement. Ensure burners are working correctly and the grill heats evenly. Place steak in the hottest area for a consistent crust. Avoid flipping too often; one or two times is enough. Rotate the steak 45 degrees halfway through each side to create crosshatch marks. Even searing enhances flavor and appearance.
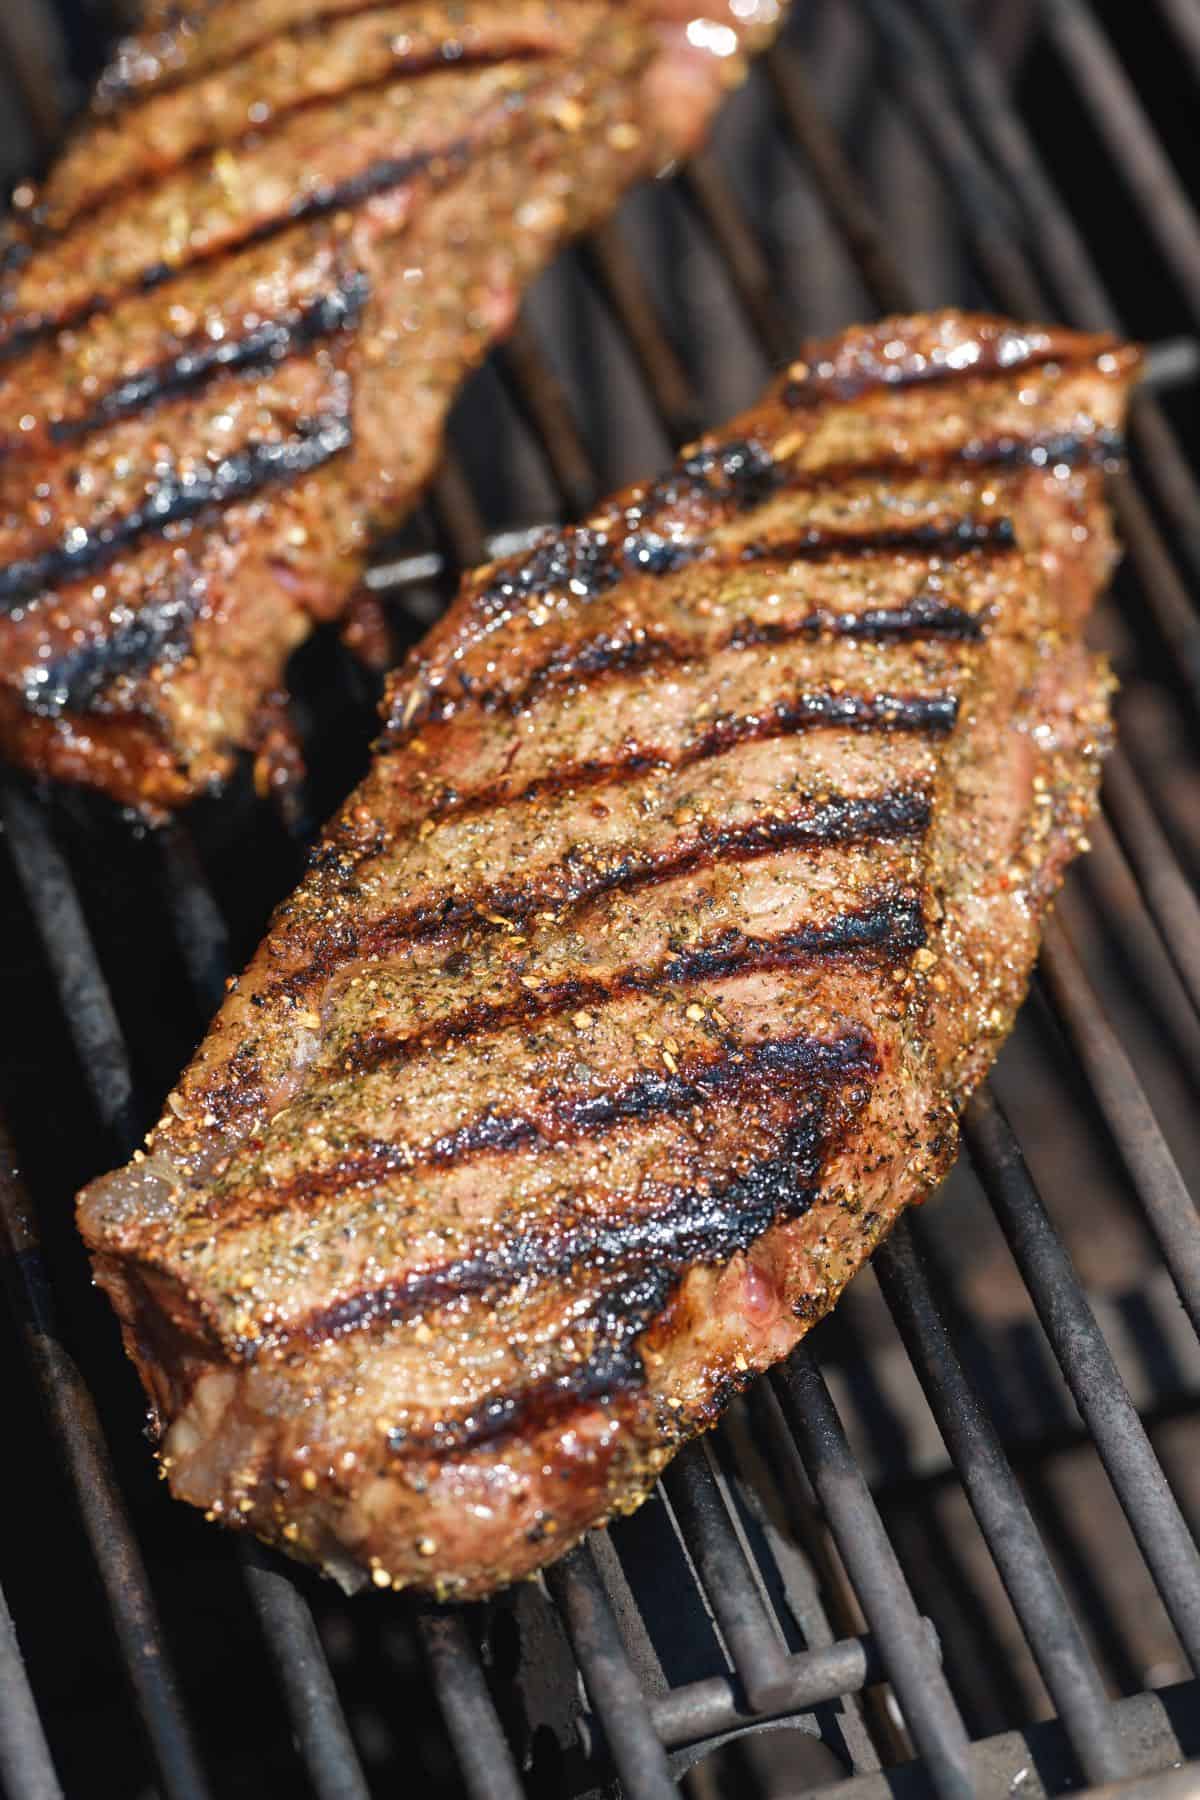
Credit: everestkitchennc.com
Frequently Asked Questions
How To Get A Good Sear On Steak Gas Grill?
Preheat the gas grill on high for a hot surface. Pat steak dry and season well. Sear steak undisturbed for 2-3 minutes per side. Use two-zone cooking: sear on direct heat, then finish on indirect heat. Let steak rest before serving.
What Is The 3 3 3 3 Rule For Steaks?
The 3 3 3 3 rule for steaks means searing each side for 3 minutes, then resting the steak for 3 minutes before serving.
What Are Common Searing Mistakes?
Common searing mistakes include using a pan that’s not hot enough, overcrowding, cooking cold meat, not drying it, flipping too often, and skipping rest time. These errors prevent proper crust formation and cause steaming or tough texture.
Do You Grill Steaks On A Gas Grill With The Lid Open Or Closed?
Grill steaks on a gas grill with the lid closed to retain heat and cook evenly. Open lid only when searing quickly.
Conclusion
Searing steak on a gas grill is simple with the right steps. Preheat your grill and create two heat zones for best results. Pat the steak dry and let it reach room temperature before grilling. Avoid flipping too often to develop a nice crust.
Rest the steak after cooking to keep it juicy and tender. Follow these tips, and enjoy flavorful, perfectly seared steaks every time. Grilling can be fun and rewarding with practice and patience. Happy grilling!