
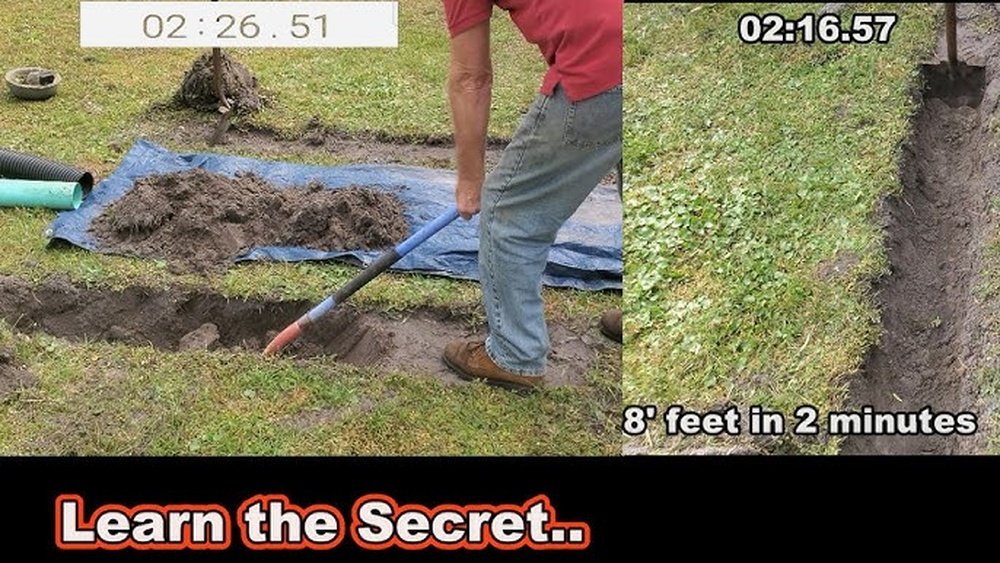
If you’re planning to set up an irrigation system, digging the right trench is key to making sure your water flows exactly where it should. But how do you use a shovel to dig a trench that’s both effective and efficient?
Whether you’re a beginner or just want to improve your technique, this guide will walk you through every step. You’ll learn the best way to handle your shovel, prepare the ground, and create a trench that fits your irrigation needs perfectly.
Keep reading, and you’ll discover simple tips that save you time and effort, so your irrigation system works smoothly all season long.
Credit: www.homedepot.com
Choosing The Right Shovel
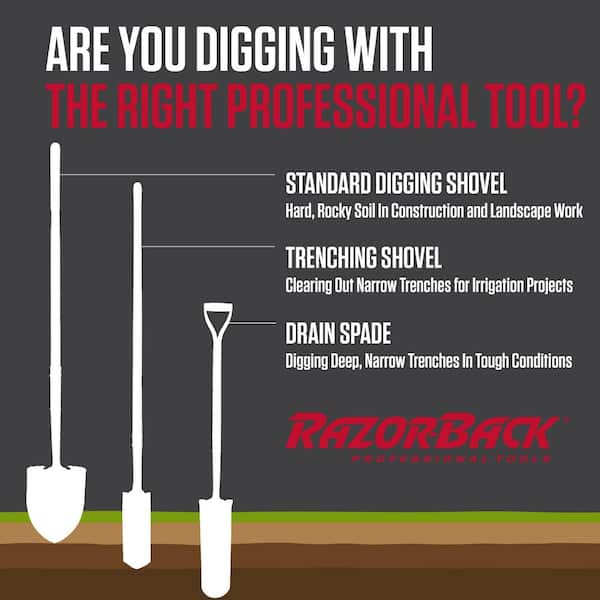
Choosing the right shovel is key for digging an irrigation trench efficiently. The right tool makes the job easier and faster. It helps you dig precise trenches with less effort. Picking a shovel designed for trenching tasks improves your work quality.
Types Of Shovels For Trenching
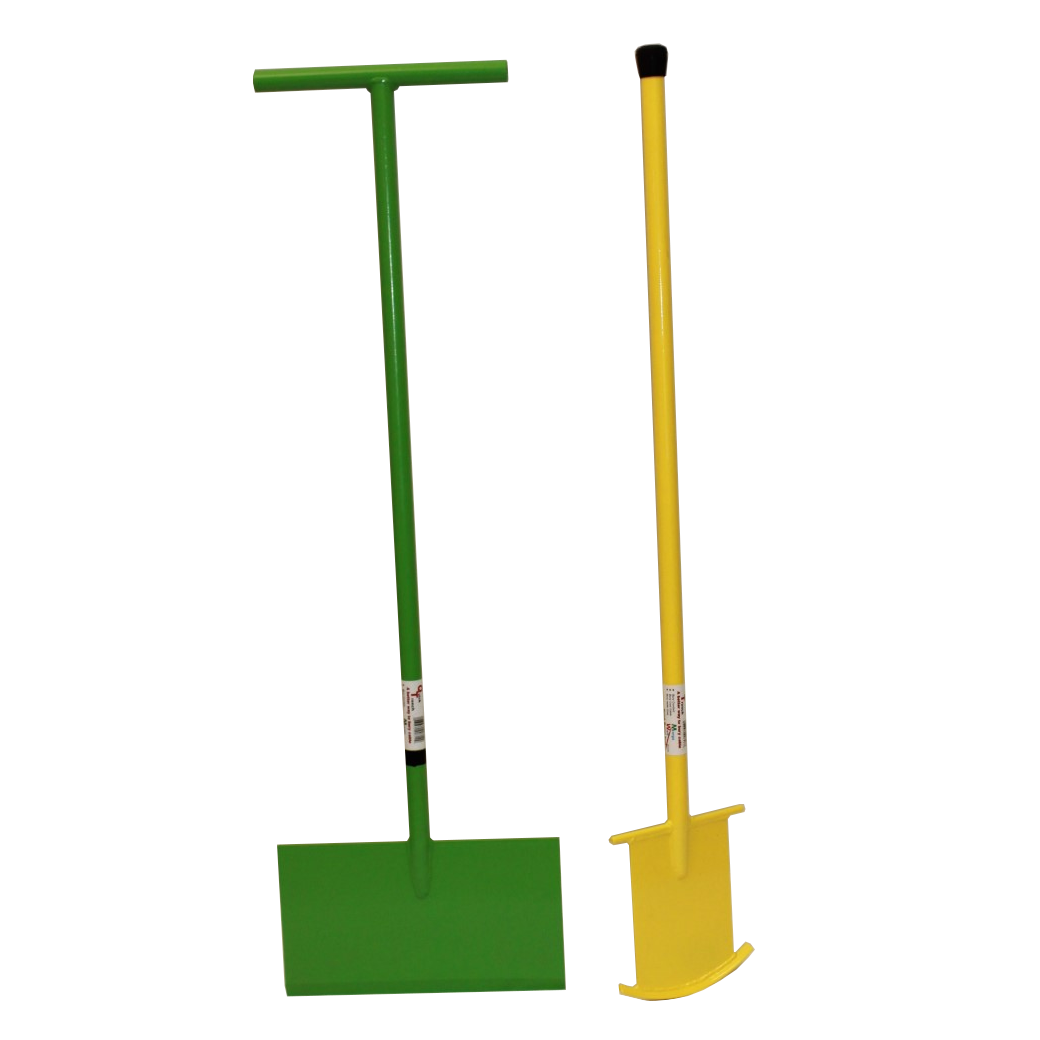
Several shovel types suit trench digging. A trenching shovel has a long, narrow blade. It digs deep, straight trenches with clean edges. A flat-edged shovel helps move soil out of the trench. A pointed shovel is good for breaking hard soil. Choose a shovel type that matches your soil and trench size.
Narrow Vs Wide Blades
Narrow blades cut slim trenches for irrigation pipes. They require less effort to dig deep and straight. Wide blades move more soil quickly but create wider trenches. For irrigation trenches, narrow blades are best. They create clean, compact trenches that save water and materials.
Handle Design And Comfort
Shovel handles vary in length and material. A longer handle gives better leverage for digging. Short handles offer more control in tight spaces. Look for handles with a comfortable grip to reduce hand strain. Wooden handles absorb shock well, while fiberglass handles last longer. Choose a handle that feels good in your hands and fits your height.
Credit: margawalt.com
Preparing The Site
Preparing the site is the first step in digging a trench for irrigation. It ensures safety and makes the work easier. Proper preparation helps avoid damage and speeds up the digging process. Follow these steps carefully before you start digging.
Marking Underground Utilities
Check for underground utilities before digging. Call your local utility company to mark cables, pipes, and wires. Marking these prevents accidents and costly repairs. Use bright paint or flags to show where utilities run. Stay clear of these areas when digging.
Clearing The Area
Remove rocks, plants, and debris from the trench path. Clear space helps you work smoothly and prevents injuries. Cut back any overgrown grass or bushes. Keep tools and materials organized nearby. A clean site makes the digging process faster.
Soil Moisture And Softening
Check the soil moisture before digging. Dry, hard soil is tough to dig and slows progress. Water the area one or two days before digging. This softens the soil and makes shoveling easier. Avoid digging in very wet soil to prevent trench collapse.
Measuring And Marking The Trench
Measuring and marking the trench is the first step in digging for irrigation. Accurate measurements ensure the water flows properly. Marking the area helps you dig straight and avoid mistakes. Take your time to plan well before starting to dig. Use simple tools and clear marks to guide your work.
Determining Trench Depth And Width
Decide how deep the trench should be. This depends on the type of irrigation pipe or system you use. Most irrigation trenches are 6 to 12 inches deep. The width should be wide enough for the pipe and some extra space. A width of 6 to 8 inches works well for most pipes. Measure these distances carefully using a tape measure. Mark the depth and width clearly for easy digging.
Using Stakes And String Lines
Place wooden stakes at the start and end points of your trench. Tie a strong string tightly between the stakes. The string line shows a straight path for digging. Adjust the string to match the measured width of the trench. You can add more stakes along the way for better guidance. This method keeps your trench straight and neat. It also helps avoid digging outside the planned area.
Digging Techniques
Digging a trench for irrigation requires careful techniques to ensure accuracy and efficiency. Proper digging methods help avoid extra work and reduce fatigue. Follow these simple steps to dig a clean, straight trench with a shovel.
Starting The Trench
Mark the trench line clearly before digging. Use stakes and string to guide your shovel. Begin by cutting a narrow line along the string. Push the shovel blade straight down to cut the soil. This creates a clear edge for the trench walls. Remove the first layer of grass or topsoil carefully.
Using Proper Body Mechanics
Stand with your feet shoulder-width apart for balance. Bend your knees, not your back, to lower the shovel. Use your leg muscles to lift soil, not your back. Keep your back straight to avoid injury. Switch hands and positions regularly to prevent strain. Take breaks to stretch and rest your muscles.
Removing Soil Efficiently
Dig small sections at a time for easier soil removal. Scoop soil out and place it away from the trench edge. This keeps the trench clear and safe. Use the shovel’s flat side to break up hard soil. Tap the shovel gently if soil is compacted. Keep the trench depth and width consistent throughout.
Maintaining Trench Shape
Maintaining the shape of your irrigation trench ensures water flows properly and prevents erosion. A well-shaped trench keeps irrigation efficient and reduces repair work later. Careful shaping during digging saves effort in the long run.
Creating Straight Edges
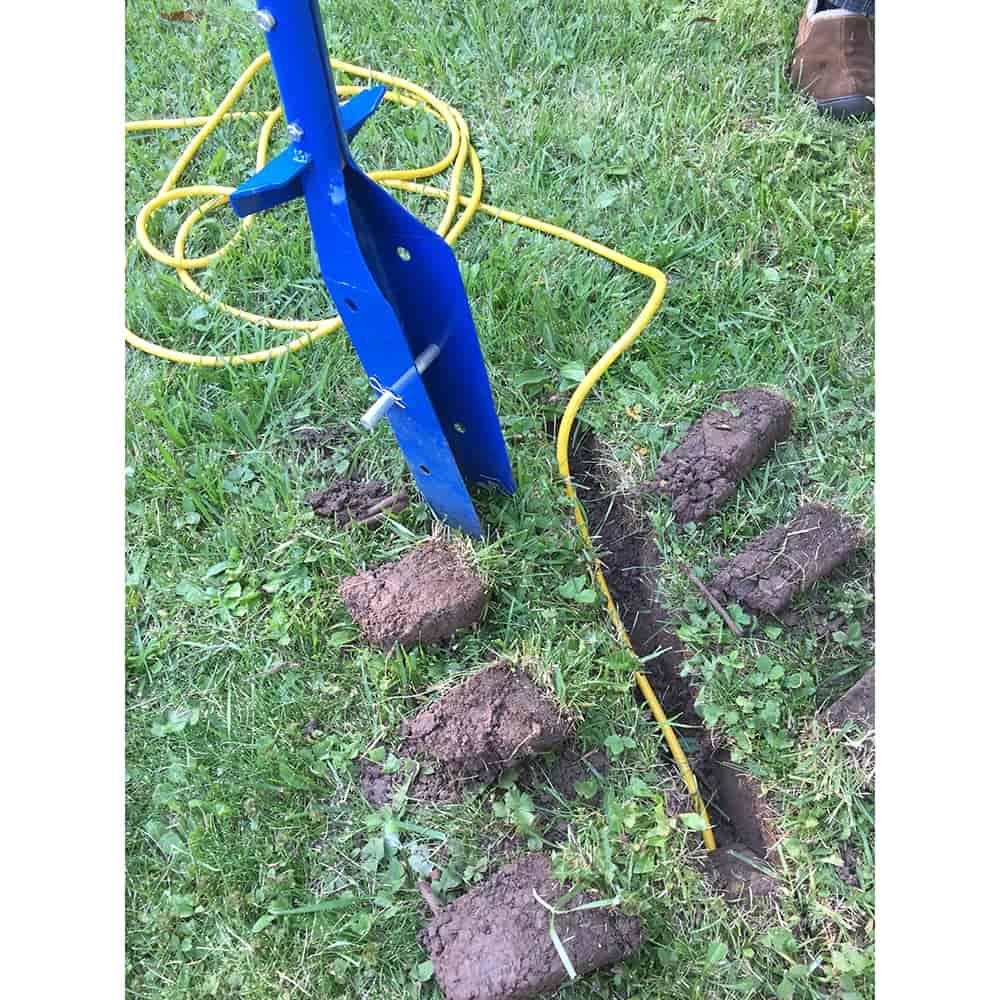
Use the flat side of the shovel to cut clean edges along the trench. Work slowly and follow a marked line for accuracy. Straight edges help guide water flow and make the trench look neat.
Check the trench edges regularly and reshape if needed. Avoid jagged or uneven sides to prevent soil from falling back in.
Managing Soil Displacement
Place dug soil away from the trench edge. This prevents soil from sliding back into the trench. Create a small mound at least one foot from the trench side.
Remove large clumps of soil to keep the trench bottom smooth. This helps pipes or hoses sit evenly in the trench.
Avoiding Collapse
Dig trench walls straight down or slightly angled to avoid collapse. Avoid digging too deep all at once; work in layers instead. Compact the soil near the edges lightly to add stability.
Watch for loose soil or cracks on trench walls. Stop digging if the trench looks unstable and shore up the sides if needed.
Credit: www.lehmans.com
Safety Tips
Safety is crucial when digging a trench for irrigation with a shovel. Following safety tips helps prevent injuries and makes the work easier. Taking simple steps protects your body and ensures a smooth digging process. Always prepare before starting the task to avoid problems later.
Protective Gear
Wear sturdy gloves to protect your hands from blisters and cuts. Use safety glasses to guard your eyes against flying dirt or small stones. Put on long pants and boots to avoid scrapes and insect bites. A hat and sunscreen protect your skin from sunburn during outdoor work.
Avoiding Strain And Injury
Use your legs, not your back, to lift soil. Keep the shovel close to your body to reduce strain. Take regular breaks to rest your muscles and drink water to stay hydrated. Do not rush; steady and slow movements reduce the risk of injury.
Weather Considerations
Check the weather before digging. Avoid digging during heavy rain or extreme heat. Wet soil can be slippery and hard to handle. Work early in the morning or late afternoon to avoid strong sun and heat. Dress properly for the weather to stay comfortable and safe.
Tools To Complement Your Shovel
Using a shovel alone for digging an irrigation trench can be tiring and slow. Certain tools help make the job easier and faster. These tools work well with your shovel. They improve digging precision and help move soil efficiently. Knowing what tools to use saves time and energy.
Trenching Shovels
Trenching shovels have a narrow blade designed for digging thin, deep trenches. Their shape allows for neat, straight lines, perfect for irrigation channels. They cut through soil cleanly and reduce the need for extra trimming. Using a trenching shovel helps maintain the correct trench width and depth.
Hand Picks And Mattocks
Hand picks and mattocks break hard soil and roots that a shovel cannot handle. They loosen compacted earth before shoveling. These tools reduce strain on your shovel and speed up digging. Using them first makes trenching less difficult and more precise.
Wheelbarrows And Soil Removal Tools
Wheelbarrows carry removed soil away from the trench site easily. Moving soil by hand wastes time and energy. Soil removal tools like scoops or rakes help gather loose dirt quickly. These tools keep the work area clean and safe. They prevent soil from falling back into the trench.
Finishing The Trench
Finishing the trench is a key step in preparing for a successful irrigation system. It ensures water flows evenly and reaches all plants properly. Take your time to create a smooth, even base. This helps prevent water pooling and soil erosion.
Smoothing The Bottom
Use the flat side of the shovel to level the trench bottom. Remove any rocks, roots, or clumps of soil. A smooth surface helps irrigation pipes sit evenly. It also prevents damage to the pipes from sharp objects.
Checking Depth Consistency
Measure the trench depth at several points along its length. Keep the depth uniform for steady water flow. Adjust the soil as needed with the shovel. Consistent depth avoids low spots where water might collect or leak.
Preparing For Irrigation Installation
Clear the trench of loose soil and debris. Create a slight slope if the system requires it. This directs water flow toward plants efficiently. Make sure the trench width fits the irrigation pipes and tubing. Proper preparation speeds up the installation process.
Frequently Asked Questions
How To Dig A Trench For Irrigation?
Water the soil two days before digging to soften it. Mark underground utilities to avoid damage. Use a trenching shovel to dig a narrow, straight trench at the desired depth and width for irrigation. Remove soil evenly and check the slope for proper water flow.
What Is The Best Tool For Digging Irrigation Trenches?
The best tool for digging irrigation trenches is a trenching shovel. It has a narrow, pointed blade for precise, clean trenches. This shovel makes digging faster and easier, especially in compact soil. Choose a trenching shovel with a comfortable handle for better control and reduced fatigue.
How To Use A Trench Digging Shovel?
Hold the trench shovel firmly and position its narrow blade at the trench edge. Push the blade into softened soil using your foot. Scoop out soil steadily, keeping trench sides straight. Remove loosened dirt regularly. Repeat until reaching desired trench depth and length.
How To Dig A Trench For Water Flow?
Mark underground utilities first. Soften soil by watering two days prior. Use a trenching shovel to dig a straight, narrow trench. Maintain consistent depth and slope for proper water flow. Remove loose soil to keep the trench clean and functional.
Conclusion
Digging a trench for irrigation with a shovel takes patience and care. Start by marking your trench line clearly. Soften the soil with water a day or two before digging. Use steady, controlled motions to dig straight and even. Remove soil gradually to avoid making the trench too wide or deep.
Keep the trench smooth for proper water flow. Taking these simple steps helps you create an effective irrigation trench. With practice, digging becomes easier and more efficient. Your garden or field will benefit from better water management.