
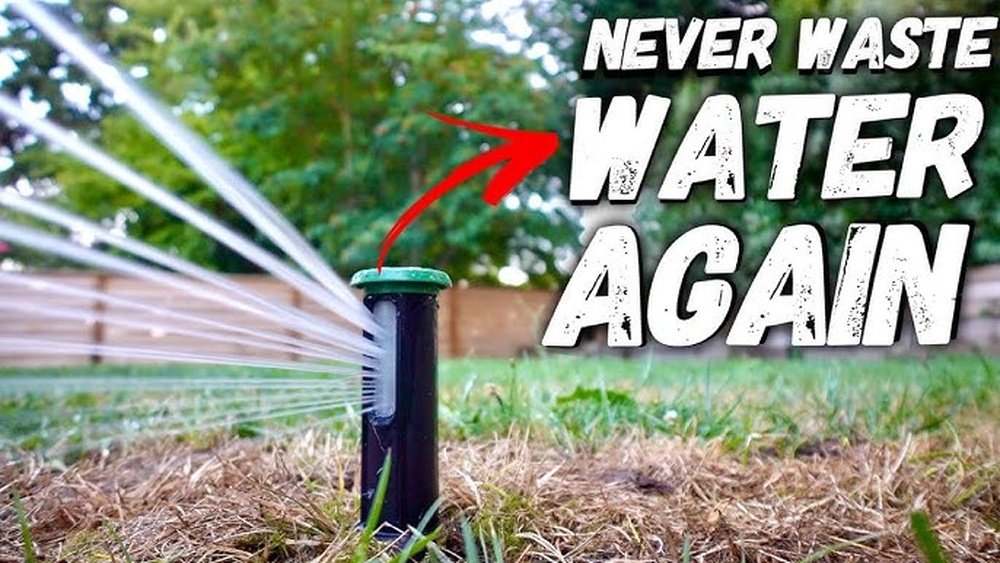
Imagine stepping outside to a garden that’s always perfectly watered, healthy, and vibrant—without you lifting a finger. Setting up a sprinkler system for your garden can make this a reality.
But where do you start? You might think it’s complicated or expensive, but with the right guidance, you can install an efficient sprinkler system yourself. You’ll discover simple, step-by-step instructions to set up a sprinkler system tailored to your garden’s unique needs.
By the end, you’ll know exactly how to keep your plants thriving and save time and effort on watering. Ready to transform your garden care routine? Let’s dive in!
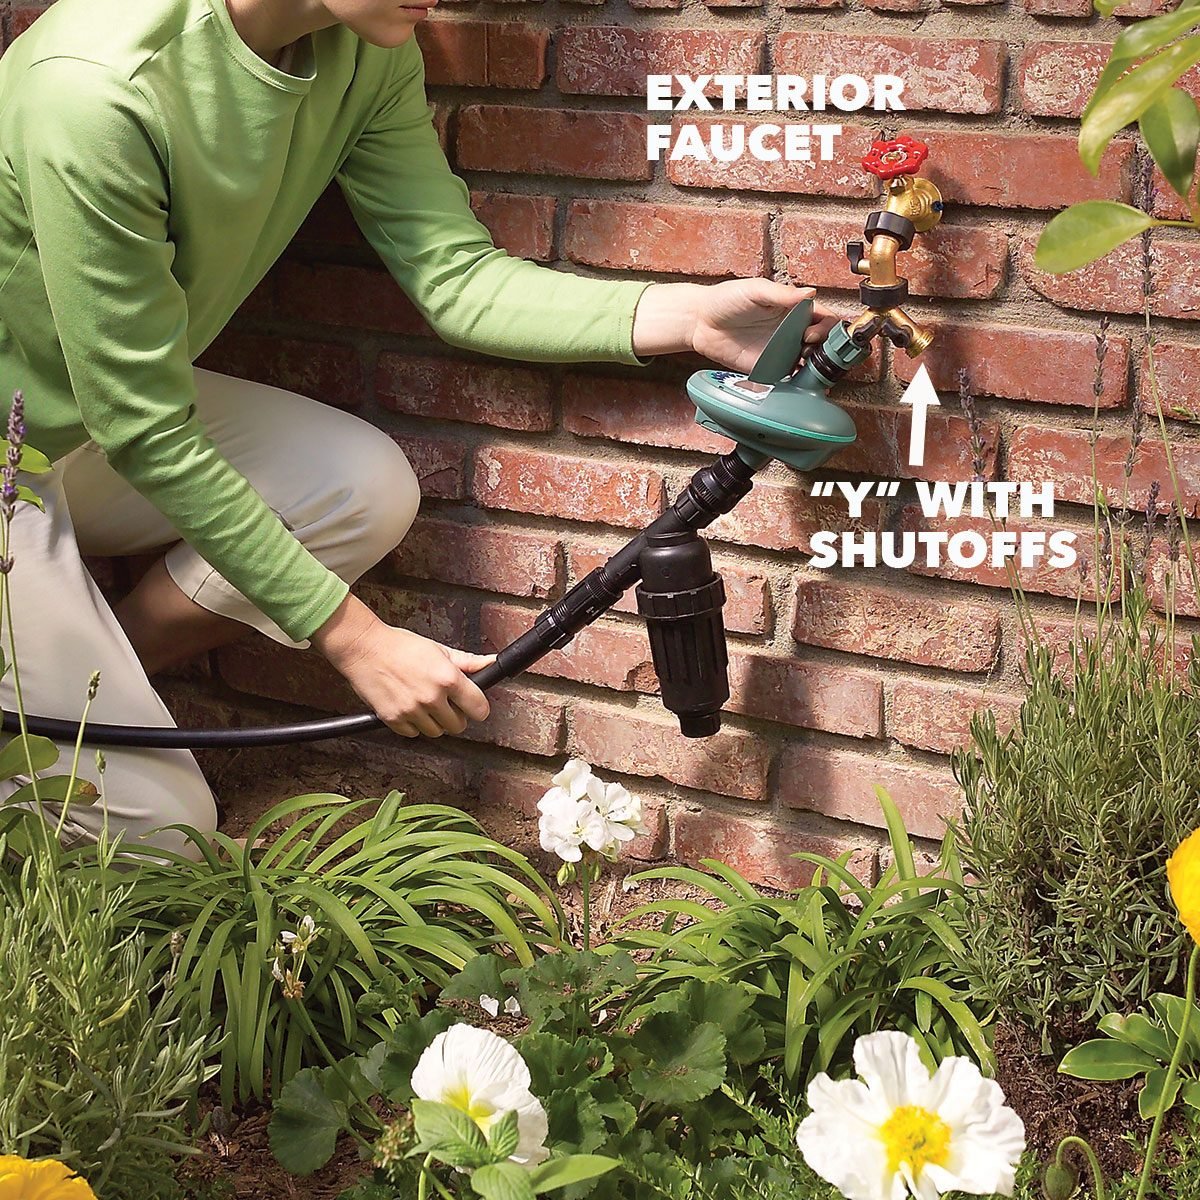
Credit: www.familyhandyman.com
Planning Your Sprinkler Layout
Planning your sprinkler layout is the first step to a healthy garden. A well-planned system saves water and ensures even watering. Take time to design a layout that fits your garden’s shape and size. This prevents dry spots and overwatering.
Measuring Your Garden Area
Measure the length and width of your garden using a tape measure. Note any irregular shapes or obstacles like trees and flower beds. Draw a simple map of your garden on paper. Mark the measured dimensions clearly. Accurate measurements help place sprinklers correctly.
Choosing Sprinkler Types
Select sprinklers based on your garden’s needs. Rotating sprinklers cover large areas in a circular pattern. Fixed spray heads work well for small, rectangular spaces. Drip emitters deliver water directly to plant roots. Use a mix of types for different garden zones.
Mapping Head-to-head Coverage
Place sprinklers so their spray patterns overlap. This is called head-to-head coverage. It ensures every part of the garden receives water evenly. Space sprinkler heads at distances equal to their spray radius. Adjust placement to avoid watering sidewalks or driveways.

Credit: anoregoncottage.com
Gathering Materials And Tools
Preparing the site is the first step in setting up a sprinkler system for your garden. A well-prepared site ensures even water coverage and prevents damage during installation. Take your time to organize and plan before digging or placing any pipes. This preparation saves time and effort later on.
Marking Sprinkler Locations
Start by measuring your garden area. Use a tape measure to find the best spots for sprinklers. Mark these spots with flags or spray paint. Space them evenly to cover the entire garden without dry patches. Make sure each sprinkler can reach the next one for overlapping coverage.
Checking For Underground Utilities
Call your local utility company to check for underground lines. This step is very important for safety. Avoid hitting water, gas, or electrical lines while digging. Use a utility locator service if available. Mark any detected lines clearly on the ground before starting trenching.
Trenching Tips
Dig trenches carefully along the marked sprinkler lines. Keep trenches shallow, about 6 to 12 inches deep. Use a trenching shovel or a rented trenching machine for faster work. Make sure trenches are straight to avoid pipe damage. Remove any sharp rocks or roots that may puncture the pipes.
Preparing The Site
Installing the pipes and sprinkler heads is a vital step in setting up your garden’s sprinkler system. This stage ensures water flows smoothly and reaches all areas evenly. Proper installation avoids leaks and uneven watering, saving water and keeping plants healthy.
Laying And Connecting Pipes
Start by digging shallow trenches for the pipes. Pipes should run close to the surface but deep enough to avoid damage. Connect the pipes using fittings designed for your system type. Use primer and cement for PVC pipes to seal joints tightly. Tight connections prevent leaks and maintain pressure.
Positioning Sprinkler Heads
Place sprinkler heads where water can cover all plants. Each head should spray water to the next one for overlap. This pattern prevents dry spots in the garden. Use adjustable heads to control spray distance and direction. Position heads away from sidewalks to avoid wasting water.
Ensuring Proper Pipe Slope
Check that pipes slope slightly downward, about 1/8 inch per foot. This slope allows water to drain out and prevents standing water inside pipes. Standing water can cause blockages and damage the system. Use a level or slope tool to measure pipe angle as you lay them.
Installing The Pipes And Sprinkler Heads
Testing and adjusting your sprinkler system is a vital step. It ensures every part of your garden receives the right amount of water. Proper testing saves water and prevents damage to plants. Take your time to check each sprinkler head and connection.
Checking For Leaks
Start by turning on the system and watching all pipes and connections. Look carefully for wet spots or dripping water. Even small leaks can waste a lot of water. Fix leaks quickly by tightening fittings or replacing damaged parts. Regular checks keep your system efficient and your garden healthy.
Adjusting Spray Patterns
Observe how each sprinkler sprays water. Adjust the spray pattern to cover the intended area fully. Use the control screws or nozzles on the sprinkler heads to change the spray shape. Make sure water does not hit sidewalks or driveways. Proper spray patterns reduce water waste and keep your plants happy.
Balancing Water Pressure
Check the water pressure at different points in the system. Low pressure means some sprinklers may not work well. High pressure can damage pipes or cause misting, which wastes water. Use pressure regulators or adjust valves to balance the flow. Balanced pressure ensures even watering across your garden.
Connecting To Water Supply
Keeping your sprinkler system in good shape helps your garden thrive. Regular care saves water and avoids costly repairs. Small checks can spot problems early and keep everything running smoothly.
Seasonal Care
Check sprinkler heads for clogs or damage at the start of each season. Clean or replace them if needed. Adjust the spray pattern to match plant growth changes. Winterize your system before cold weather by draining water. This stops pipes from freezing and breaking. Turn off the water supply and remove timers or controllers if possible.
Troubleshooting Common Issues
Look for dry spots or overwatered areas on your lawn. These signs may mean sprinkler heads are blocked or misaligned. Check for leaks in hoses and connections. Replace any cracked or broken parts quickly. If the system does not turn on, test the timer and electrical connections. Reset or replace faulty parts. Regularly monitor water pressure to ensure even coverage across your garden.

Credit: www.youtube.com
Frequently Asked Questions
What Is The 30/30 Rule For Irrigation?
The 30/30 rule for irrigation means watering for 30 minutes, then waiting 30 minutes before watering again. This prevents runoff and improves soil absorption.
What Is The Best Way To Layout A Sprinkler System?
Layout a sprinkler system by spacing heads evenly for head-to-head coverage. Use strip patterns on narrow areas. Ensure uniform water distribution and proper pressure.
How To Set Up A Garden Sprinkler?
Choose sprinkler type and coverage area. Connect to water source with hose or pipes. Position sprinklers for even overlap. Adjust spray patterns. Test system and set timer for efficient watering.
How Many Sprinklers Can You Run Off One Line?
You can run 4 to 8 sprinklers per line, depending on water pressure and flow rate. Ensure proper spacing for even coverage.
Conclusion
Setting up a sprinkler system can save time and water. Plan your layout carefully for even coverage. Use proper spacing to avoid dry spots. Choose the right sprinkler heads for your garden’s needs. Regularly check your system to ensure it works well.
With patience and care, your garden will thrive. Enjoy a healthier, greener lawn all season long.